December 01, 2011

Candle Re-do

From this plain candle:
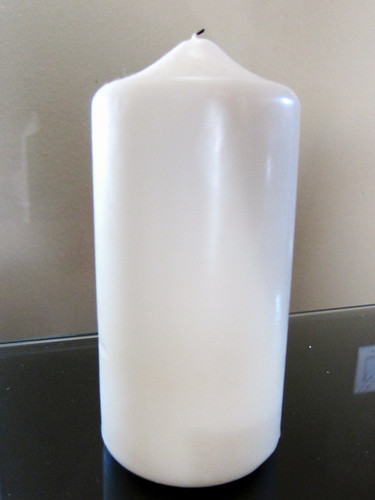
To this!
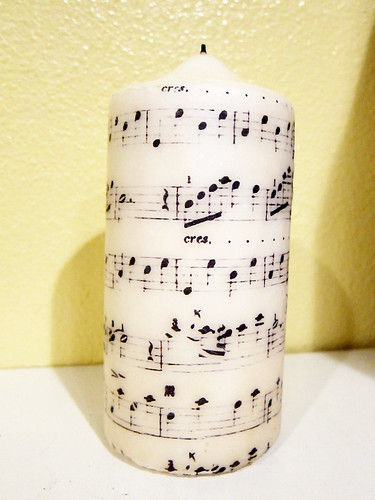

First, you need a piece of tissue paper with a pattern. I used tissue paper and printed music sheet pattern on it. The trick is to use double sided tape. Regular tape may not work well with inkjet printer, and it definitely does NOT work with laser printer (which is what I have). Cut the tissue paper the same size as a regular piece of printer paper. Place the double sided tape on the upper, lower and sides of the printer paper. Stick the plain tissue paper on top. Put the whole thing in the paper feed of your printer. 
Then you are ready to print:

Carefully remove the tissue paper from the printer printer, or just cut off the sides. Wrap the tissue paper around the candle. If it is not enough to cover the entire candle, print another tissue paper - add it onto the candle and align the pattern. You may use a small amount of glue to hold it in place:
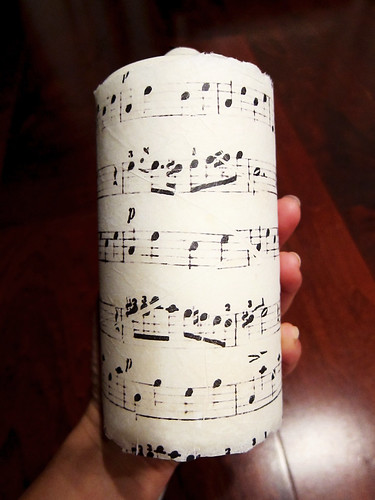
Get a large piece of wax paper and wrap it over the candle. Hold the excess wax paper in the back. This will protect your hands from the heat.

Yes, I said Heat because you will use a heat gun, or an embossing gun (as I did, and it looks like this):

Or I think a hair dryer on the lowest setting will work as well. Use the heat gun to lightly melt the candle and tissue paper together. Do small sections at a time and turn the candle around. It goes fast. The wax paper will become shiny and the pattern can be seen clearly through the wax paper. You will know. =)

Lift the wax paper off and you will get something like this:


I imagine this tissue paper will be perfect for the holiday:

Good luck! 

Pretend Make-up

Boo loves my make-up, specifically, eye shadows and brushes.
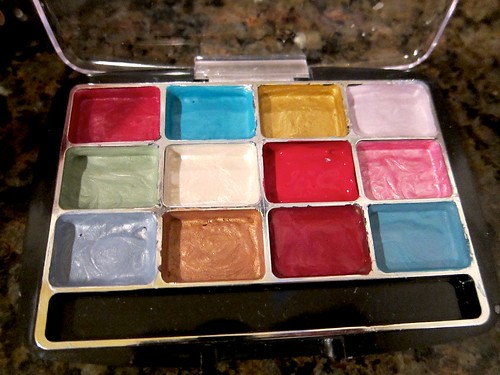
So I went to the dollar store [Dollar Tree or 99 Cent Store, both places will have something similar], and got this:

I used a small flat head screw driver and pried off each of the rectangle pots of eye shadow. I discarded the eye shadows and filled each empty spot with acrylic paint I already have.  Fill it carefully to the rim. When it is drying, it'll diminish the amount of paint. I just kept refilling them:


I mixed pearl white paint into some colors: 

It looks really neat. It will take a l-o-n-g time for it to dry:

Hopefully this will do the trick and she will like it. =)
Good luck!

November 13, 2011

Tying Fabric Belt


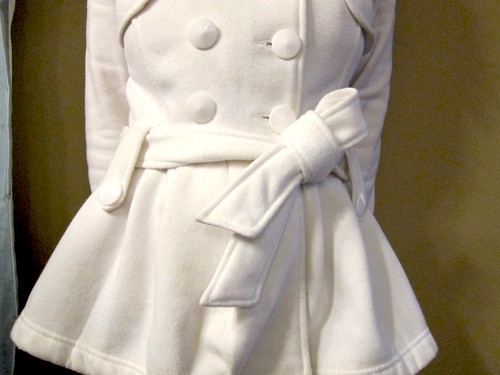
I always have issues with fabric belts that are too long, especially if there is not a buckle. Like on this coat, I don't like how it's tied:

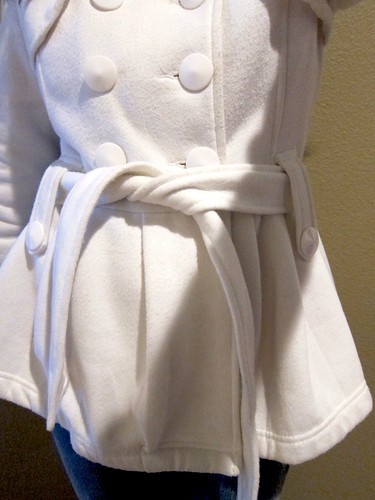
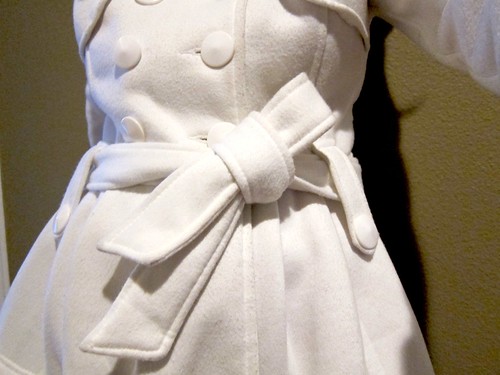
Thankfully I saw this little one loop trick (thus can't take credit for it), and I am a huge fan of it already:


I made a video on how to do it:


Good luck!

November 02, 2011

M&M Costumes

For Halloween this year, I made M&M costumes for my husband, Boo, and myself!


Materials:
String
Sharpie marker
 Pencil
Scissor
A piece of regular printing paper
Felt in M&M colors of your choice
(Don't forget white felt for the "M")
Batting
Hot glue gun
Sewing machine 
(Although sewing is not necessary; you can use Steam a Sem)

I got everything from Joann's. I believe the felt material was about $2.50 per yard, and I used a coupon (20% off entire purchase), so it was a great deal. I got 1.5 yards for one toddler, and 3 yards for one adult. 

Boo was purple, the Husband was yellow and I was green M&M.

Let's get started.
Take a string and tie the pencil on one end. With it, measure your toddler from the top of the shoulders to the waist. Add about an inch to the length and mark it with your Sharpie.

Tie the Sharpie on the other end of the string, and cut. 
You will use this as a compass to draw circles.

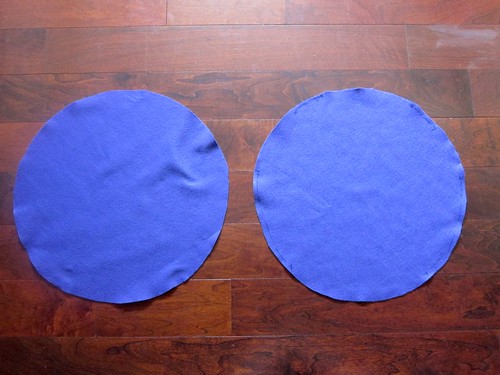
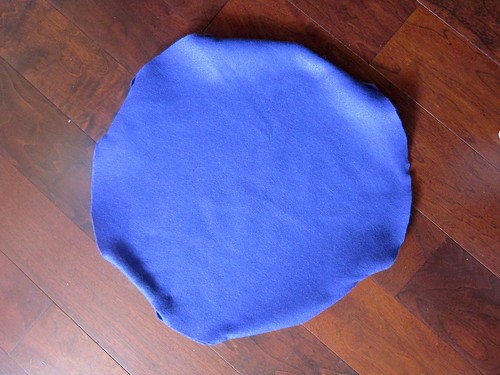
Fold your felt material in half (so you get 2 circles with one cut) and lay it down. Hold the pencil down on the fabric, making sure you have enough to go around, and trace a circle with the Sharpie. Cut out and you will have something like this:

You will need two more circles with the felt, and again with the batting, but this time, they will be about 1.5 inches smaller. So shorten the string and repeat the steps above.

You should have 2 bigger felt circles, 2 smaller felt circles, and 2 batting circles.

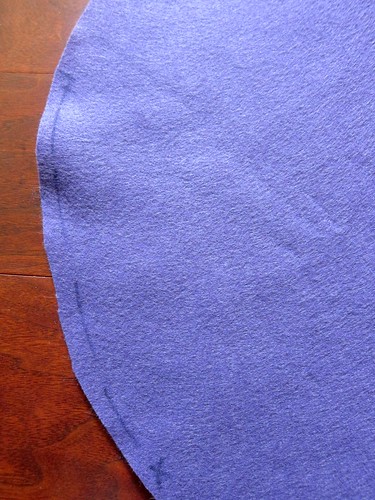
Take one of the bigger circles and lay it over the toddler. You want to roughly mark the areas you need to sew with a Sharpie. You want to leave holes for the head/neck, arms and legs. 

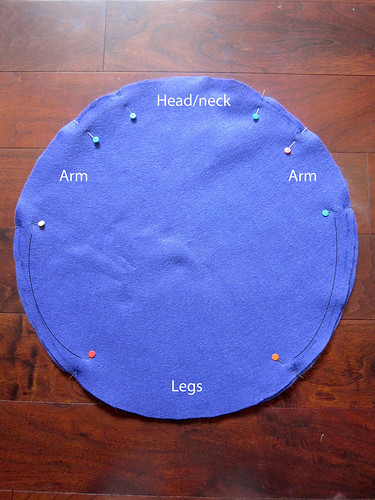
Pin the other larger circle onto this. I know it's a little hard to see, but this is a sad looking diagram I drew for you. It indicates the holes (don't sew there!) and black lines to sew with a 1/4" allowance, or as close to the edge as possible: 

After sewing, turn it right side out, and you will get this:

Have no fear! It doesn't look like much, but it will be perfect in no time! 
Cut and trim as needed - and something I discovered -  the trick is to cut the neck and leg holes a bit straighter...less of a circle. When the toddler puts it on, it will create more of a curve. Trust me. It will make complete sense. =)

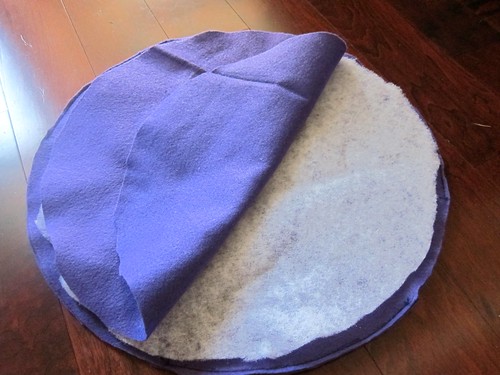
Now you will create a sandwich of: felt - batting - felt. 
So, turn the sewed circle inside out.
Lay a batting on top.
Lay the smaller felt circle on top of the batting.

Hot glue the smaller felt circle onto the sewed circle. The glue and batting inside will stiffen the felt in general, and will keep the M&M round shape better. Repeat the "sandwich" on the other side. Turn right side out. You're almost done!

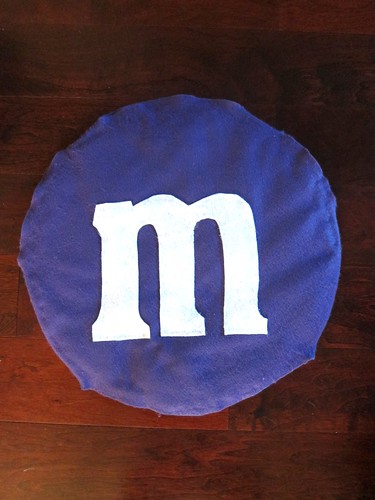
I went online and found a picture of the "M". I traced it on a printing paper, cut it out, traced that onto the white felt, and cut out.

Hot glue the "M" in the middle of the circle, making sure the head/neck hole is up and the leg hole is down.

Ta da!

You now have the cutest M&M running around. =)
Good luck!

October 20, 2011

Altering Sleeves

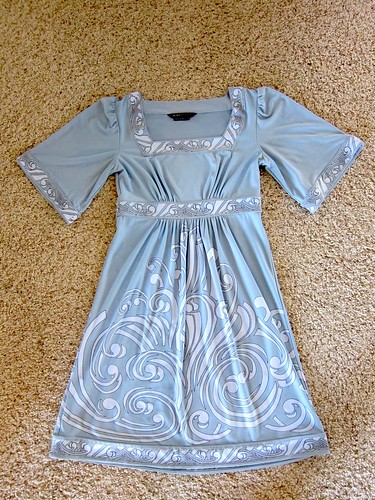
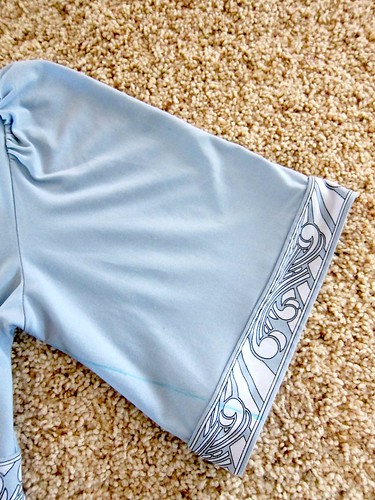
Sliming down big bell sleeves on this cute dress:

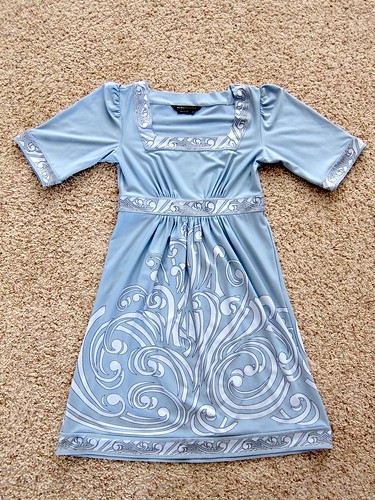
And turning it into this cuter dress:

I am definitely not great at sewing but I did acquire some simple skills through the years. I think this is called a French Seam, but don't quote me. =)

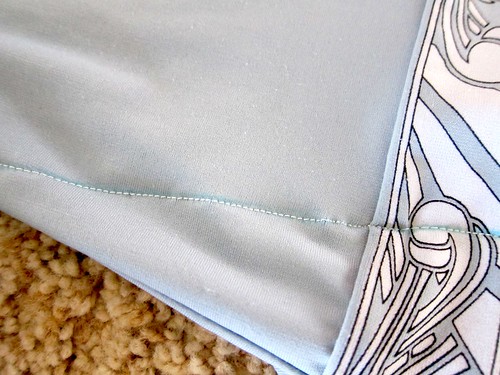
I marked a straight line to how I want the sleeves to be, on the front of the dress: 

Then I did a straight stitch on the line. No worries if it's not completely straight:

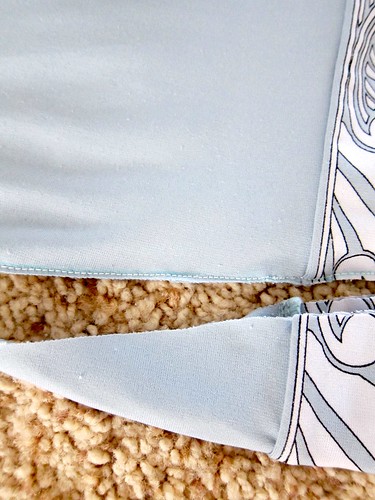
After sewing, cut the extra fabric off...as close to the stitch as possible:

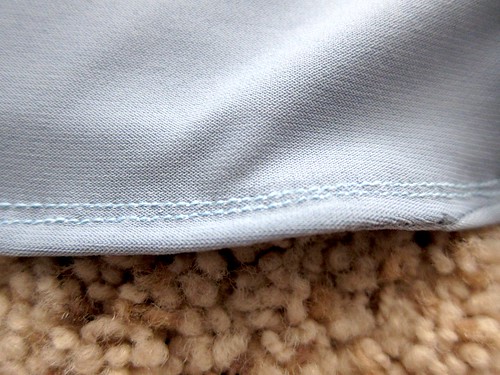
Now flip the dress inside out, and sew a double straight line (or just a single line) above the line you just sewed (that is on the front of the dress and you can't see). Now you have trapped line and raw edges on the front of the dress inside!

Flip the dress again so it's right side out, and the seam should look like this:

I hope my interactions made sense! 
Ta-da:

Good luck!