Showing posts with label Crafts. Show all posts

June 16, 2015

Strawberry Shortcake Gymnastics Themed Birthday Party!

My boo turned SIX years old!
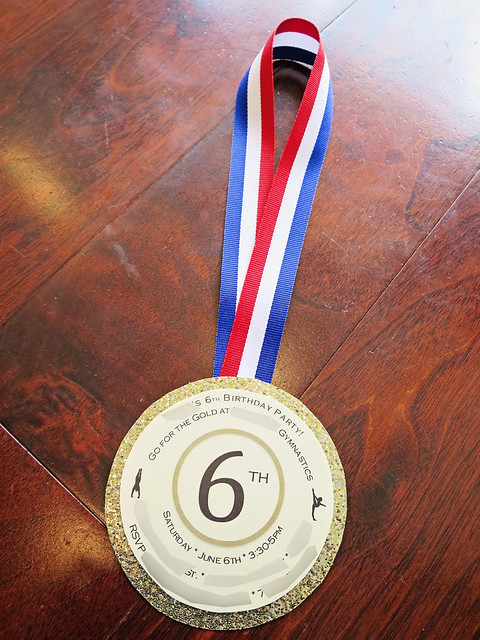
She wanted a gymnastics party. I was whacking my brain on how to make the invitations. All of a sudden, a light bulb went off - gymnastics...Olympics...gold medal! I love how they turned out:
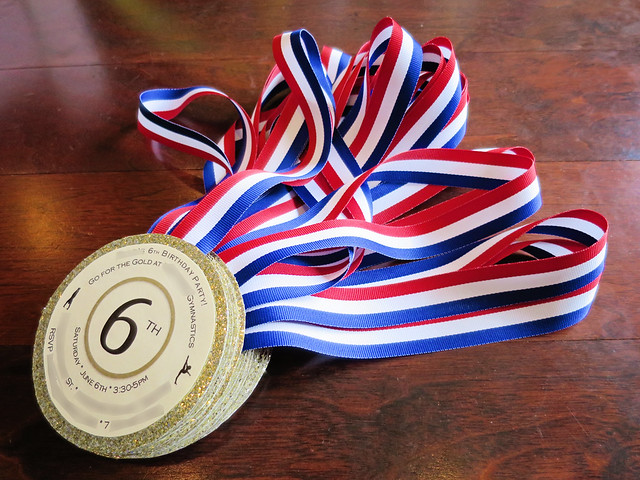
IMG_6685B

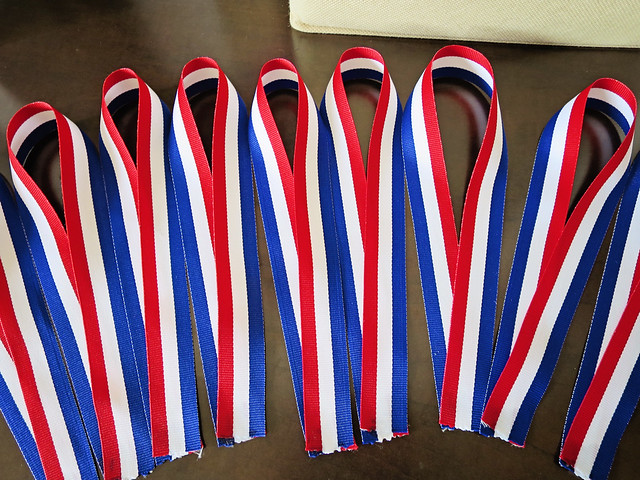
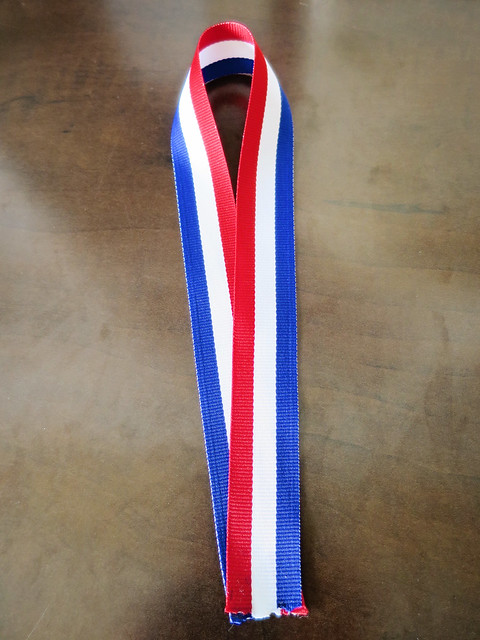
I got a few rolls of this Red, white & blue ribbon from Hobby Lobby:
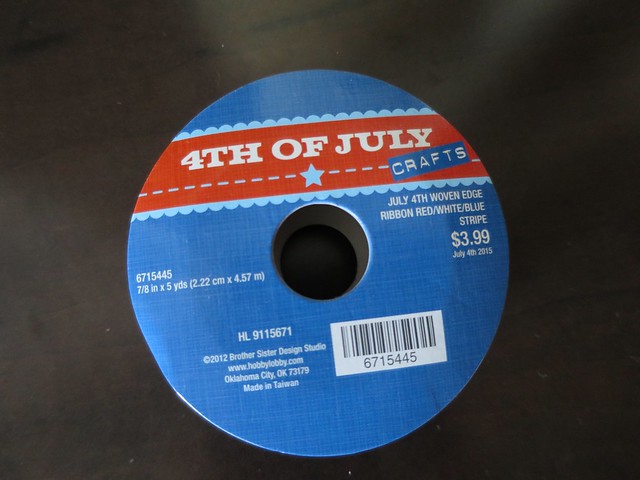
IMG_6679

I cut off a strip and used fabric glue to secure the end:
IMG_6677


IMG_6678

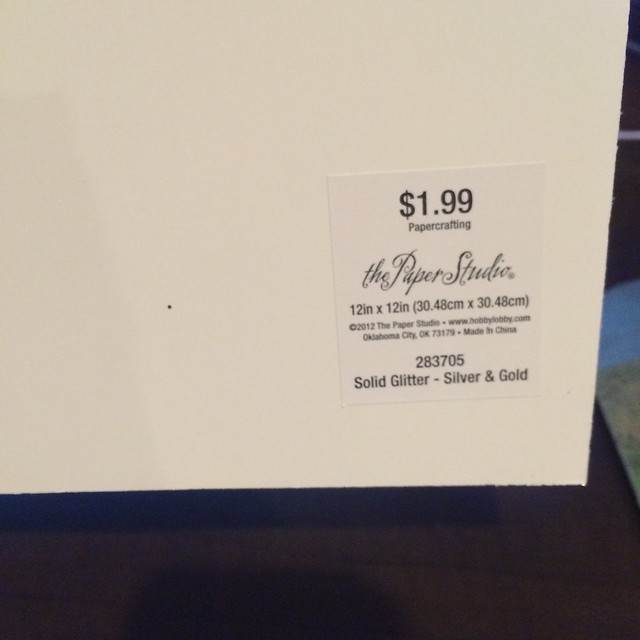
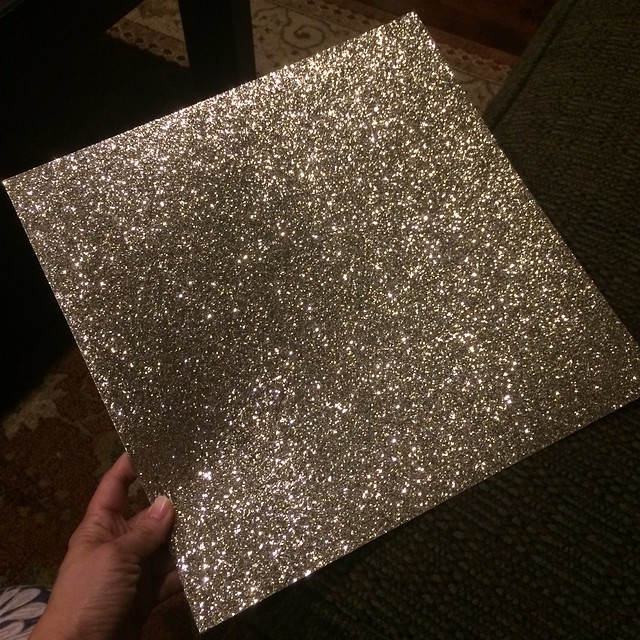
I cut out 3.75 inch circles out of this glitter paper from Hobby Lobby:
Untitled

Untitled

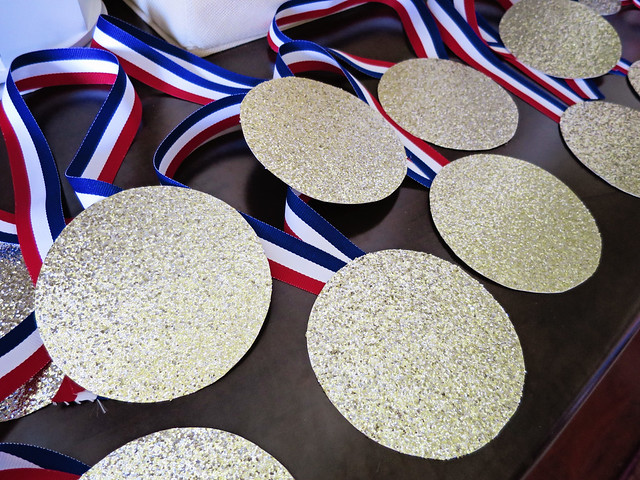
And super glued the ribbon on the back of the circles:
IMG_6675

I designed the wording and printed it on pale yellow cardstock. I cut them out into circles and superglued them on top of the glitter circles. Make sure they are smaller so the glitter creates a border:
IMG_6684B

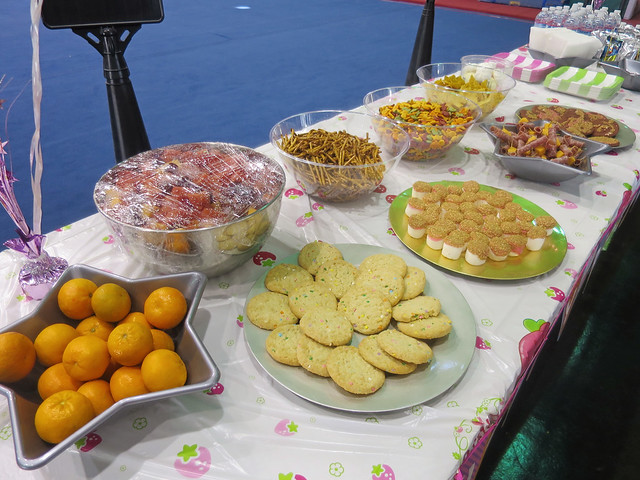
For party foods, these are my staples (not in the picture is the Chik Fil A chicken nugget platter):
On the gold plate are  jumbo marshmallows dipped in icing and in gold sprinkles.
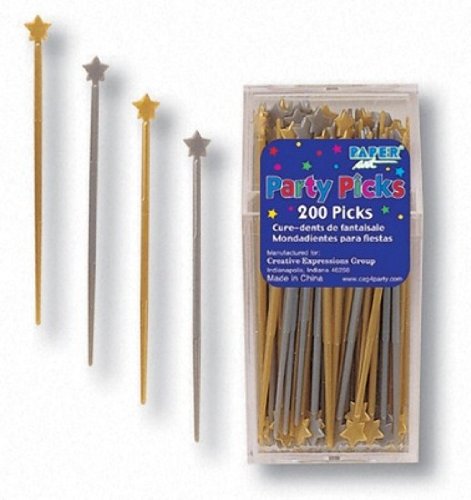
In the silver star bowl are rolled up salami and cheese cubes on a gold star pick.
IMG_6966

I just used the gold stars to fit the party theme...kind of perfect, right? =)
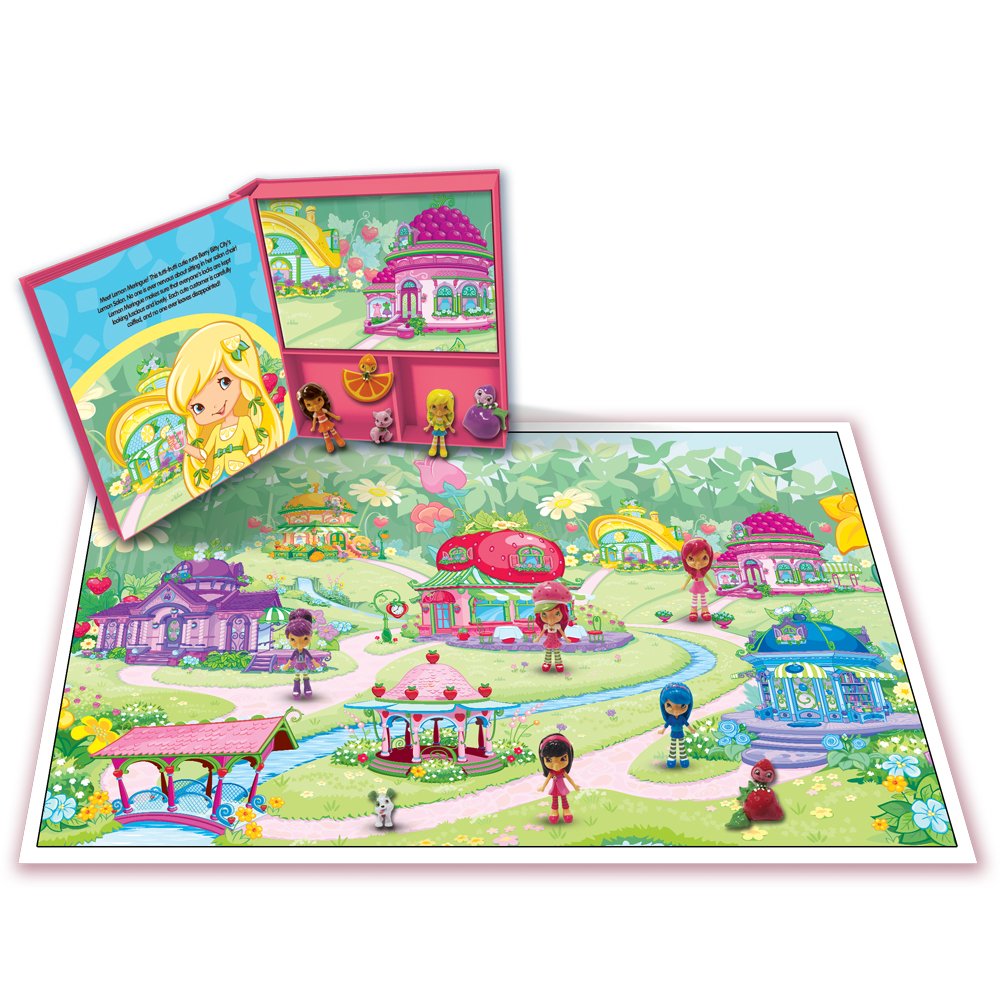
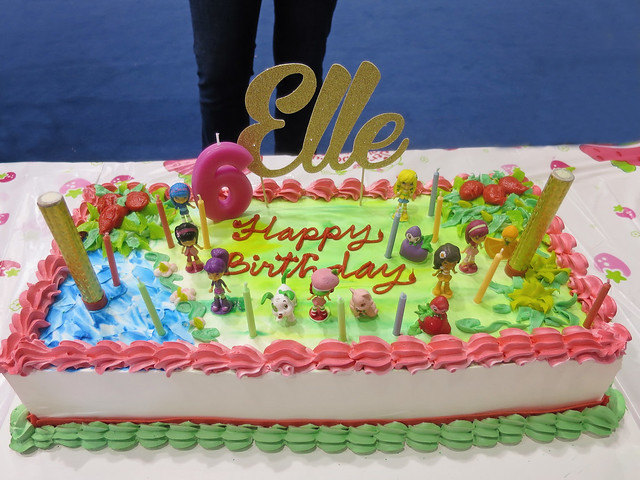
Cake time! This year, Miss Sugar wanted an ice cream cake. Which meant I would not be able to make her cake like I do every year.  I was kind of sad, but it was easier and less stressful this way. She picked out the coordinating Strawberry Shortcake ice cream cake from Baskin Robbins. We bought all the little figurines and she loved them. It's actually a busy book set that came with the toys, and they were exactly what we wanted:
IMG_6976


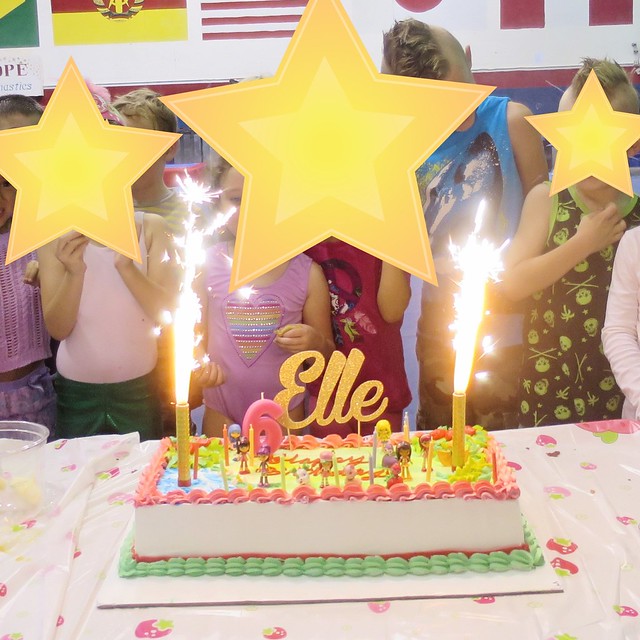
I recently discovered Big Birthday Cake Sparkler Candles. You can get them from Amazon but I got the same thing on Ebay because of the quicker shipping.  I'm getting these candles for every birthday from now on! The "Elle" custom glitter cake topper is from HomemadeXOjules at etsy.com. It is even more gorgeous in person!
IMG_6986

The sparkle custom green gymnastics shorts (for the Strawberry Shortcake colors) is from CathyKelly2 at etys.com. Super fast turnaround time, and A+ on communication as I requested a color that she did not make available at that time. She made it the day we spoke and shipped it out the very next day:
IMG_6993

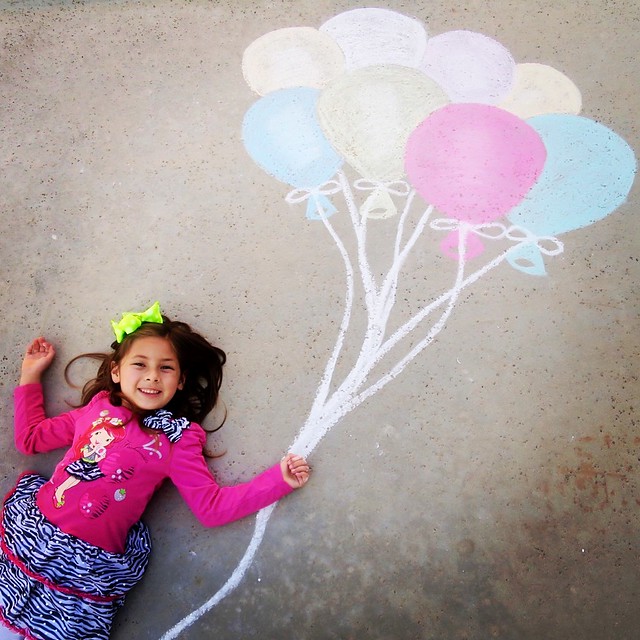
And lastly, something that is Pinterest-inspired! I drew this with sidewalk chalk in my backyard. <3
Untitled

Happy Birthday, Boo! I love you.
March 19, 2015

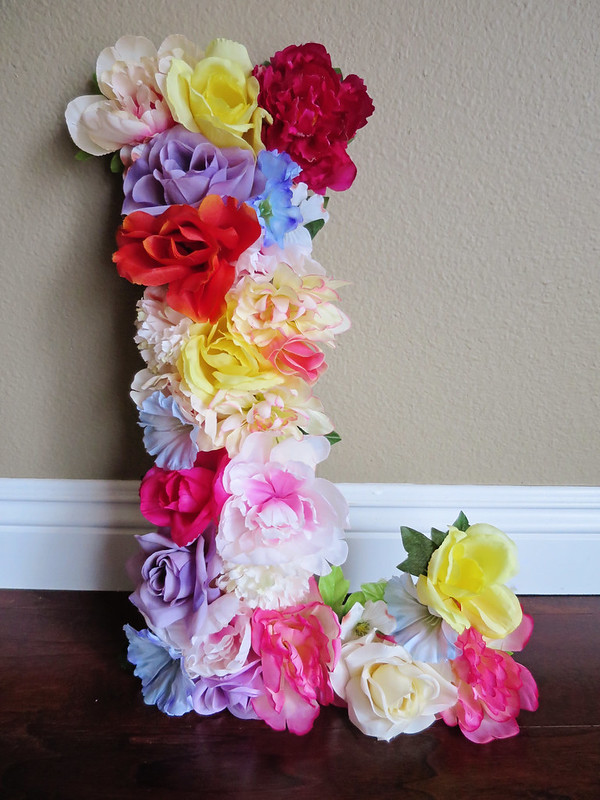
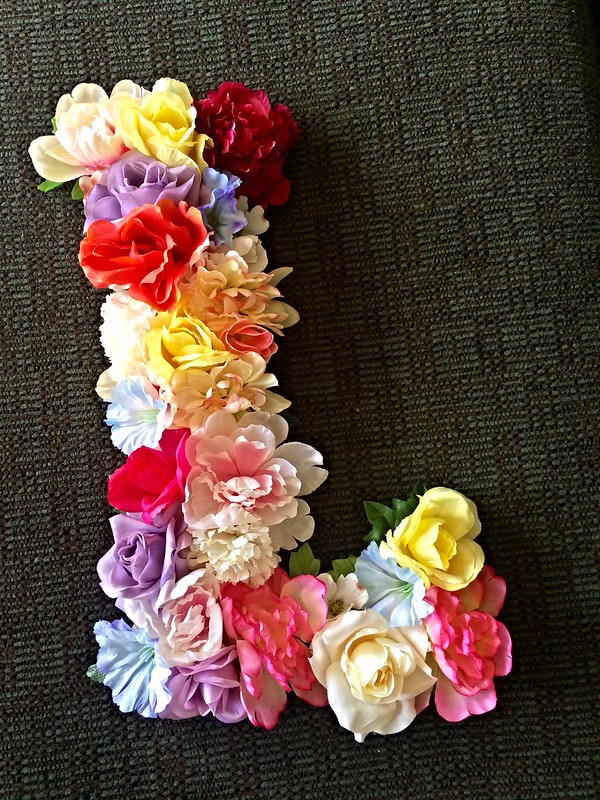
Floral Letter

I love this so much!
IMG_6121

This is a great decor piece for every room and every event! It is super simple to do, and looks lovely and impressive. I chose to use all sorts of colors, but it would also be beautiful using a solid color for the entire letter.

Materials:

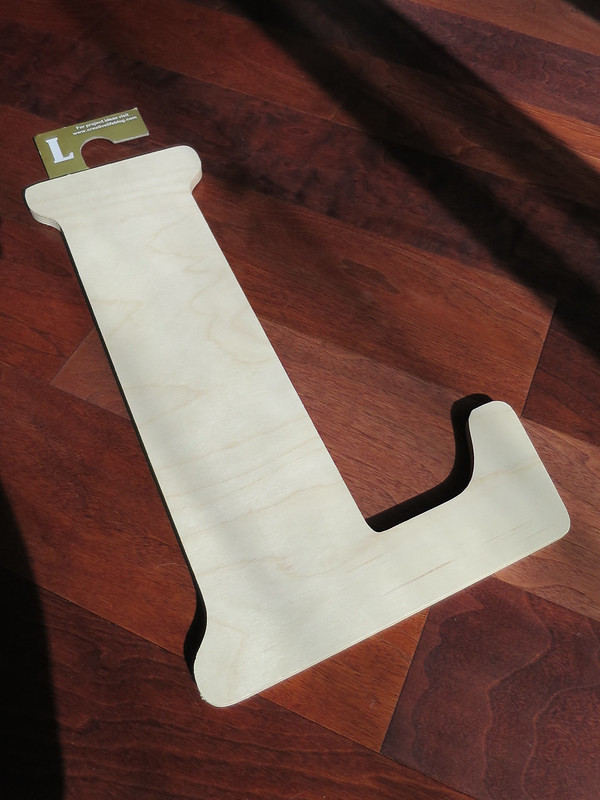
Wooden Letter
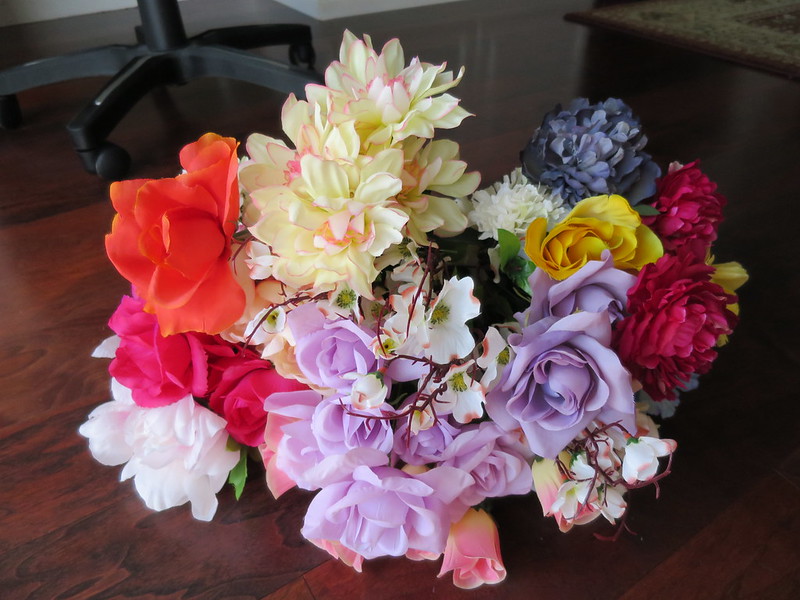
Flowers
Hot Glue
Wire Cutter
Scissors


I picked this 18" wooden letter from Hobby Lobby. With a coupon, it was $7.79 plus tax:

IMG_6116

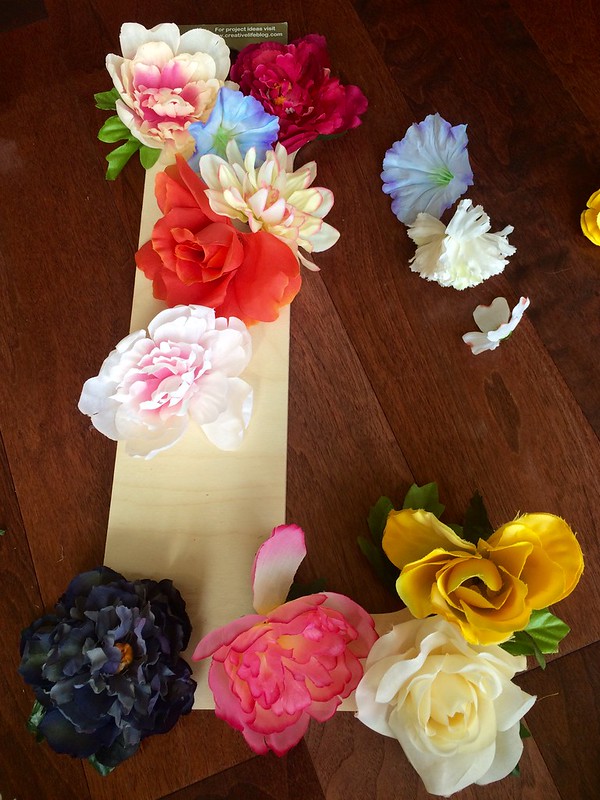
I got a bunch of flowers from the Dollar Tree. I ended up not needing so much, but I wanted an assortment of colors and different kinds of flowers:
IMG_6117

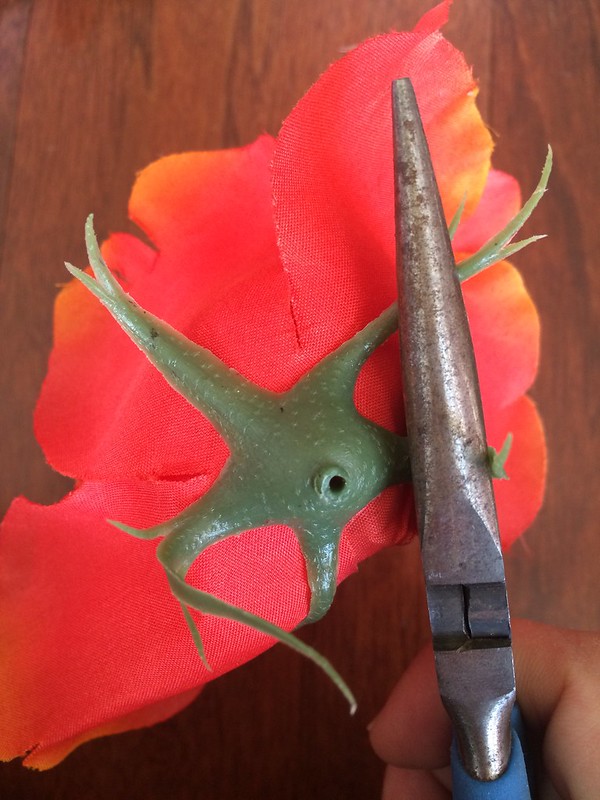
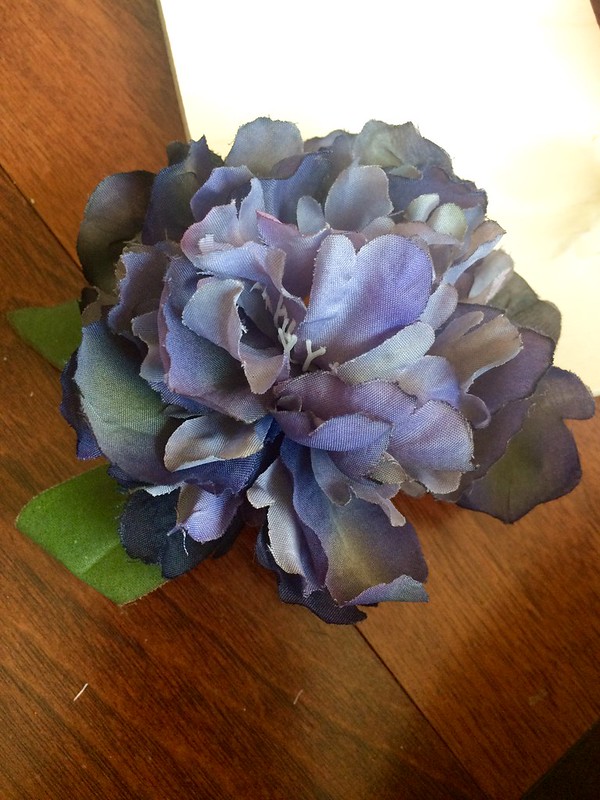
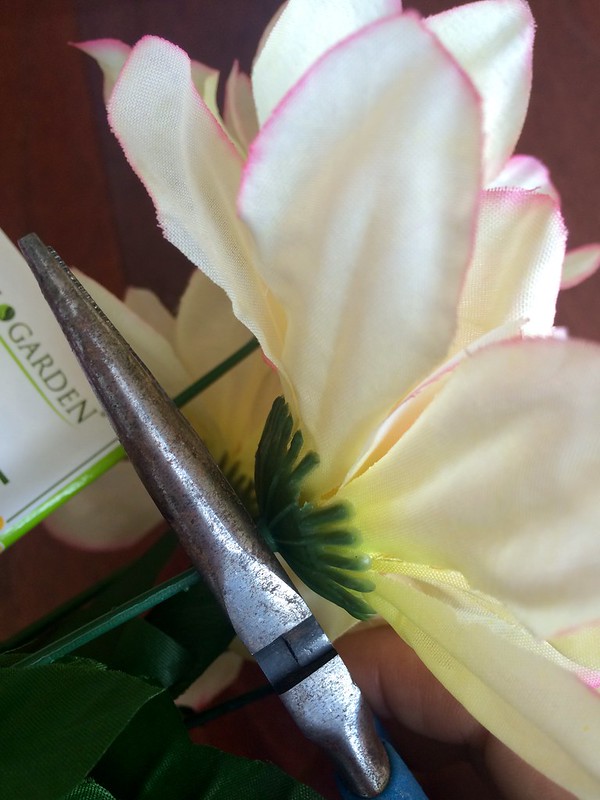
Step 1: Cut off the flowers from stems. Get as close to the base of the flower as possible. The flatter the base, the better for the glue to adhere to the letter. If the flower comes apart, it's ok because you'll be hot gluing it down anyways:
Untitled

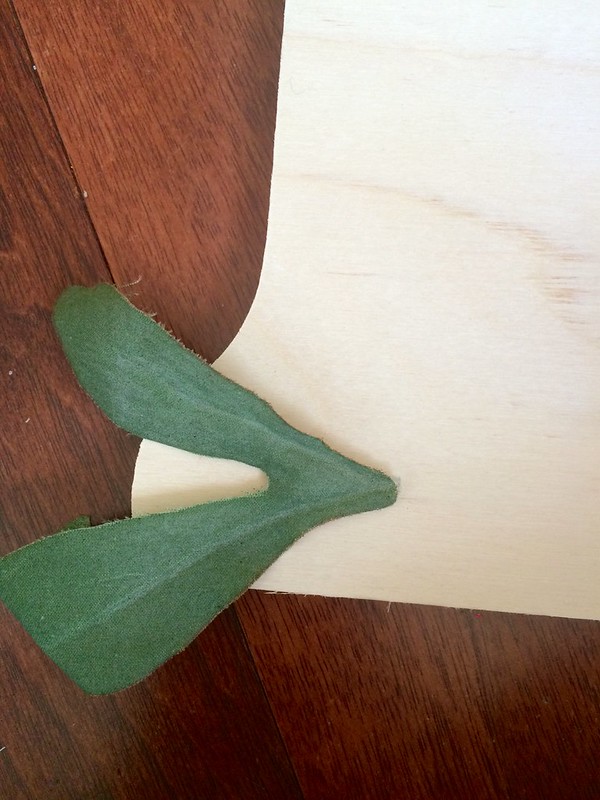
Some of my flower had these long green things...cut those of too:
Untitled

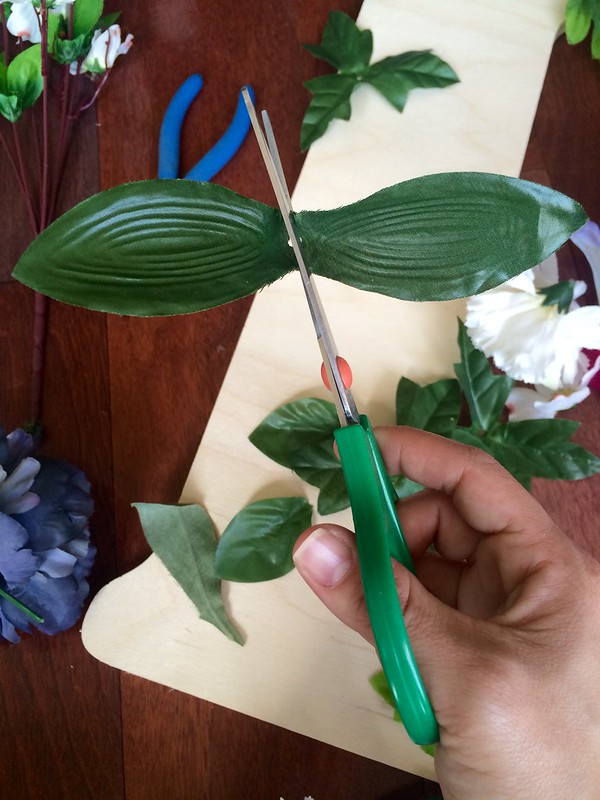
Step 2: Cut and prep the leaves. Just pull the leaves off the stems, and cut them into individual leaves:
Untitled

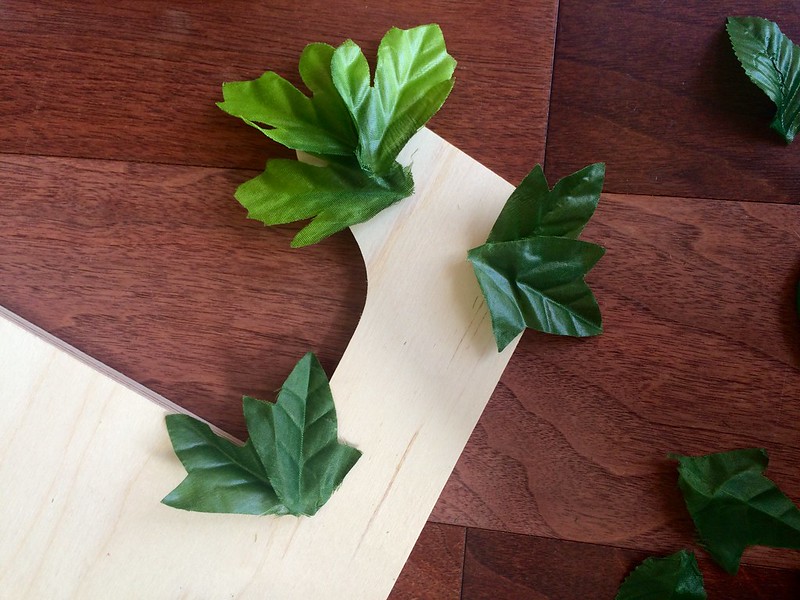
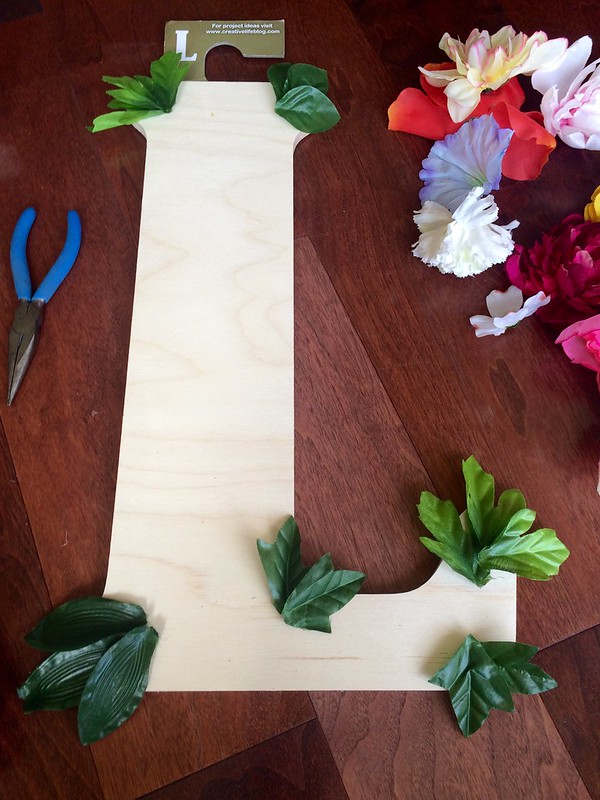
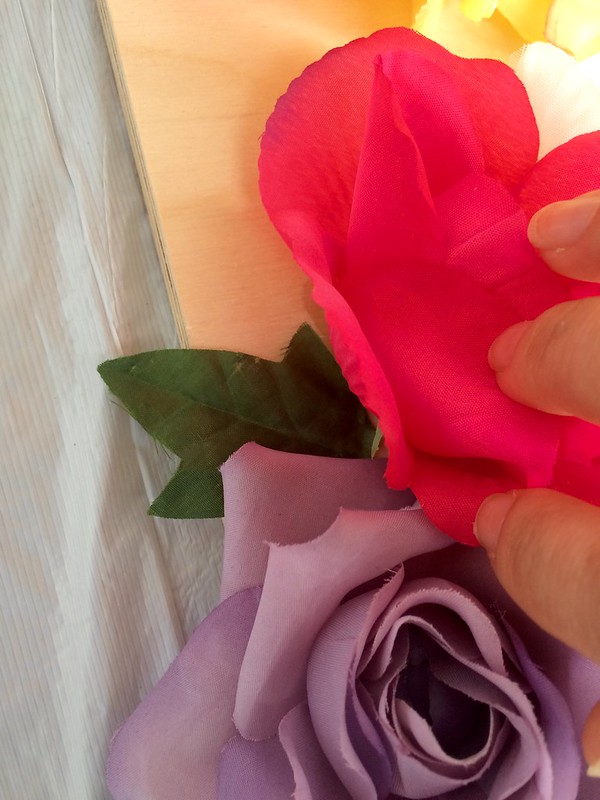
Step 3: We are going to cover the corners with the leaves:
Untitled

It will give dimension to the letter, and help make the flowers look lush as if they are falling off:
Untitled

Untitled

Untitled

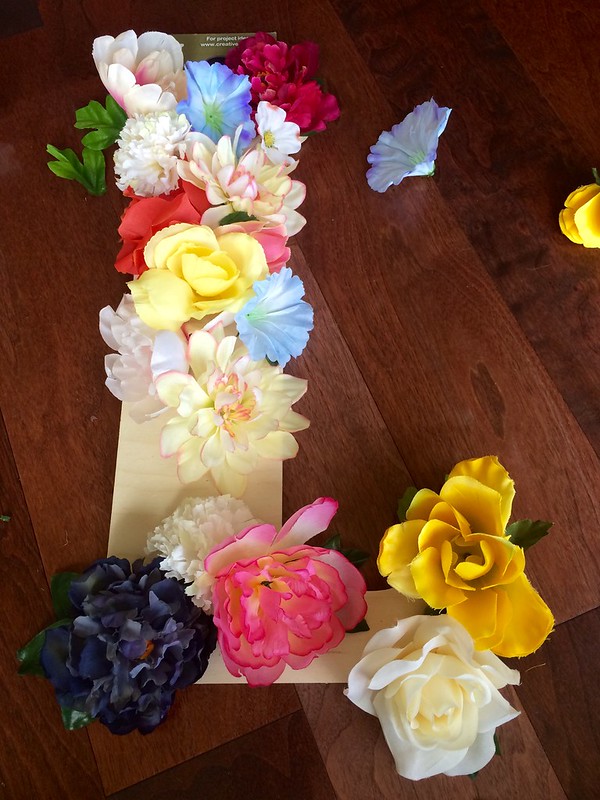
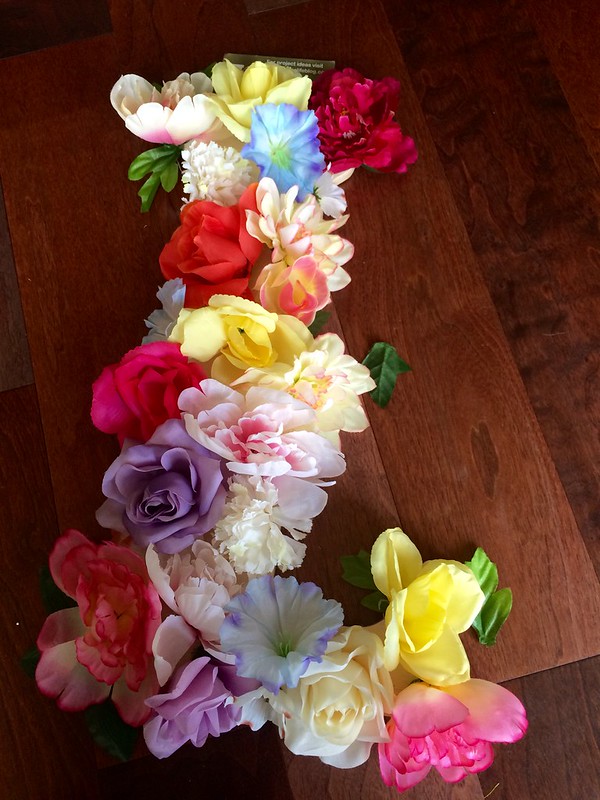
Step 4: Arrangement the flowers but don't hot glue yet!
Untitled

Get it exactly how you want it, and you might even need extra flowers later:
Untitled

Untitled

Step 5: Once you have the flowers how you want it, take a photo of it.  You'll be taking the flowers off and gluing them back on one at a time, so you will want that photo as a guide. Start by gluing the leaves and flowers at corners of the letter first. Then start filling in. Every so often, glue a leaf behind or in between flowers. There is no right or wrong...just keep gluing!
Untitled

Step 6: Every so often, take a step back and look at your progress.  If there are any gaps, fill them in with more flowers or leaves:
Untitled

It's all done and looking gorgeous. It's ready to be hung on the wall or propped on a shelf.
Good luck!
=)

May 23, 2014

Teacher's Appreciation Week

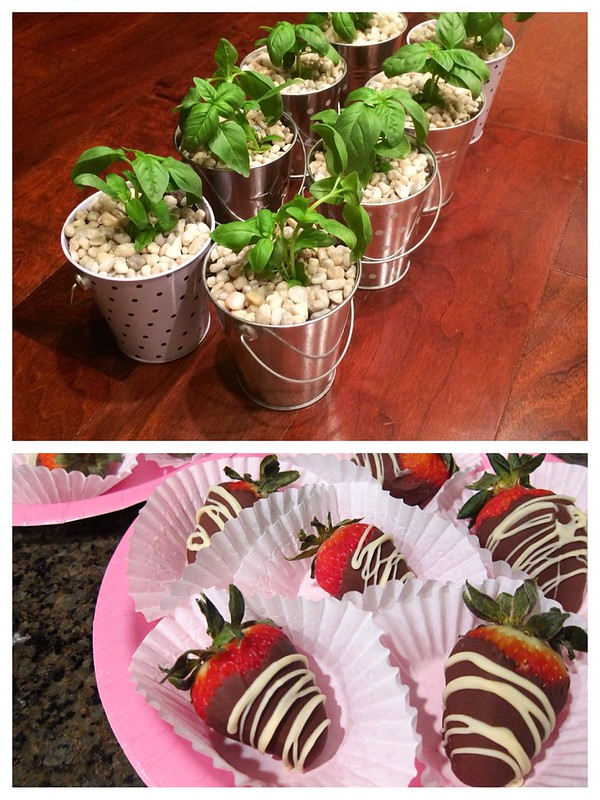
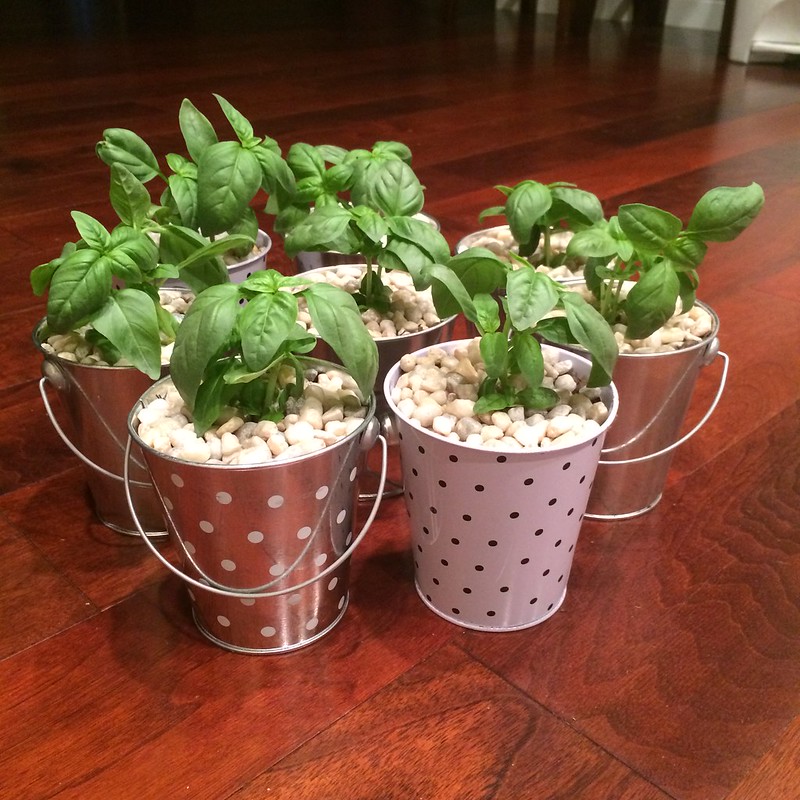
Teacher's Appreciation Week was the first week of May. In addition to Boo making homemade cards for her teachers, we also planted basil plants in metal buckets and made chocolate covered strawberries.
Untitled

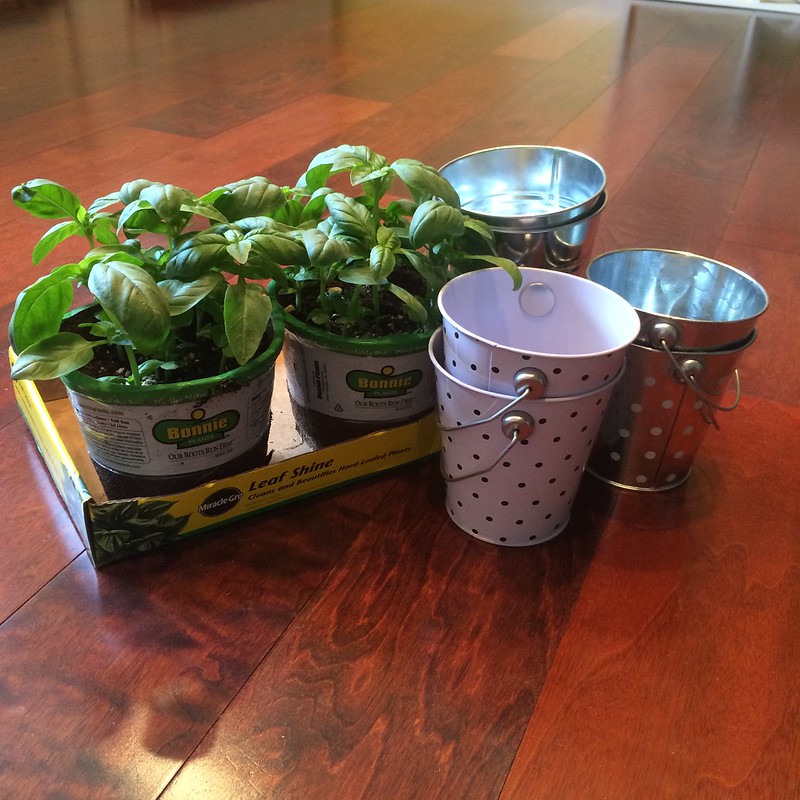
I got two potted Basil plants from Home Depot for about $3.50 each. I knew I could separate the roots and get about 4 mini plants from each. The little metal buckets are from Target at the $1 Spot:
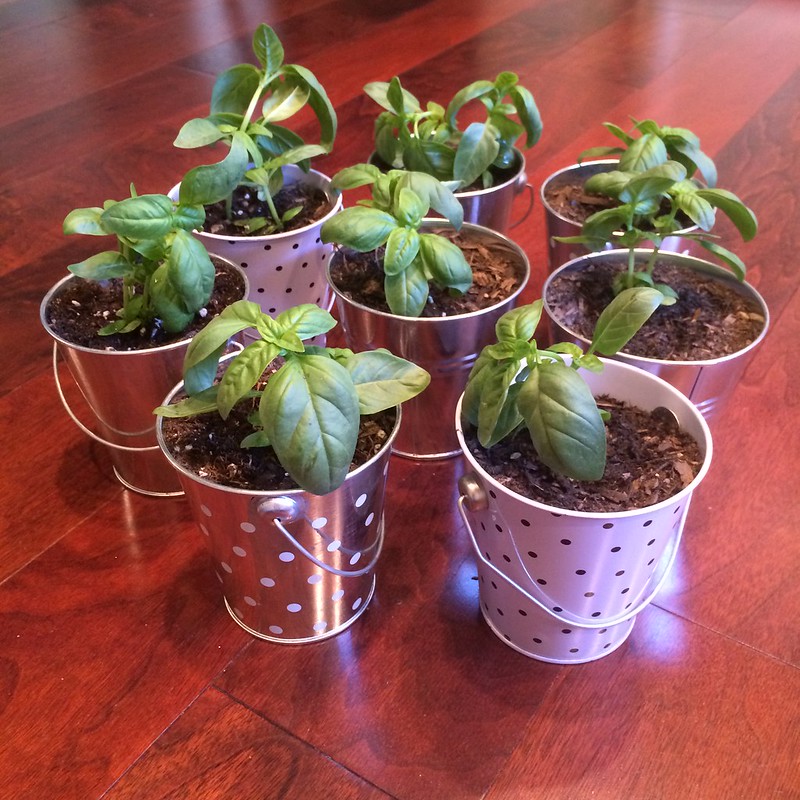
Untitled

After we planted them, I felt that they didn't look quite finished. Something was missing but I wasn't sure of what:


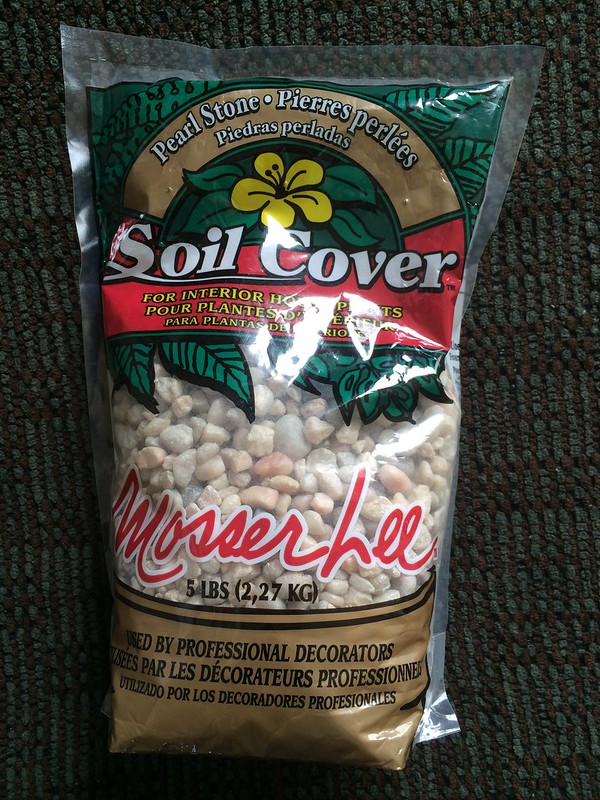
Thankfully that same day, I was with a friend who mentioned she got a bag of little pebbles from Home Depot for her flower projects. Yes, I think this was exactly what I needed! This was about $4:


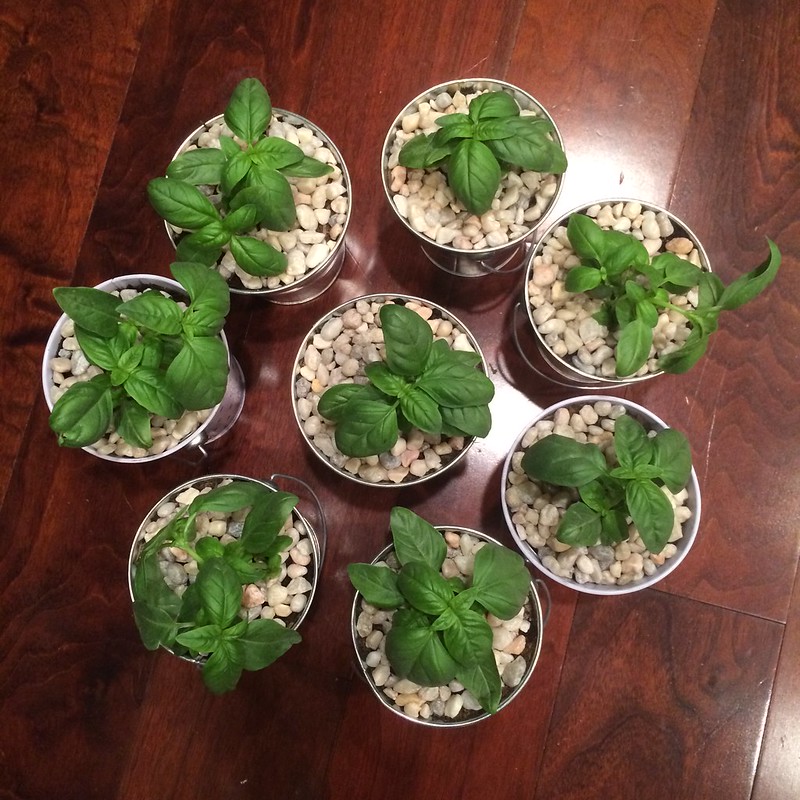
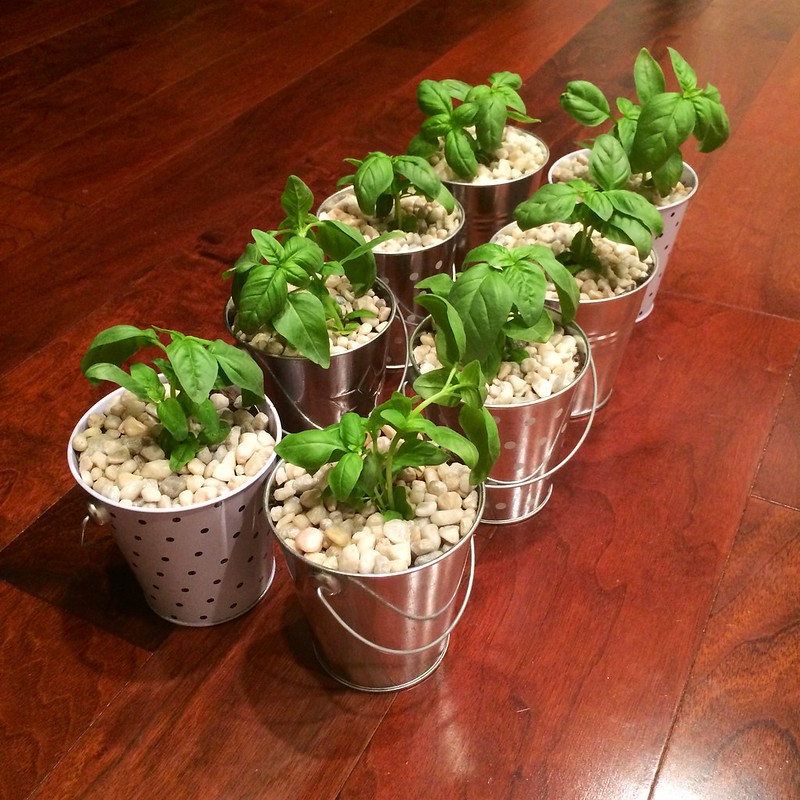
It made a huge difference:


Looks much more polished now, and I'm confidently in giving these as gifts:


Chocolate covered strawberries were so easy to make, believe it or not!

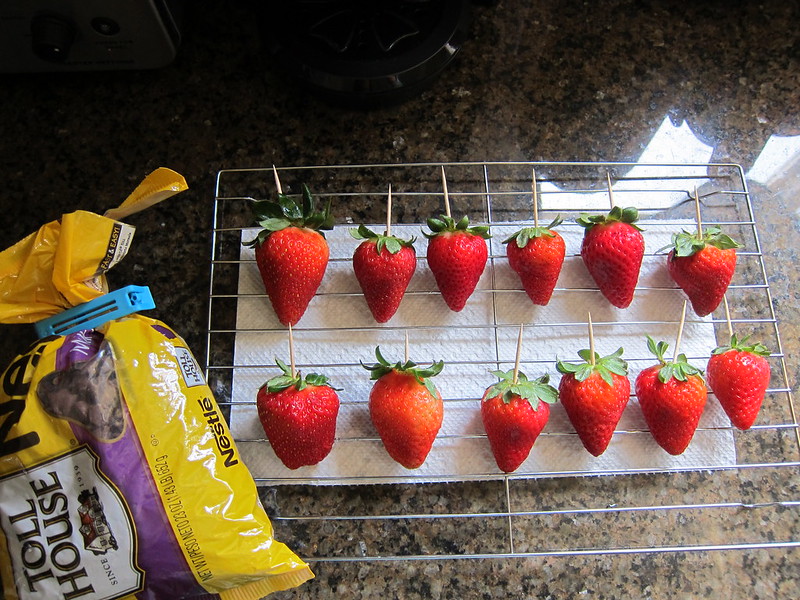
I got a box of strawberries from Costco. The first thing is to wash them and let them dry really good. Then I used toothpicks and stuck them from the top as pictured below. I placed them all on a cookie rack:
IMG_3488

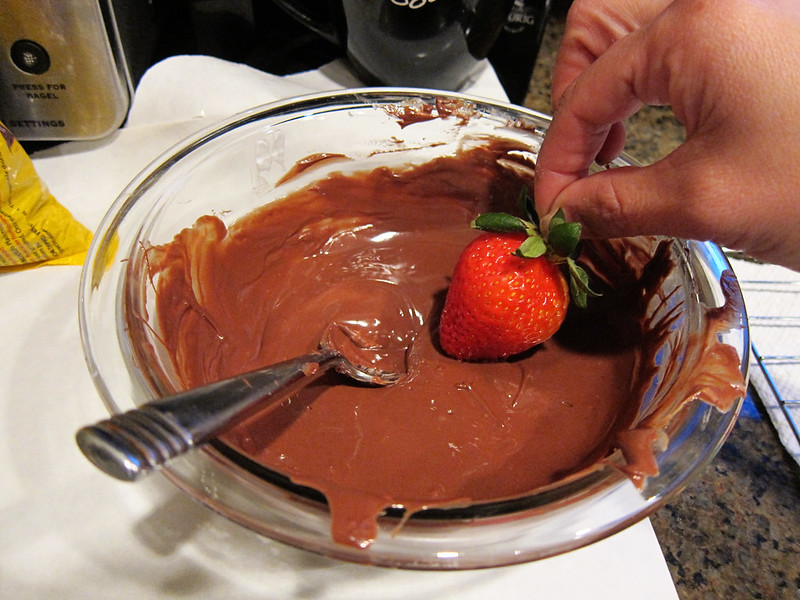
Then I took some milk chocolate chips, pour some in a glass bowl with a tablespoon or so of Crisco shortening. I melted it in the microwave in intervals of 10 seconds, taking the bowl out each time and giving it a stir, until completely melted. Don't over heat or it'll burn. Add a little bit of shortening if it's still clumpy. It should be a smooth consistency. Then I took a strawberry by the toothpick and dipped it into the chocolate at an angle. I dipped each maybe 2 to 3 times, and rotating the angle to make sure all sides are covered with chocolate:
IMG_3490

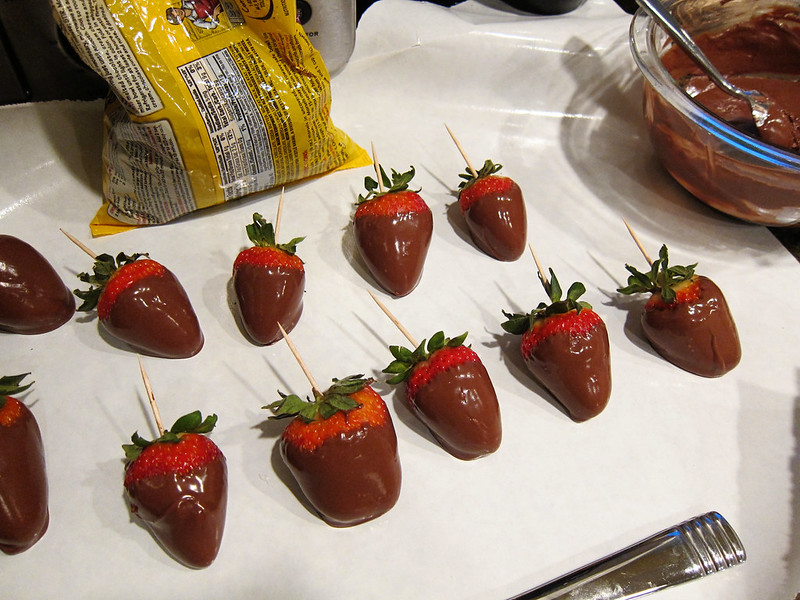
I laid the dipped strawberries on wax paper for them to set:
IMG_3491

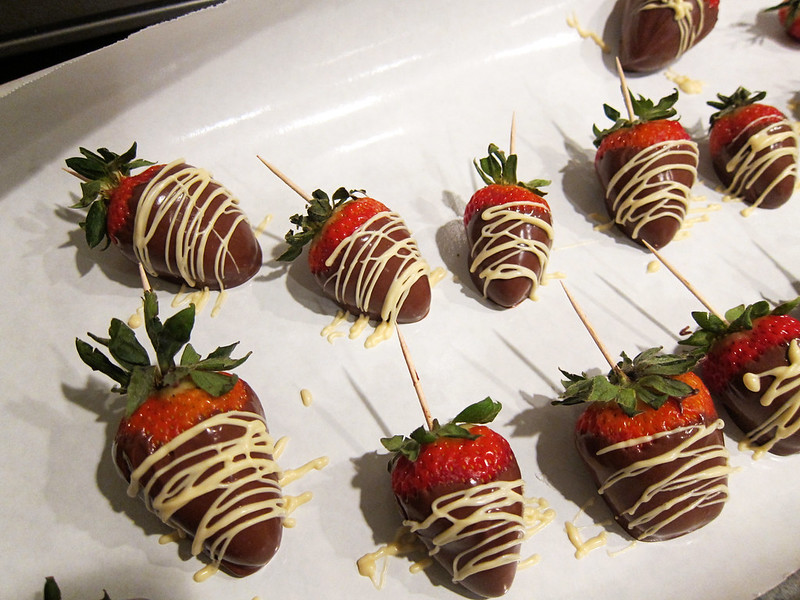
While those are cooling down, I made some melted white chocolate with the same microwave method. I poured the melted white chocolate into a zip lock bag and closed it. I cut a tiny hole at the bottom corner of the bag and piped in a zig zag motion onto the strawberries. It would be less messy if I used a pastry piping bag to do this, but oh well. This was still good and they tasted so good!
IMG_3493

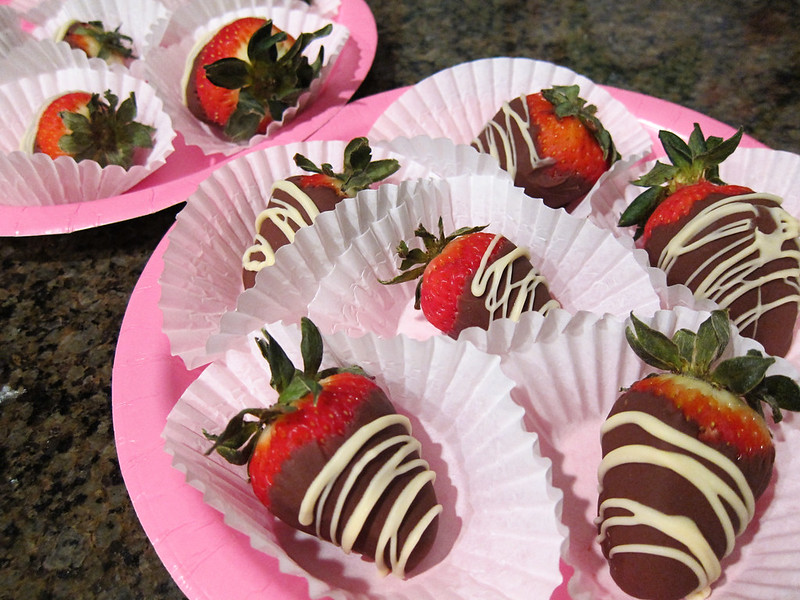
After the chocolate harden, I put each into a cupcake wrapper:
IMG_3494

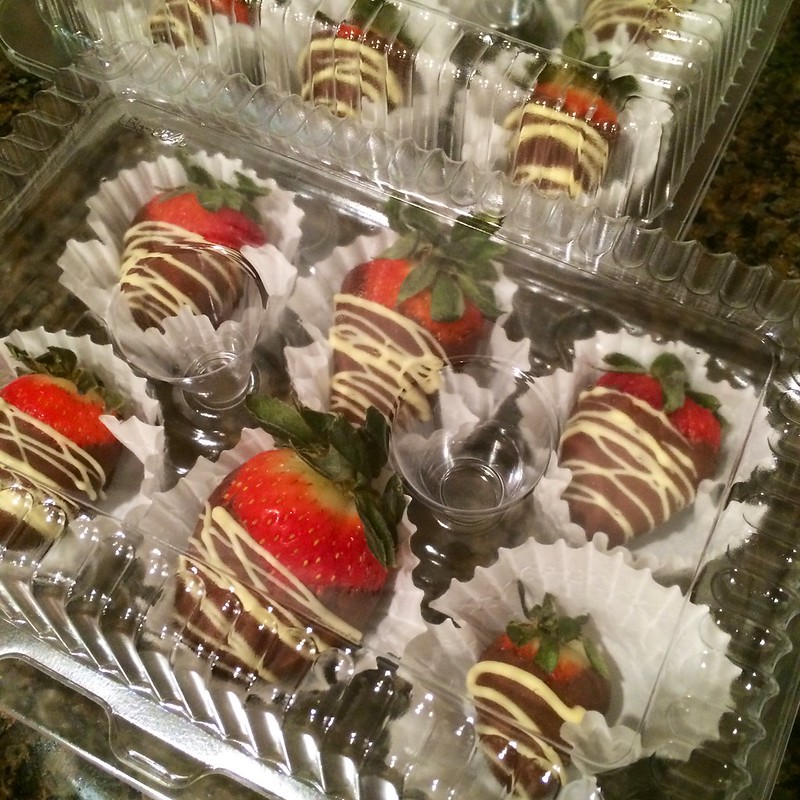
I had these clear cupcake containers, and I decided to put the strawberries inside. It worked out great, especially for transporting them:


Good luck and have fun!
=)

February 06, 2014

Homemade Valentines

Valentine's Day is coming up quick! Boo and I made these Valentine's together to give out to her friends. It's simple and affordable! I was trying to create something that does not involve candy...just because I know she will be getting a lot of candies anyways, so there's no need to add more.

Untitled

Materials:

* Tape - I chose Scotch Expressions for the color
Untitled

* Pencils - a pack of 8 in the Dollar Bins at Target
Untitled

* Large heart cutouts and a variety of stickers - I got these from JoAnn's on sale. The cutouts were 9 in a pack for about $2.
Untitled

* Glitter glue - available at the Dollar Tree and 99 Cent stores

* Marker/Crayon - to have your child write their name on the back


Directions:
It's pretty self-explanatory, but first, I had Boo write her name on the backs of each heart cutout. Then she decorated the front of the heart with foam stickers:

Untitled

We taped a pencil on the back:
Untitled

Then I used glitter glue to make polka dots:
Untitled

Done!

Good luck and have a lovely Valentine's Day with your loved ones!
=)