Showing posts with label Wedding. Show all posts

March 19, 2015

Floral Letter

I love this so much!
IMG_6121

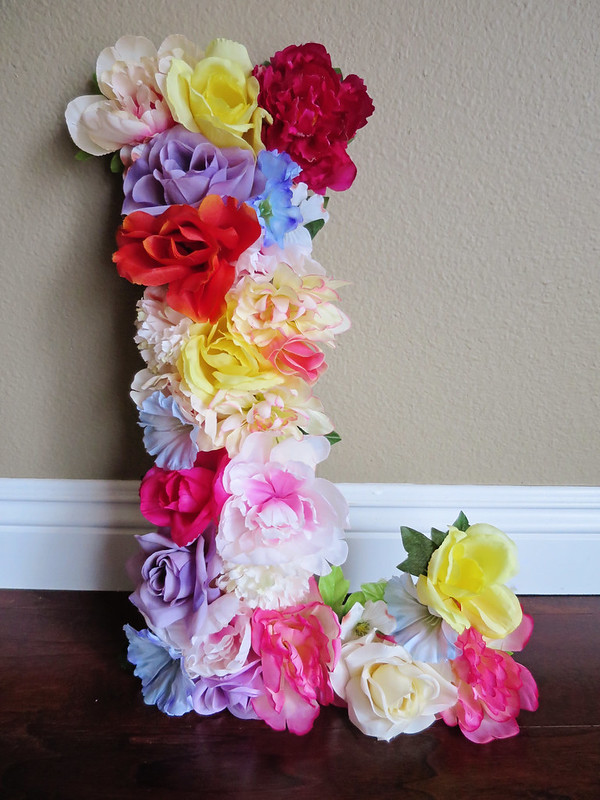
This is a great decor piece for every room and every event! It is super simple to do, and looks lovely and impressive. I chose to use all sorts of colors, but it would also be beautiful using a solid color for the entire letter.

Materials:

Wooden Letter
Flowers
Hot Glue
Wire Cutter
Scissors


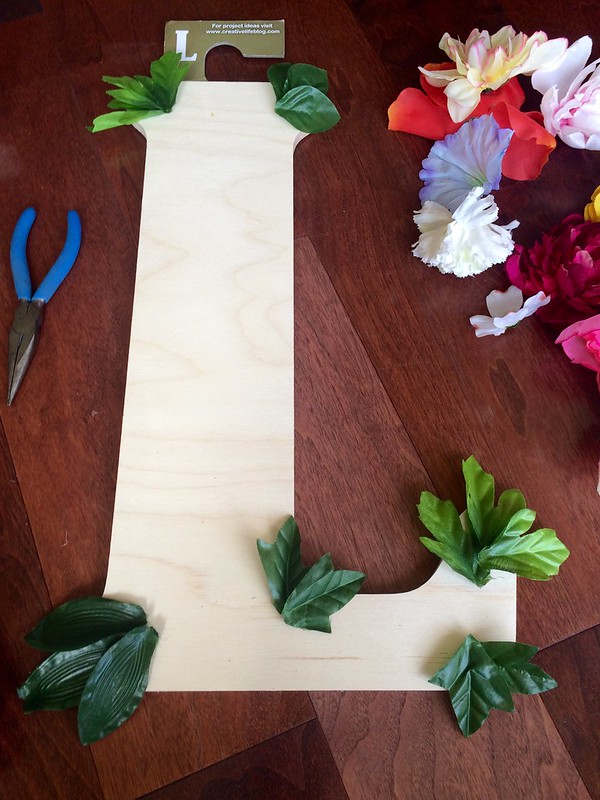
I picked this 18" wooden letter from Hobby Lobby. With a coupon, it was $7.79 plus tax:
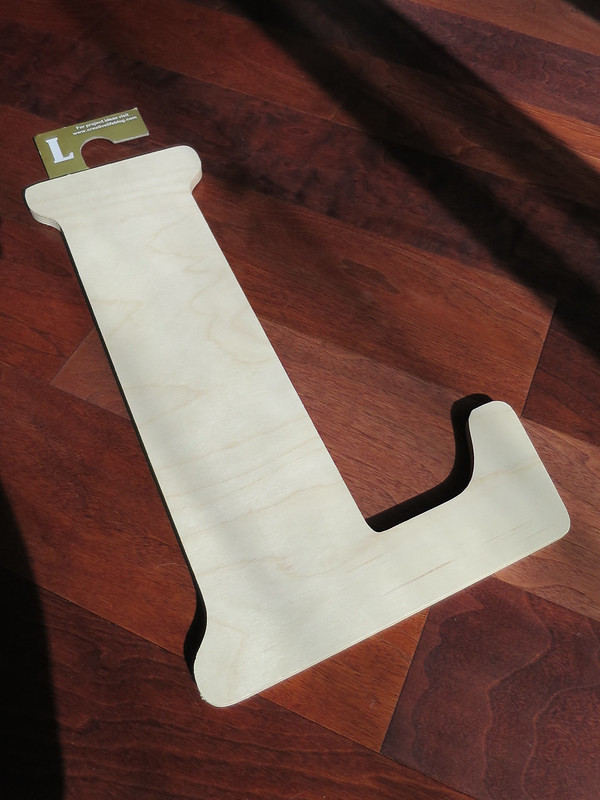
IMG_6116

I got a bunch of flowers from the Dollar Tree. I ended up not needing so much, but I wanted an assortment of colors and different kinds of flowers:
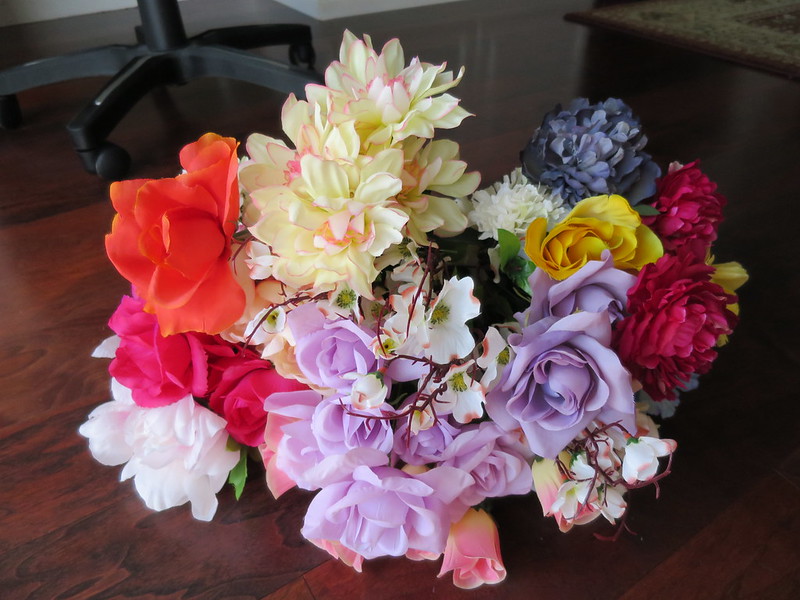
IMG_6117

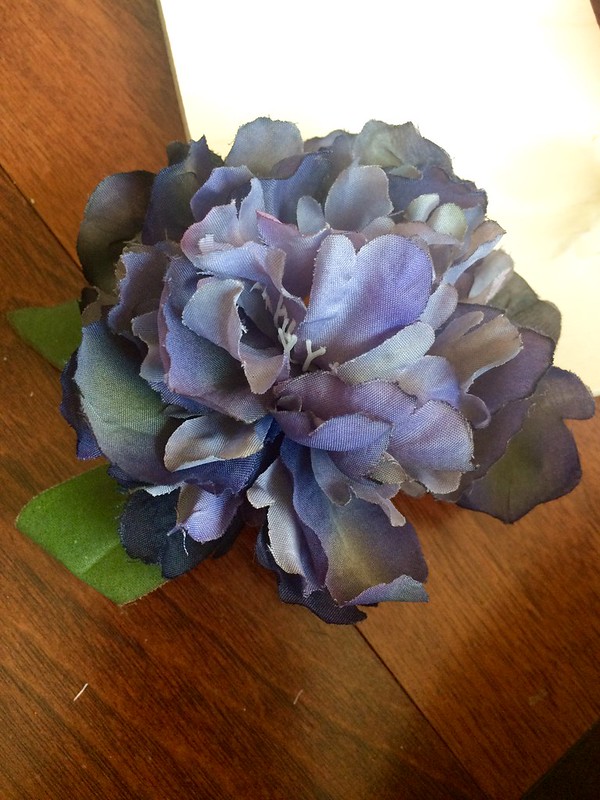
Step 1: Cut off the flowers from stems. Get as close to the base of the flower as possible. The flatter the base, the better for the glue to adhere to the letter. If the flower comes apart, it's ok because you'll be hot gluing it down anyways:
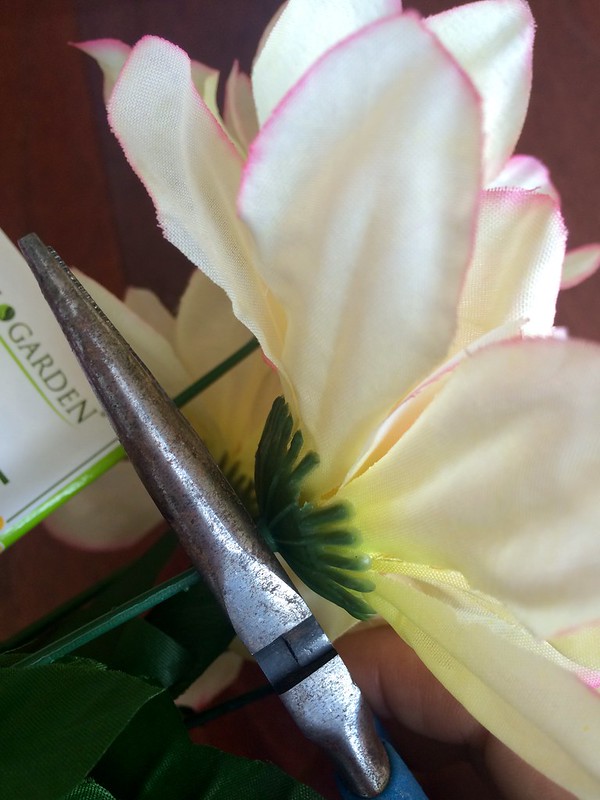
Untitled

Some of my flower had these long green things...cut those of too:
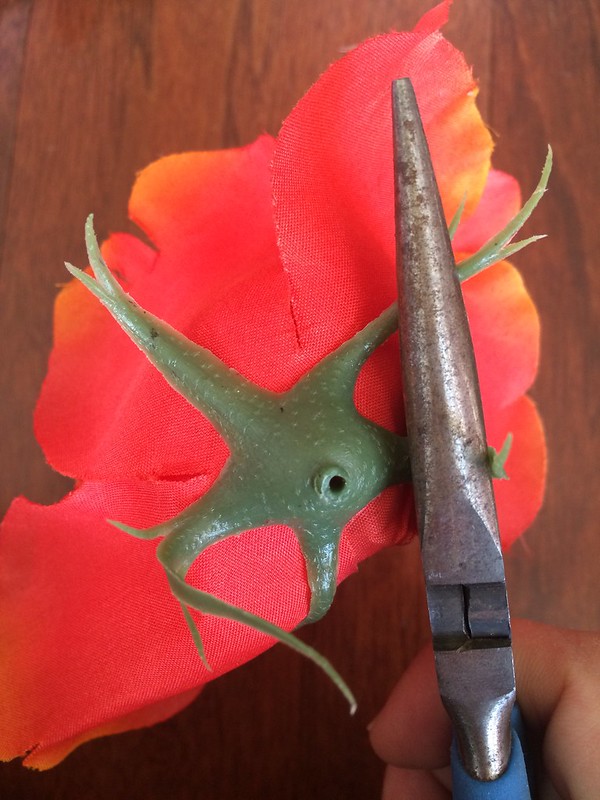
Untitled

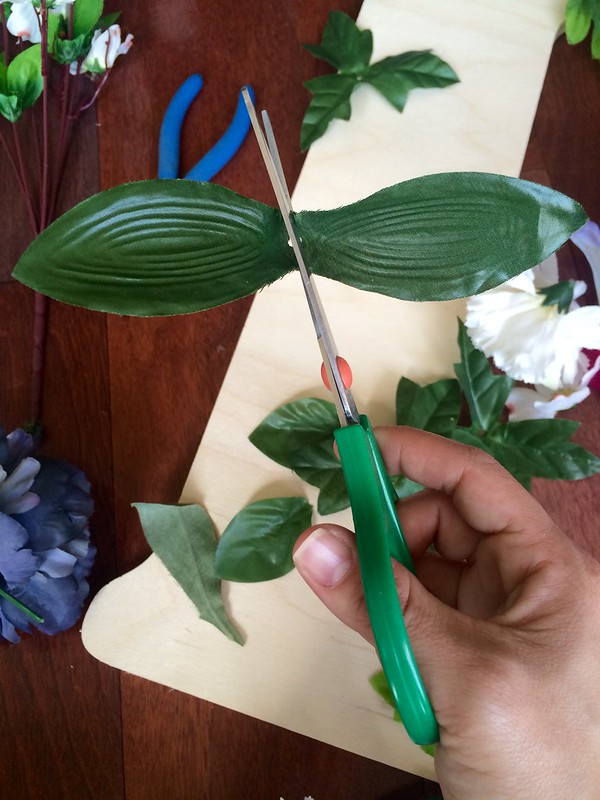
Step 2: Cut and prep the leaves. Just pull the leaves off the stems, and cut them into individual leaves:
Untitled

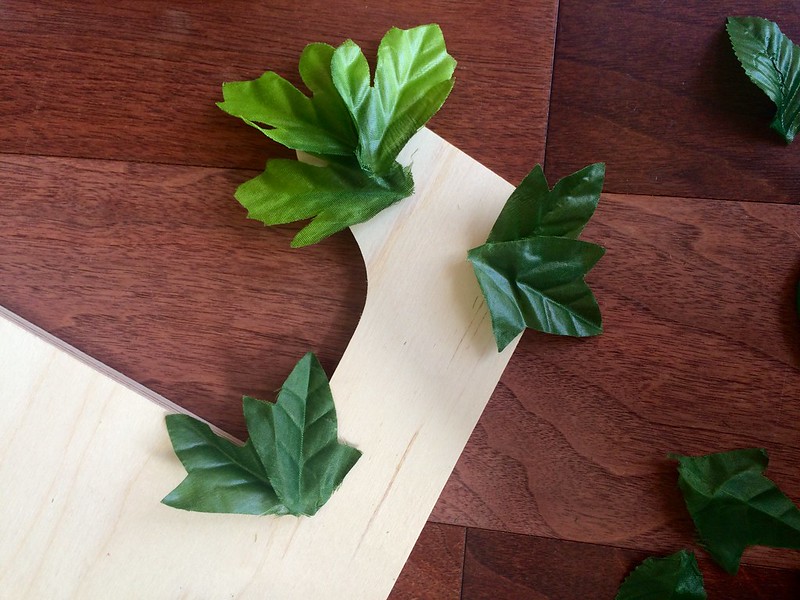
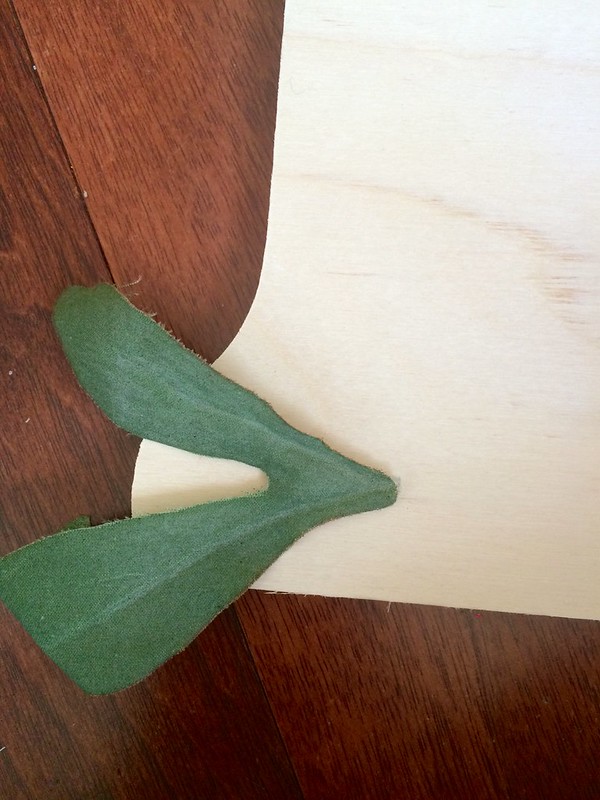
Step 3: We are going to cover the corners with the leaves:
Untitled

It will give dimension to the letter, and help make the flowers look lush as if they are falling off:
Untitled

Untitled

Untitled

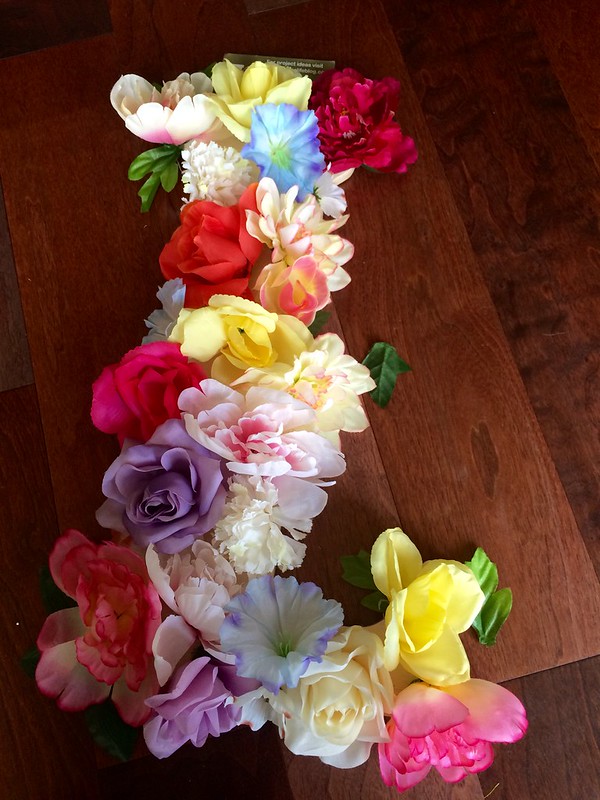
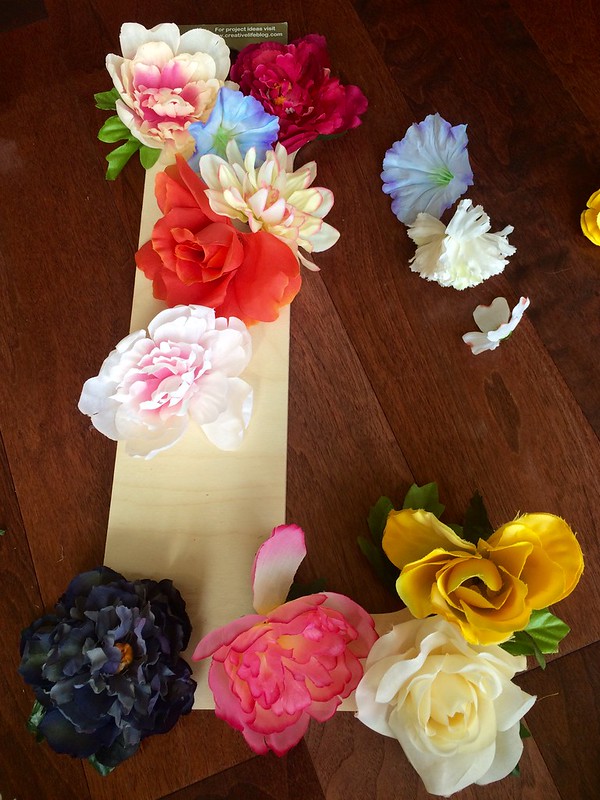
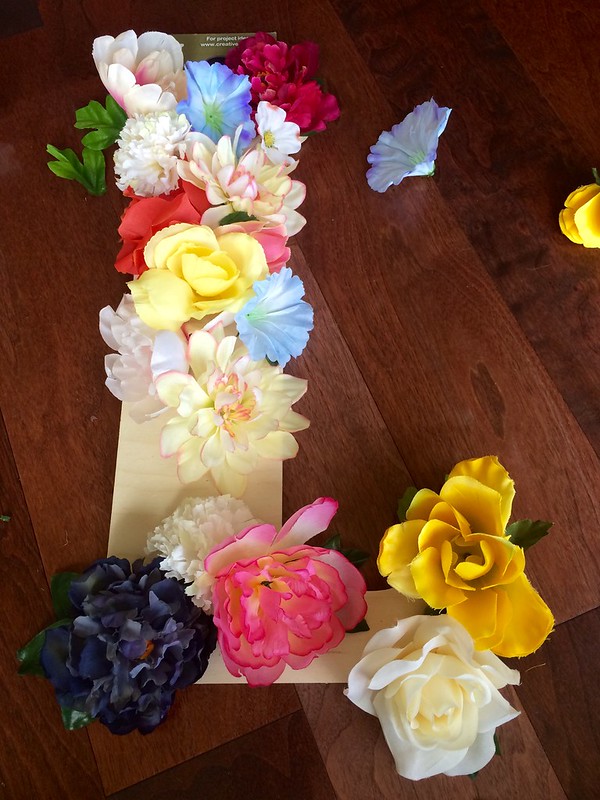
Step 4: Arrangement the flowers but don't hot glue yet!
Untitled

Get it exactly how you want it, and you might even need extra flowers later:
Untitled

Untitled

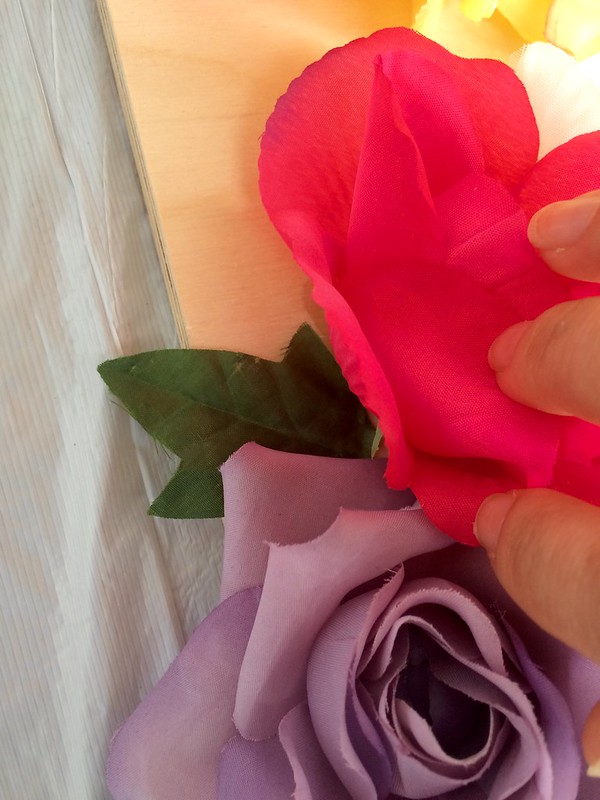
Step 5: Once you have the flowers how you want it, take a photo of it.  You'll be taking the flowers off and gluing them back on one at a time, so you will want that photo as a guide. Start by gluing the leaves and flowers at corners of the letter first. Then start filling in. Every so often, glue a leaf behind or in between flowers. There is no right or wrong...just keep gluing!
Untitled

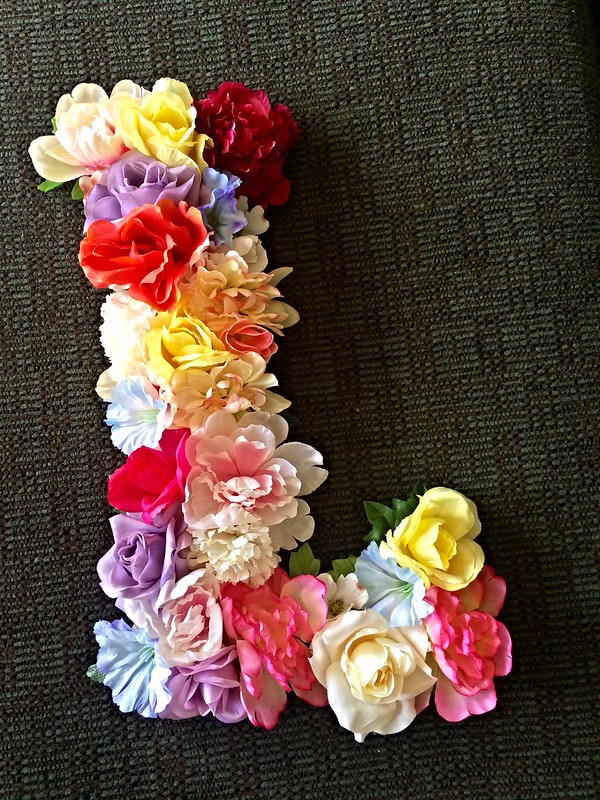
Step 6: Every so often, take a step back and look at your progress.  If there are any gaps, fill them in with more flowers or leaves:
Untitled

It's all done and looking gorgeous. It's ready to be hung on the wall or propped on a shelf.
Good luck!
=)

November 03, 2010

Bridal Shower Invitation & More

I co-hosted my sister in law's bridal shower and made these invitations. I had gone to a Bridal Bazaar convention with her, and she pointed out an invitation design she really liked.  I made a mental note, and when it was time for her shower, I knew exactly what I needed to do.  These are very similar to the ones at the convention. It was created with Microsoft Word.  I found scrolly spiral designs, and cropped them to my liking.  It was printed on white linen cardstock (this is my all time favorite, go-to paper for everything). I layered a navy cardstock, topped with a shimmer yellow, and then the white linen.

I think they turned out fabulous:

For her wedding, we made these place cards.  At Michael's, we purchased a flower paper punch and adhesive pearls. Worked like a charm and was simple to do!:

November 01, 2010

Wedding Planner/Coordinator

I was a wedding planner and coordinator for another friend of mine. Everything was beautiful.  I made the engagement party invite:

And for some unknown reason, I was really into peacocks back then. So I decided to add this image inside:

I made their Save the Date cards too.  I saw something similar online and immediately thought of them.  I love the rounded corners and how the ribbon was tied.  You will have to excuse the bad ribbon cut - it was a prototype.  The groom chose the font with the hearts. I just so happened to have a heart paper punch to match:


I helped setup the wedding reception:

The bride's aunt made the name cards but as soon as I saw the gorgeous round urn in the middle of the hall on the round table...I just had to have the name cards like this:

 I quickly became the chair bow-tying master. ;)

Wedding Invitation Booklet

A few years ago, my friend wanted to me help her make her wedding invites.  I had made my own when I was planning my wedding, and my friend liked them so much she wanted something similar.  I was so honored! I truly loved them.  We both had our weddings in a tourist spot, so a booklet invite was a perfect idea.

This is the front.  It is 5" x 7". My friend found a flower design she liked, and I embossed it (with the heat gun) and their monogram on the red thick cardstock.  I two-hole punched one side and hammered in the grommets.  Then I threaded the ribbon through:


The inside pages were shimmer cardstock.  Because of the shimmer, the paper was slick, and the ink would smear when touched.  So I went to Michael's to find a solution.  The fixative spray was a life saver! I sprayed two light coats and the ink was preserved.  I also created pages for a map, hotel information and thank you note.  For my own invites, I used postcards as RSVPs, and they were attached on the page with photo corner stickers.


I made her matching ceremony programs (but she and the bridal party assembled them):

Matching Thank-you cards - the front:

The back: