Showing posts with label Clothing. Show all posts

June 16, 2015

Strawberry Shortcake Gymnastics Themed Birthday Party!

My boo turned SIX years old!
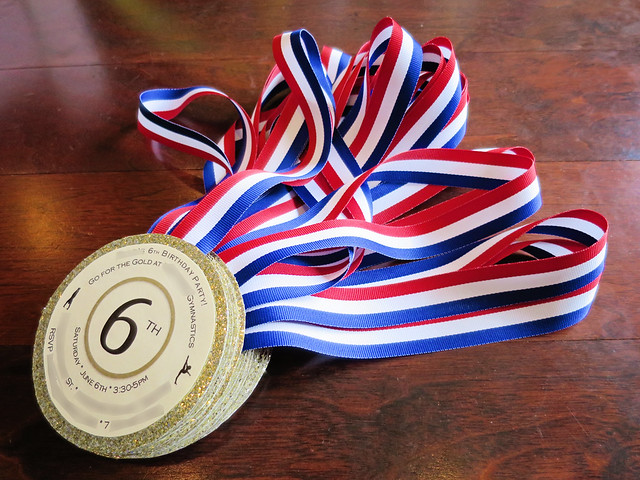
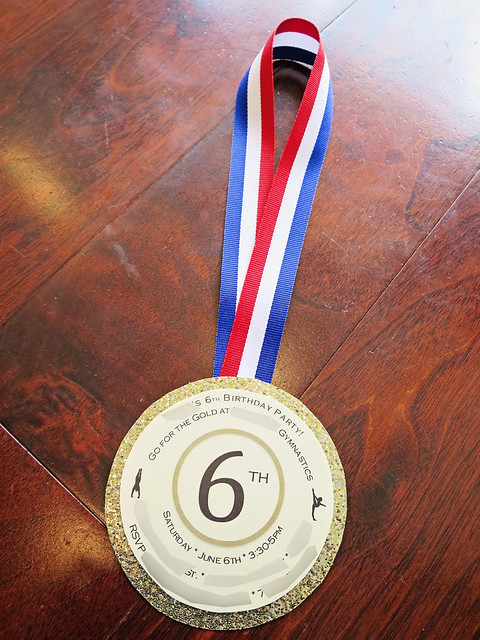
She wanted a gymnastics party. I was whacking my brain on how to make the invitations. All of a sudden, a light bulb went off - gymnastics...Olympics...gold medal! I love how they turned out:
IMG_6685B

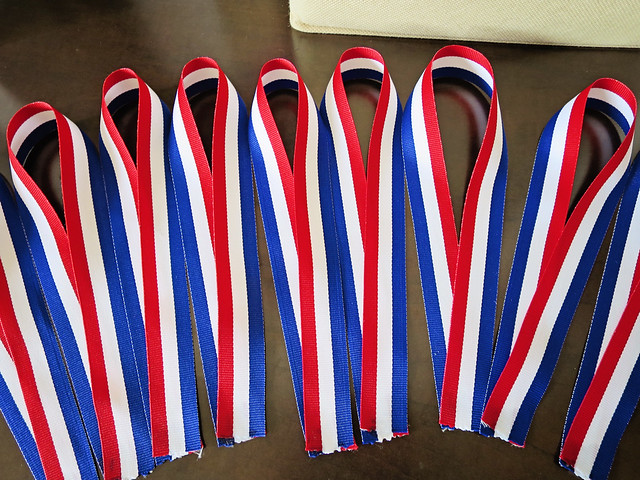
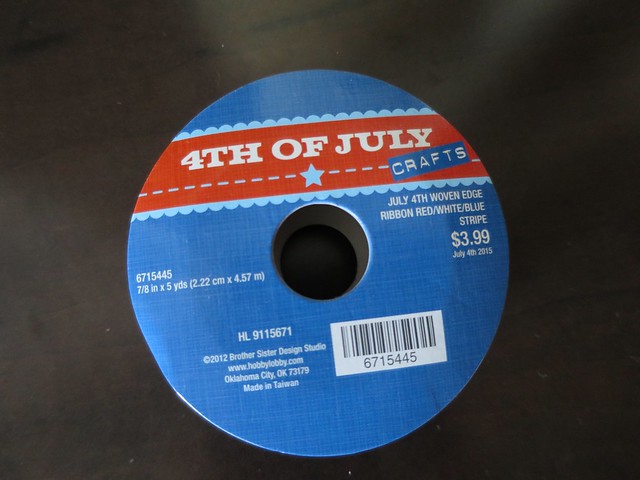
I got a few rolls of this Red, white & blue ribbon from Hobby Lobby:
IMG_6679

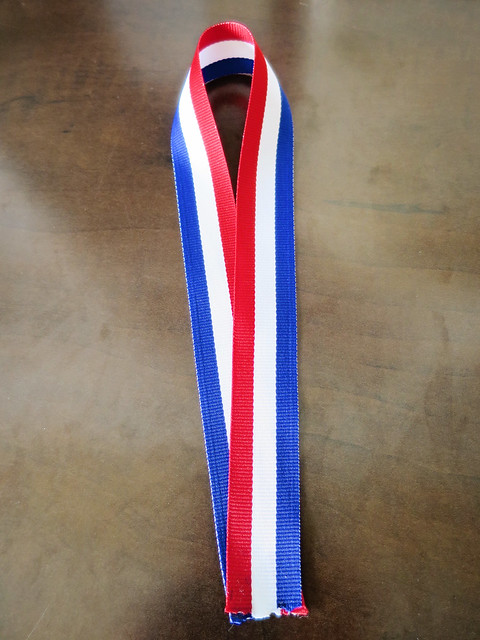
I cut off a strip and used fabric glue to secure the end:
IMG_6677


IMG_6678

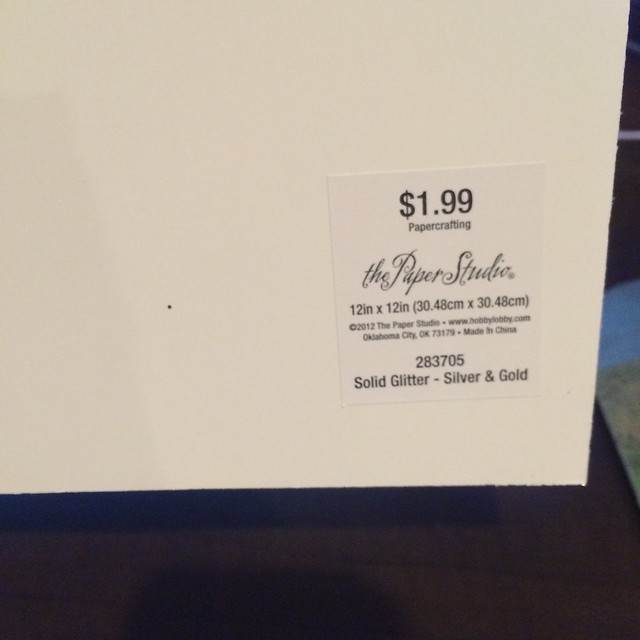
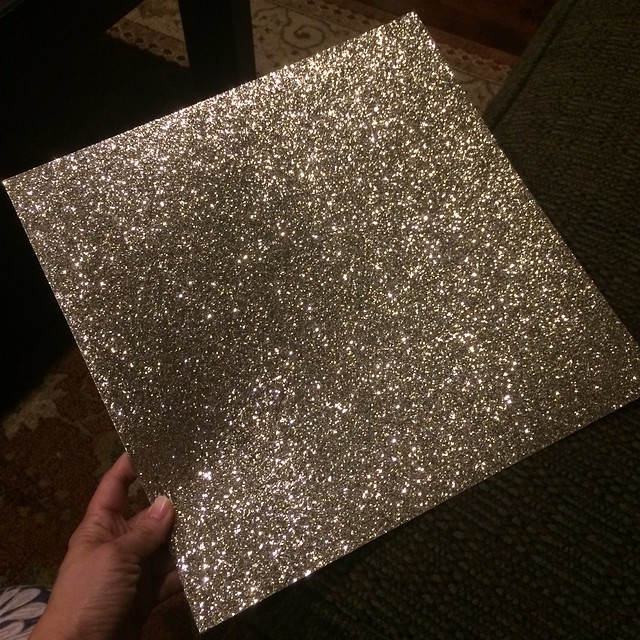
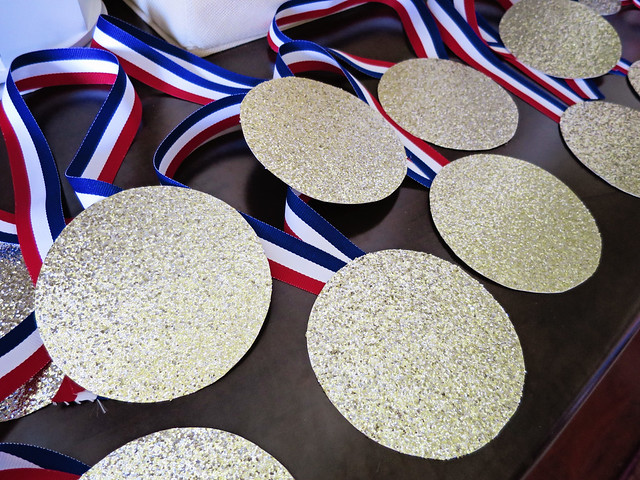
I cut out 3.75 inch circles out of this glitter paper from Hobby Lobby:
Untitled

Untitled

And super glued the ribbon on the back of the circles:
IMG_6675

I designed the wording and printed it on pale yellow cardstock. I cut them out into circles and superglued them on top of the glitter circles. Make sure they are smaller so the glitter creates a border:
IMG_6684B

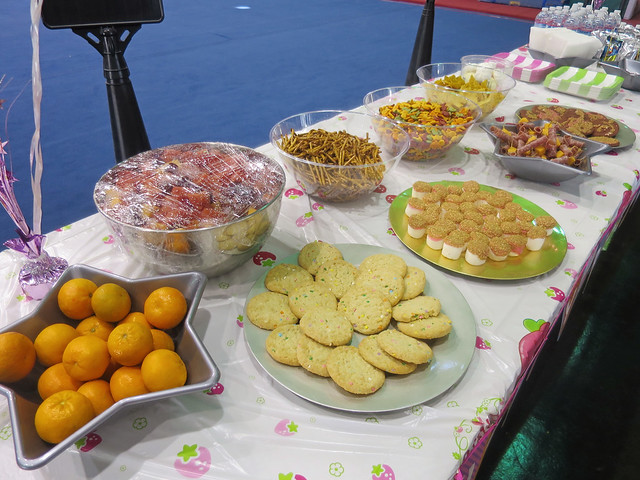
For party foods, these are my staples (not in the picture is the Chik Fil A chicken nugget platter):
On the gold plate are  jumbo marshmallows dipped in icing and in gold sprinkles.
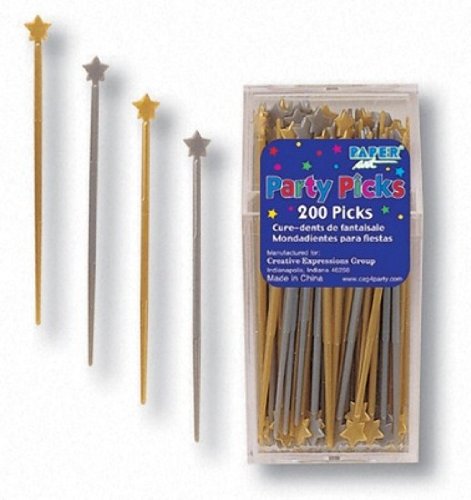
In the silver star bowl are rolled up salami and cheese cubes on a gold star pick.
IMG_6966

I just used the gold stars to fit the party theme...kind of perfect, right? =)
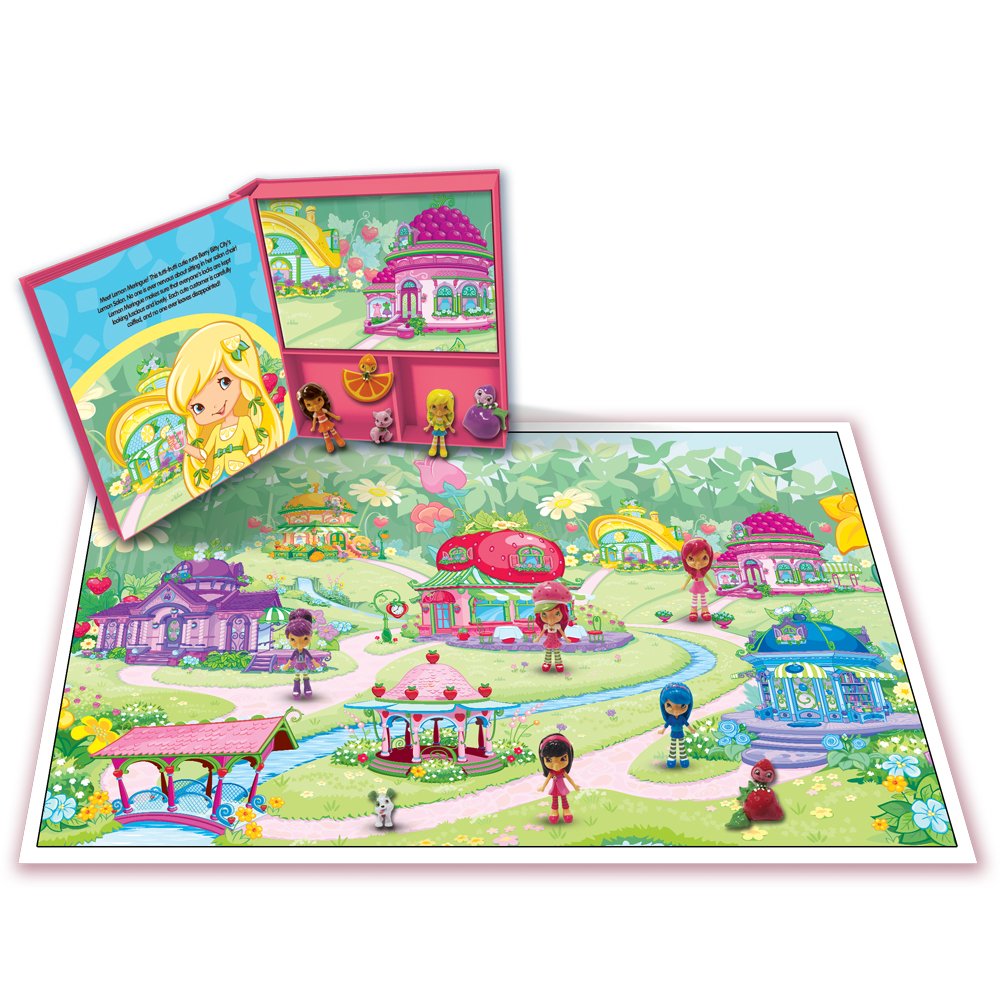
Cake time! This year, Miss Sugar wanted an ice cream cake. Which meant I would not be able to make her cake like I do every year.  I was kind of sad, but it was easier and less stressful this way. She picked out the coordinating Strawberry Shortcake ice cream cake from Baskin Robbins. We bought all the little figurines and she loved them. It's actually a busy book set that came with the toys, and they were exactly what we wanted:
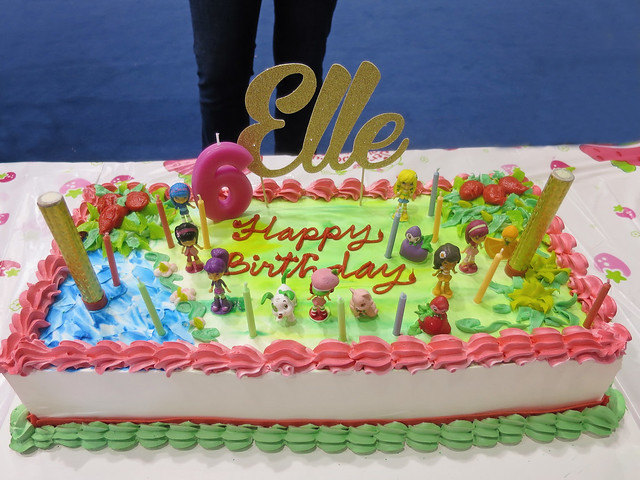
IMG_6976


I recently discovered Big Birthday Cake Sparkler Candles. You can get them from Amazon but I got the same thing on Ebay because of the quicker shipping.  I'm getting these candles for every birthday from now on! The "Elle" custom glitter cake topper is from HomemadeXOjules at etsy.com. It is even more gorgeous in person!
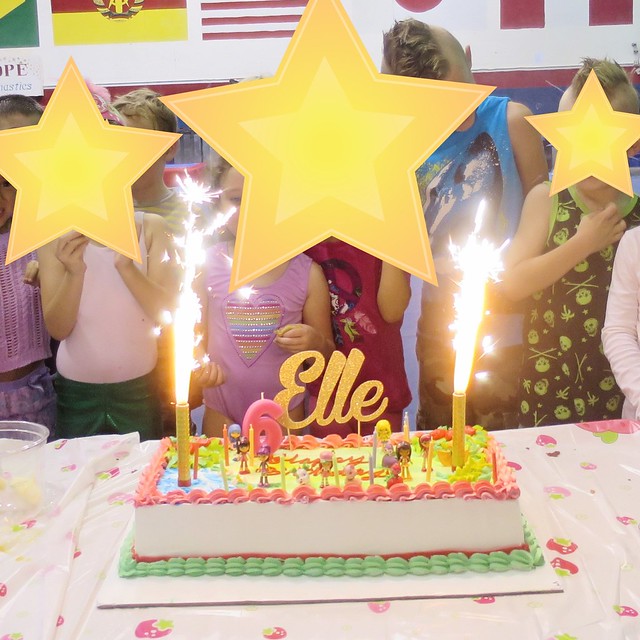
IMG_6986

The sparkle custom green gymnastics shorts (for the Strawberry Shortcake colors) is from CathyKelly2 at etys.com. Super fast turnaround time, and A+ on communication as I requested a color that she did not make available at that time. She made it the day we spoke and shipped it out the very next day:
IMG_6993

And lastly, something that is Pinterest-inspired! I drew this with sidewalk chalk in my backyard. <3
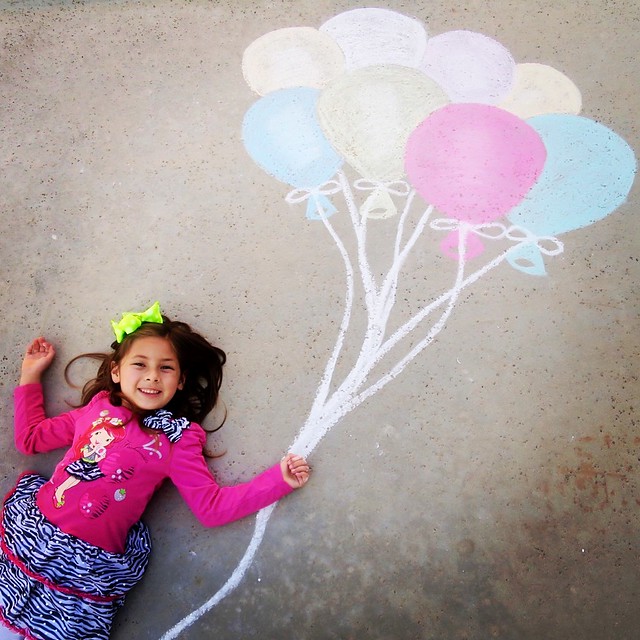
Untitled

Happy Birthday, Boo! I love you.
March 07, 2013

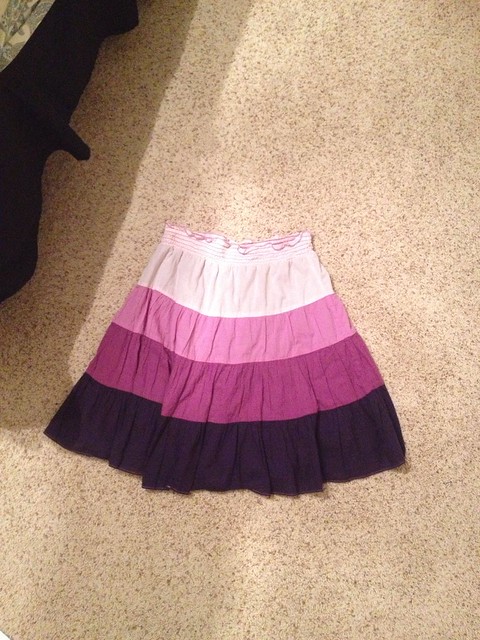
Transforming A Skirt

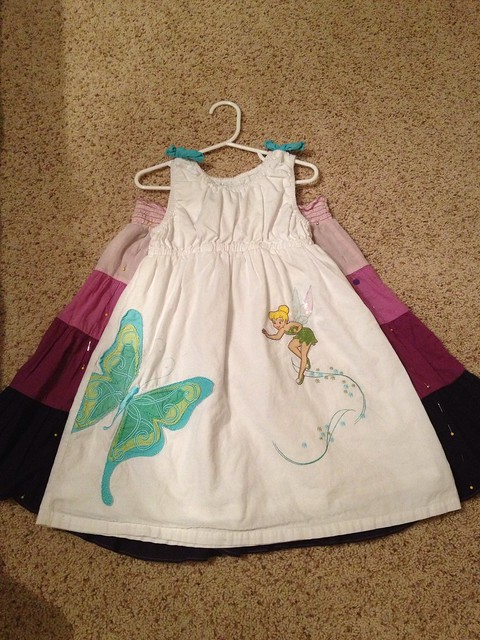
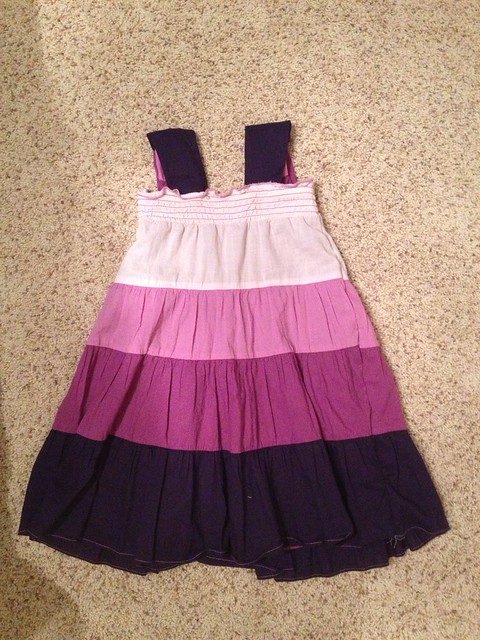
I transformed my old skirt into a "new" dress for Boo!

Find an existing dress with a cut and style you like, and lay it on top of your skirt. 
Draw or eyeball the sides of the dress. Pin along the line, with a 3/4 to 1 inch allowance:
 

Sew on along the lines that you just pinned with a straight stitch.  I used a 3.5 stitch length on my sewing machine.
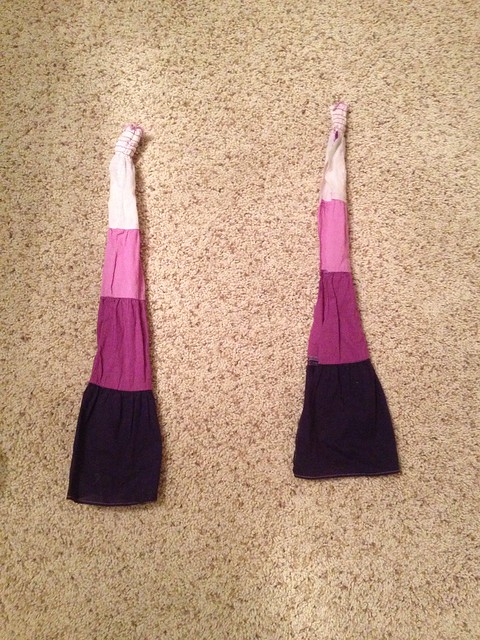
Then cut the sides as close to the stitch as possible. Save the fabric to use for the straps of the dress!
Turn the dress inside out, and sew along the sides again, enclosing the raw edge inside. I believe this is called a French Seam, and I used this technique often. Click here for more photos and details.

Measure the length of the straps needed, add 3/4 to 1 inch allowance on the tops and bottoms, and cut. Turn each strap inside out, and decide whether to cut the straps into equal widths or leave them tapered as they are. 
Then sew or serge on the long sides:


Turn the straps right side out, sew or serge the ends of the straps. 
Then sew them to the top of the skirt with a straight stitch. Is it now a dress!

Good luck!
=)

January 08, 2012

Yellow Skirt

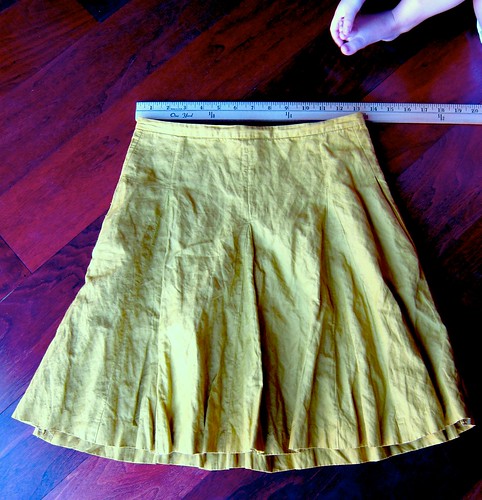
When I was pregnant, I got this pretty mustard yellow skirt in a size 10 on clearance. I was so excited. However, I was only able to wear it for a few weeks - the skirt got too small as I got more pregnant. The skirt got too big as I got unpregnant.
[Please excuse the wrinkles]

It's been sitting in my closet over 2 years, collecting dust because I can't wear it. One day, I couldn't take it anymore, and slimmed down the sides within 5 minutes. Love it!

What made it easy was that the skirt has the zipper on the back. So altering the sides won't be a problem.
I used the French seam technique - the same way how I slimmed down the sleeves of a blue dress a few months ago.
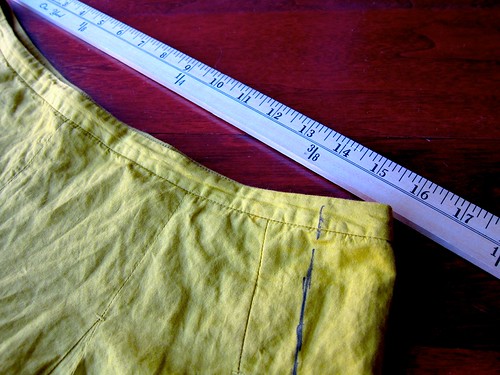
I took a skirt with a similar style that fits me comfortably, and laid it on top of this yellow skirt. I literally took a Sharpie [which I don't really recommend, heh heh] and drew a line down both sides adding a tad bit more to the width...maybe about 1/8":

I sew on the lines I drew, cut off the excess fabric, turned it inside out, and sew another line which  encased the raw hem inside. The best part is that the pockets on the sides are still there!
Now I can wear it again. 
So happy.

Good luck!

November 13, 2011

Tying Fabric Belt


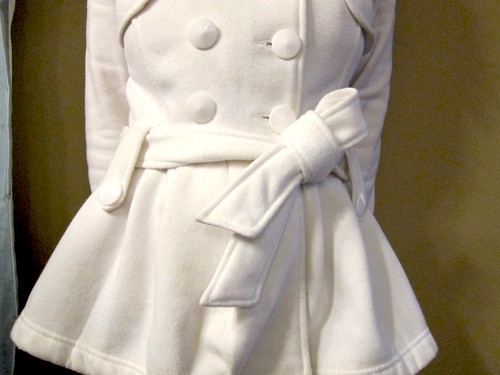
I always have issues with fabric belts that are too long, especially if there is not a buckle. Like on this coat, I don't like how it's tied:

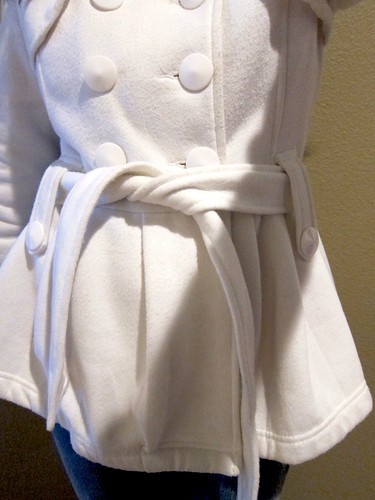
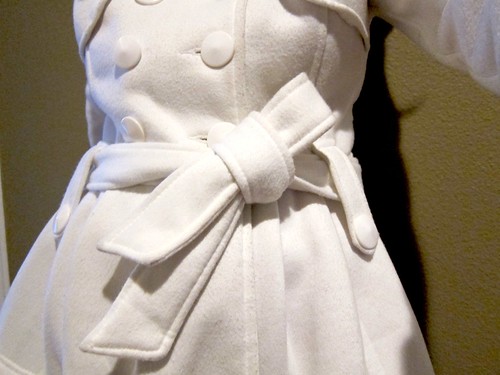
Thankfully I saw this little one loop trick (thus can't take credit for it), and I am a huge fan of it already:


I made a video on how to do it:


Good luck!

November 02, 2011

M&M Costumes

For Halloween this year, I made M&M costumes for my husband, Boo, and myself!


Materials:
String
Sharpie marker
 Pencil
Scissor
A piece of regular printing paper
Felt in M&M colors of your choice
(Don't forget white felt for the "M")
Batting
Hot glue gun
Sewing machine 
(Although sewing is not necessary; you can use Steam a Sem)

I got everything from Joann's. I believe the felt material was about $2.50 per yard, and I used a coupon (20% off entire purchase), so it was a great deal. I got 1.5 yards for one toddler, and 3 yards for one adult. 

Boo was purple, the Husband was yellow and I was green M&M.

Let's get started.
Take a string and tie the pencil on one end. With it, measure your toddler from the top of the shoulders to the waist. Add about an inch to the length and mark it with your Sharpie.

Tie the Sharpie on the other end of the string, and cut. 
You will use this as a compass to draw circles.

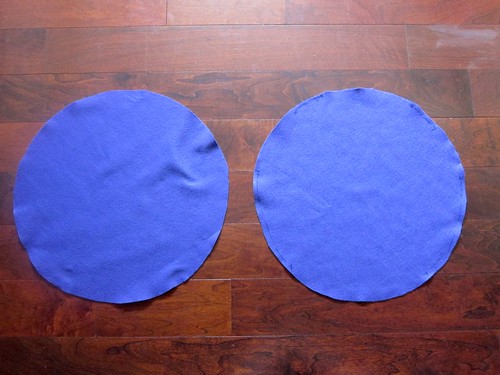
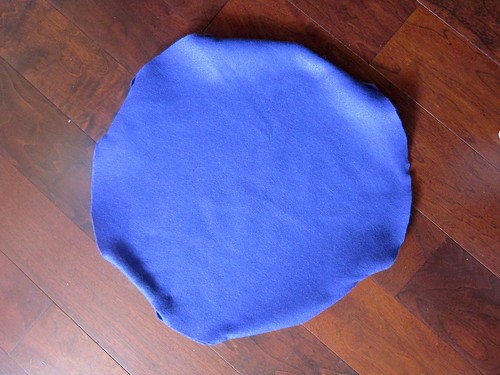
Fold your felt material in half (so you get 2 circles with one cut) and lay it down. Hold the pencil down on the fabric, making sure you have enough to go around, and trace a circle with the Sharpie. Cut out and you will have something like this:

You will need two more circles with the felt, and again with the batting, but this time, they will be about 1.5 inches smaller. So shorten the string and repeat the steps above.

You should have 2 bigger felt circles, 2 smaller felt circles, and 2 batting circles.

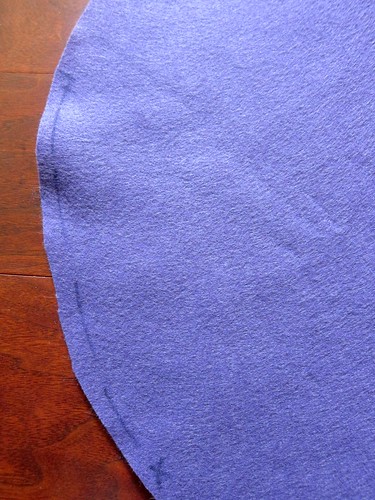
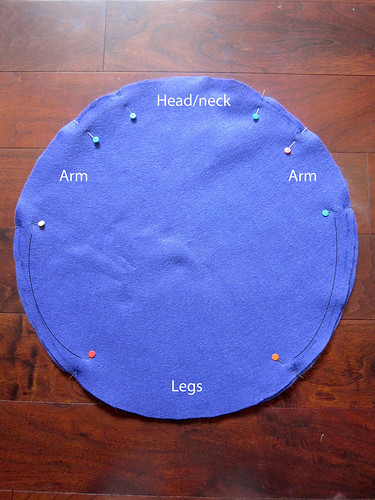
Take one of the bigger circles and lay it over the toddler. You want to roughly mark the areas you need to sew with a Sharpie. You want to leave holes for the head/neck, arms and legs. 

Pin the other larger circle onto this. I know it's a little hard to see, but this is a sad looking diagram I drew for you. It indicates the holes (don't sew there!) and black lines to sew with a 1/4" allowance, or as close to the edge as possible: 
After sewing, turn it right side out, and you will get this:

Have no fear! It doesn't look like much, but it will be perfect in no time! 
Cut and trim as needed - and something I discovered -  the trick is to cut the neck and leg holes a bit straighter...less of a circle. When the toddler puts it on, it will create more of a curve. Trust me. It will make complete sense. =)

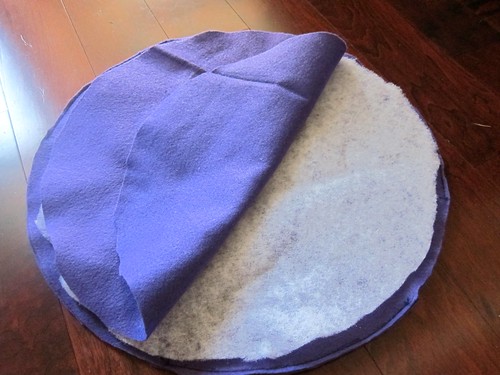
Now you will create a sandwich of: felt - batting - felt. 
So, turn the sewed circle inside out.
Lay a batting on top.
Lay the smaller felt circle on top of the batting.

Hot glue the smaller felt circle onto the sewed circle. The glue and batting inside will stiffen the felt in general, and will keep the M&M round shape better. Repeat the "sandwich" on the other side. Turn right side out. You're almost done!

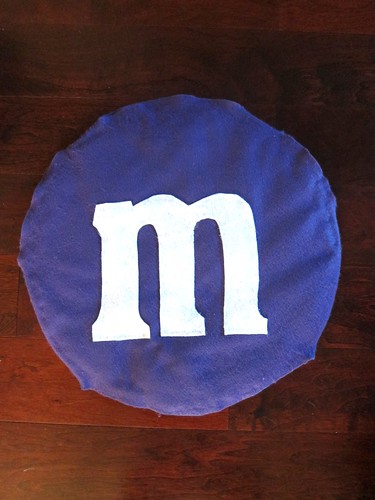
I went online and found a picture of the "M". I traced it on a printing paper, cut it out, traced that onto the white felt, and cut out.

Hot glue the "M" in the middle of the circle, making sure the head/neck hole is up and the leg hole is down.

Ta da!

You now have the cutest M&M running around. =)
Good luck!

October 20, 2011

Altering Sleeves

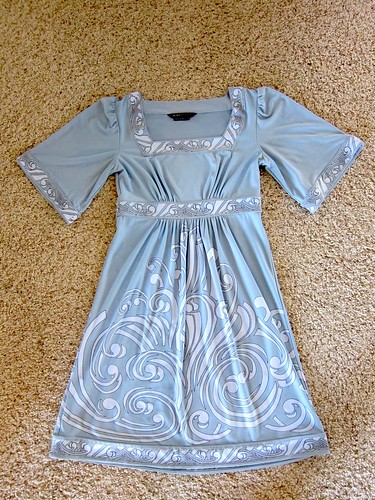
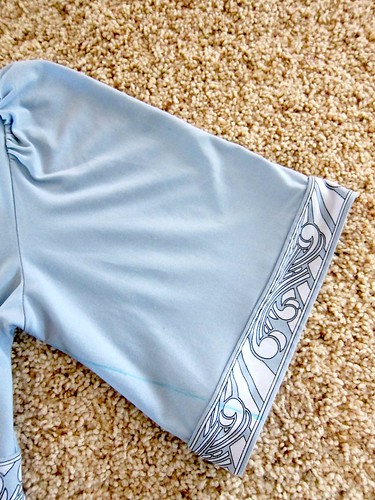
Sliming down big bell sleeves on this cute dress:

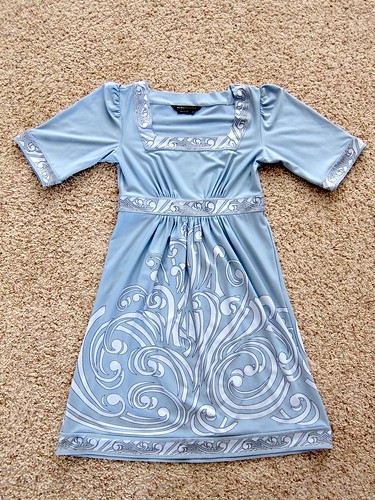
And turning it into this cuter dress:

I am definitely not great at sewing but I did acquire some simple skills through the years. I think this is called a French Seam, but don't quote me. =)

I marked a straight line to how I want the sleeves to be, on the front of the dress: 

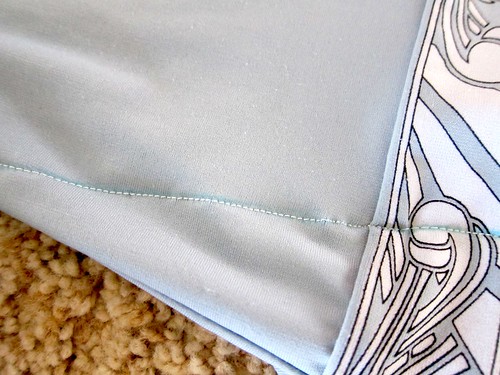
Then I did a straight stitch on the line. No worries if it's not completely straight:

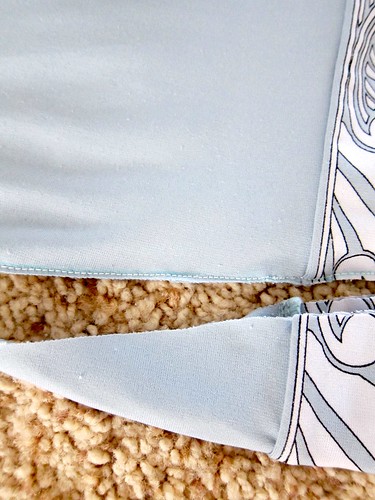
After sewing, cut the extra fabric off...as close to the stitch as possible:

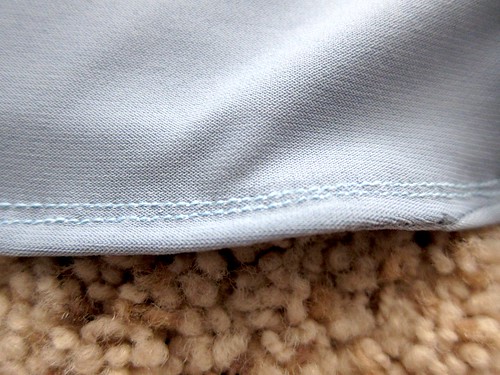
Now flip the dress inside out, and sew a double straight line (or just a single line) above the line you just sewed (that is on the front of the dress and you can't see). Now you have trapped line and raw edges on the front of the dress inside!

Flip the dress again so it's right side out, and the seam should look like this:

I hope my interactions made sense! 
Ta-da:

Good luck!

May 13, 2011

Sewing Pants and Burp Cloths

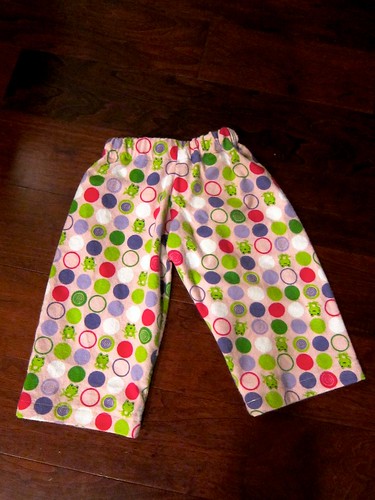
My first attempt at toddler pajama pants! It is from a sewing pattern. And now that I know how to make them, I can't believe how easy it is. Why didn't I try sooner? =) However, I had to make some adjustment to fit my (almost) 2 year old. Her height is right at 24 months, but has a 18 month waist. So I took in 1 inch from the side. The elastic I cut was around 17 inches.

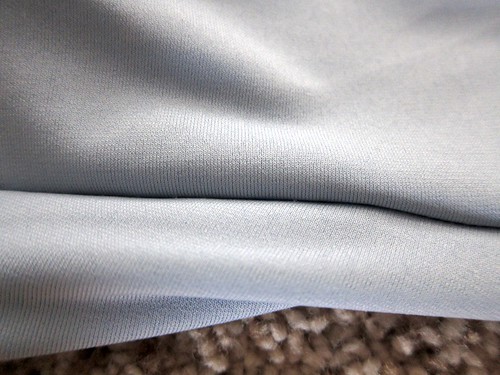
This is made from minky fabric:


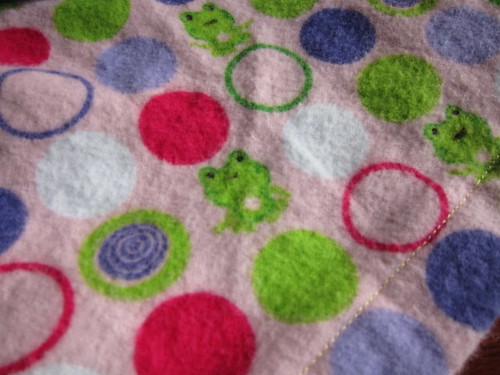
This is soft flannel:


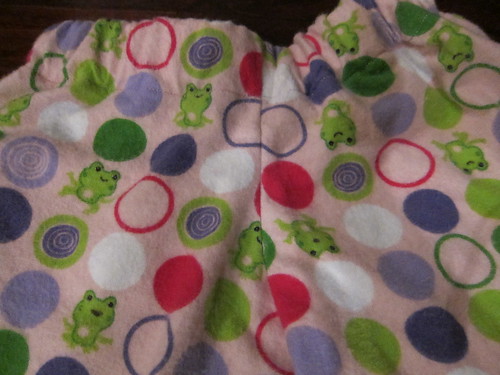
Such cute fabric but I cut it wrong! Do you see how the frogs are upside down on the right, and right side up on the left? Haha. Note to self - avoid fabrics with straight lines and/or specific pattens. ;)


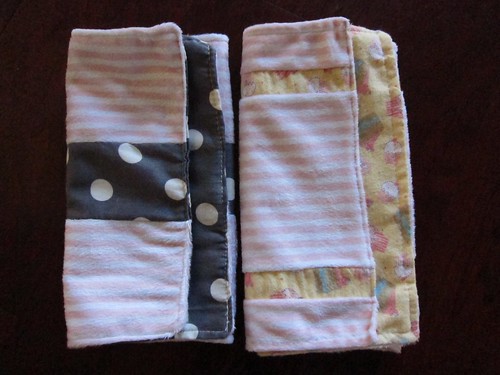
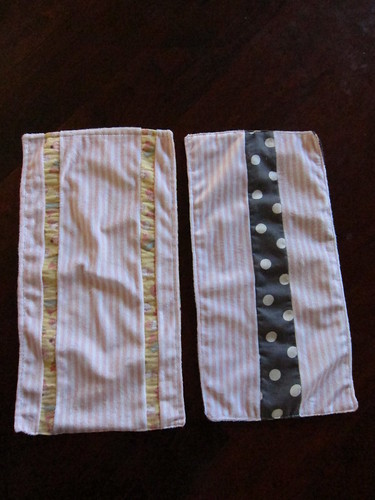
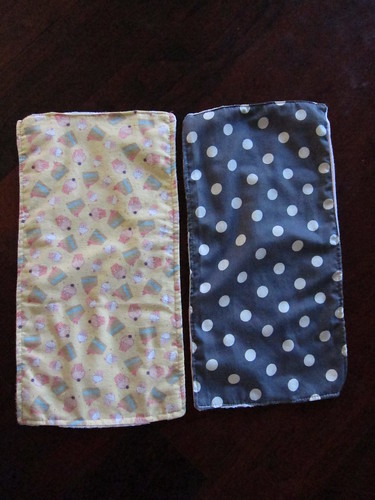
For my friends baby shower, I got her a gift card wrapped in these two burp cloths I made:


I forgot to iron them before taking these pictures:


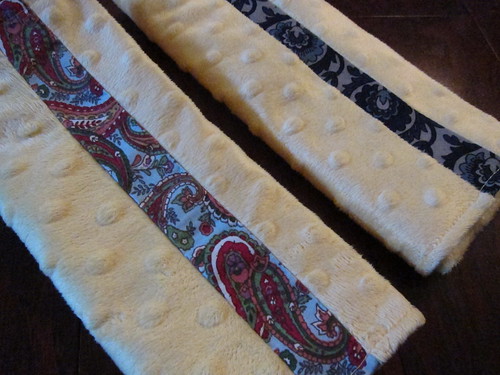
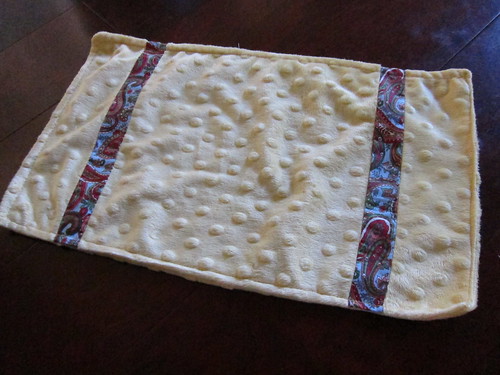
But I had made these first. I think they are ok, but I am not loving them like the ones above. They remind me of sham pillow cases. So I didn't include them in the baby shower gift: