Showing posts with label Baby. Show all posts

March 19, 2015

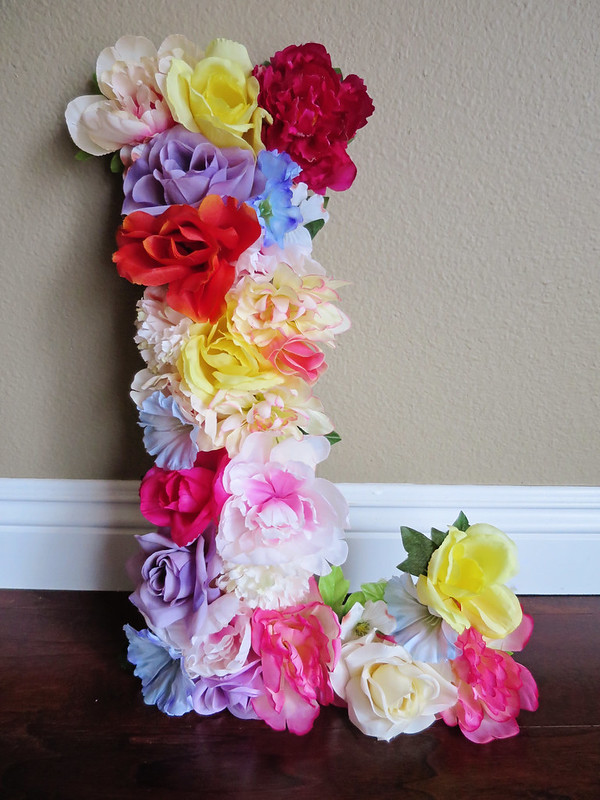
Floral Letter

I love this so much!
IMG_6121

This is a great decor piece for every room and every event! It is super simple to do, and looks lovely and impressive. I chose to use all sorts of colors, but it would also be beautiful using a solid color for the entire letter.

Materials:

Wooden Letter
Flowers
Hot Glue
Wire Cutter
Scissors


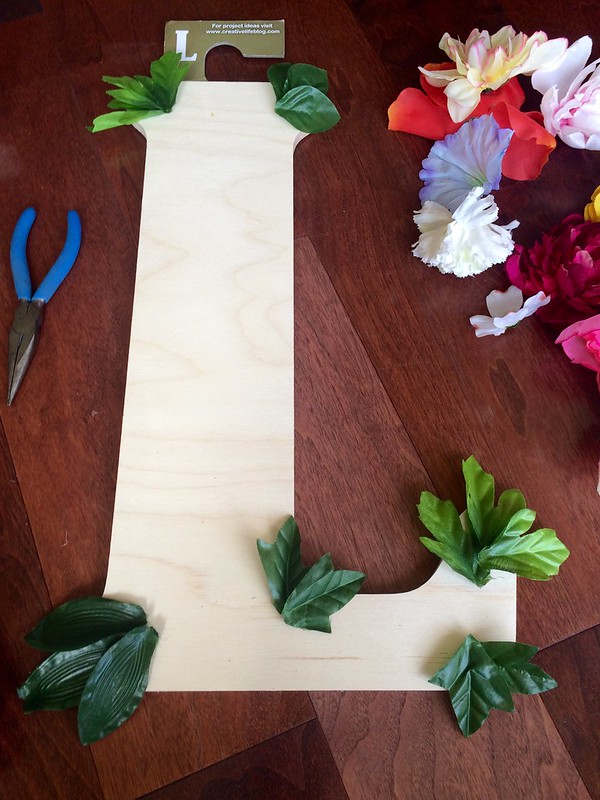
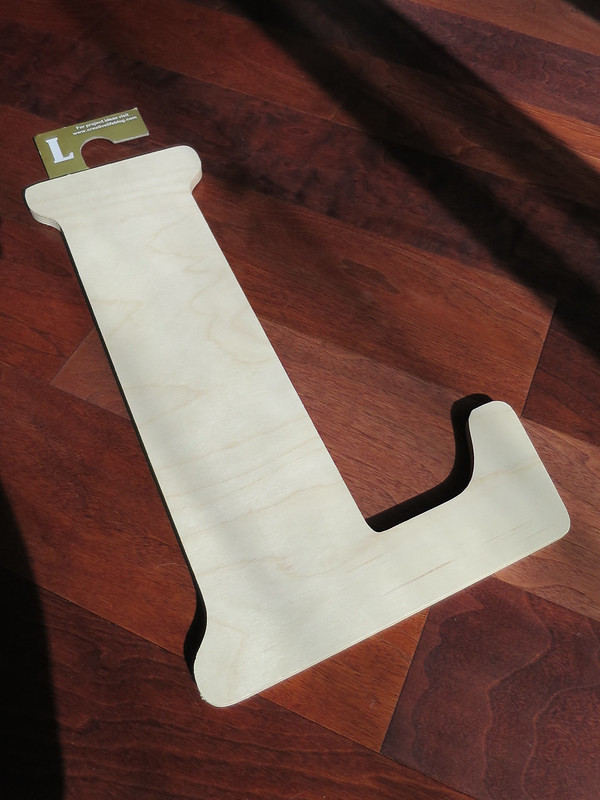
I picked this 18" wooden letter from Hobby Lobby. With a coupon, it was $7.79 plus tax:
IMG_6116

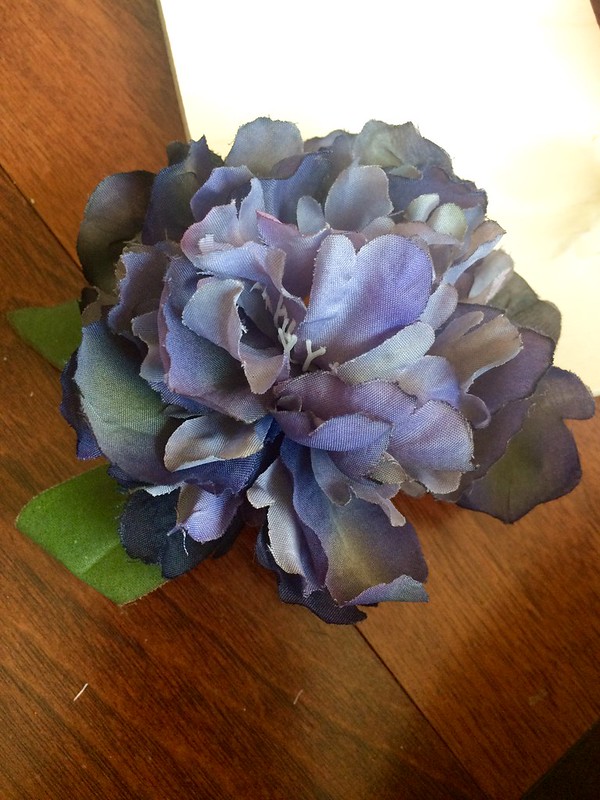
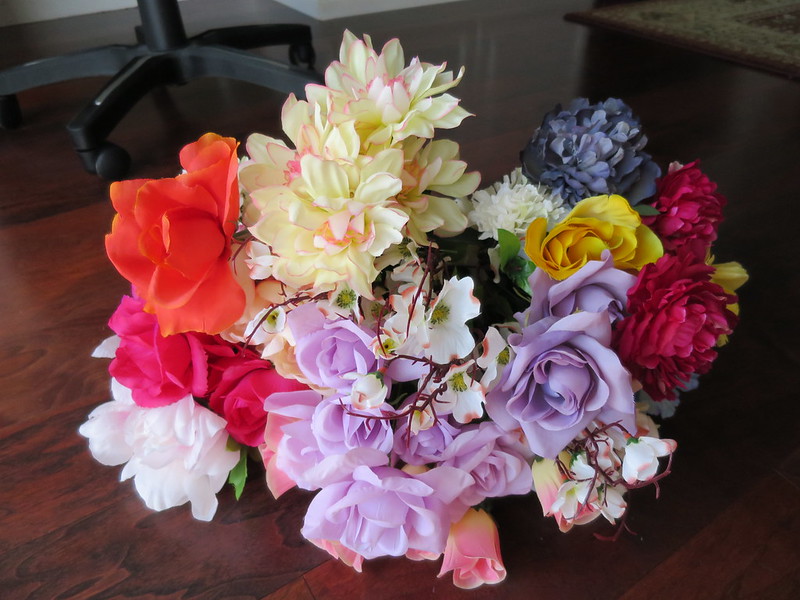
I got a bunch of flowers from the Dollar Tree. I ended up not needing so much, but I wanted an assortment of colors and different kinds of flowers:
IMG_6117

Step 1: Cut off the flowers from stems. Get as close to the base of the flower as possible. The flatter the base, the better for the glue to adhere to the letter. If the flower comes apart, it's ok because you'll be hot gluing it down anyways:
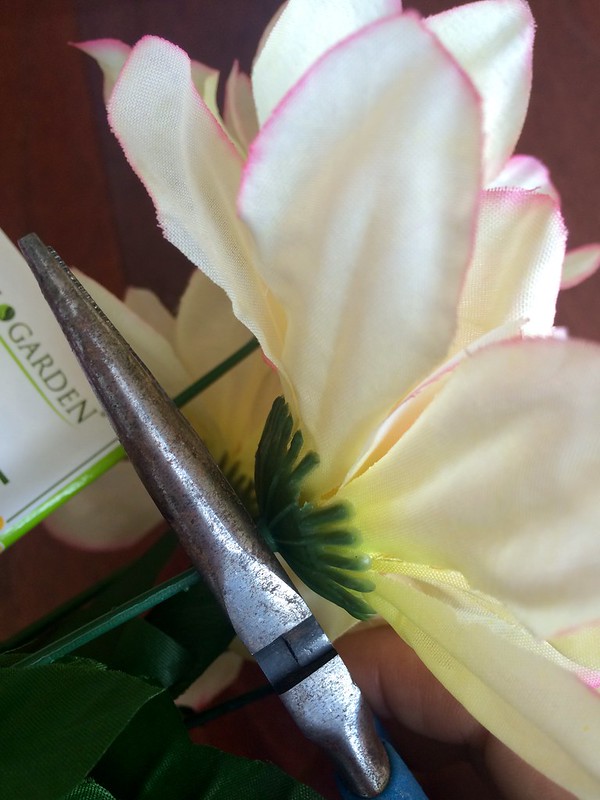
Untitled

Some of my flower had these long green things...cut those of too:
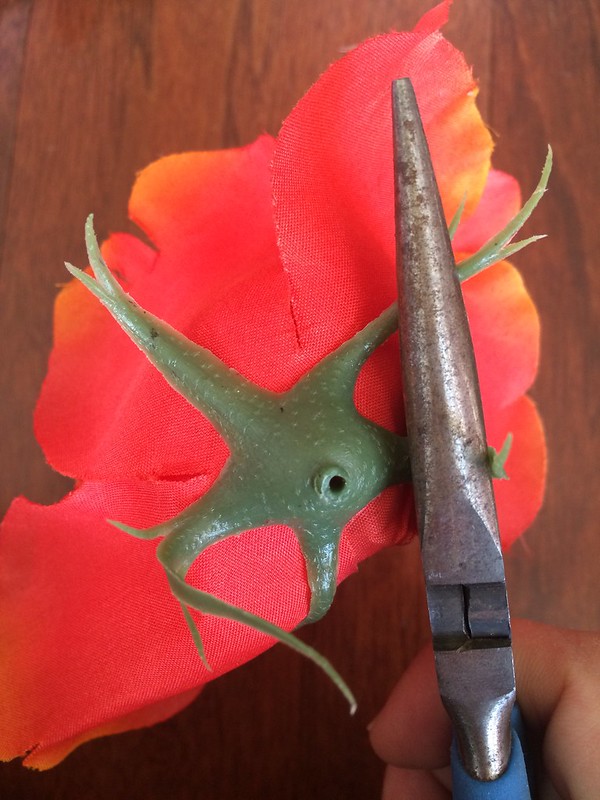
Untitled

Step 2: Cut and prep the leaves. Just pull the leaves off the stems, and cut them into individual leaves:
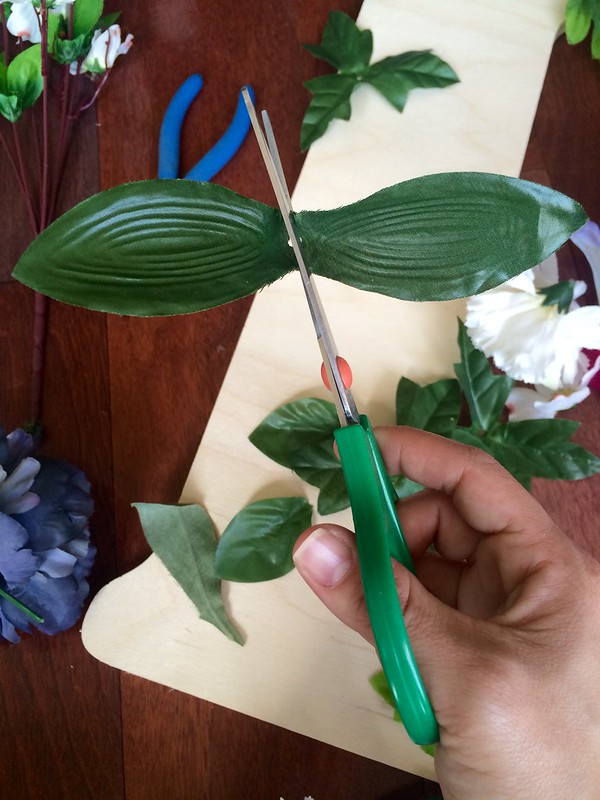
Untitled

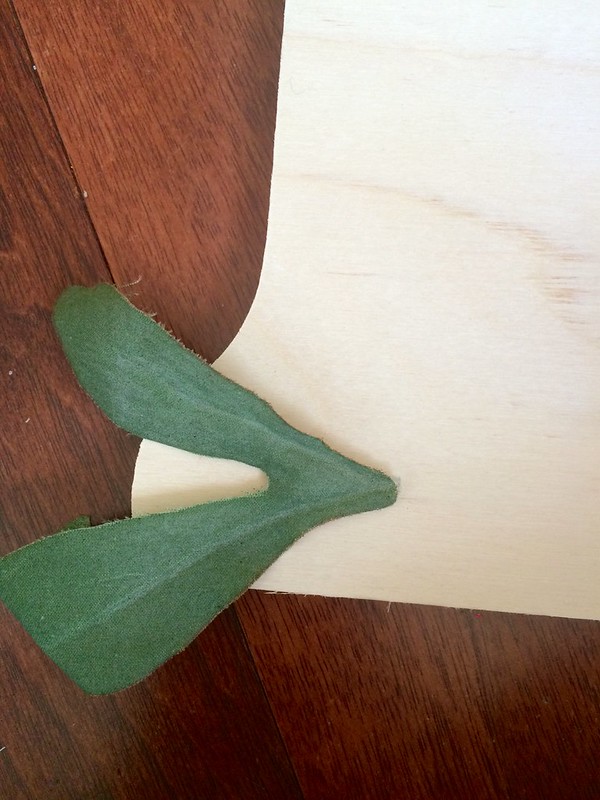
Step 3: We are going to cover the corners with the leaves:
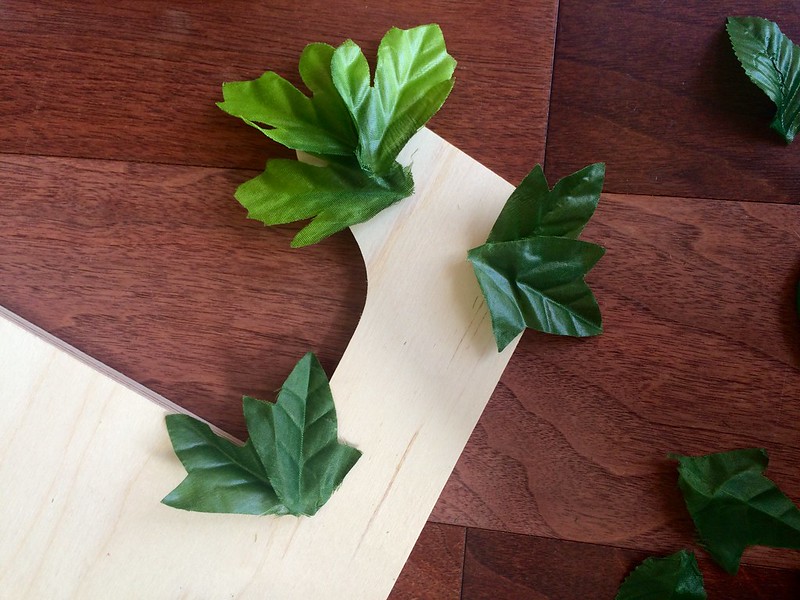
Untitled

It will give dimension to the letter, and help make the flowers look lush as if they are falling off:
Untitled

Untitled

Untitled

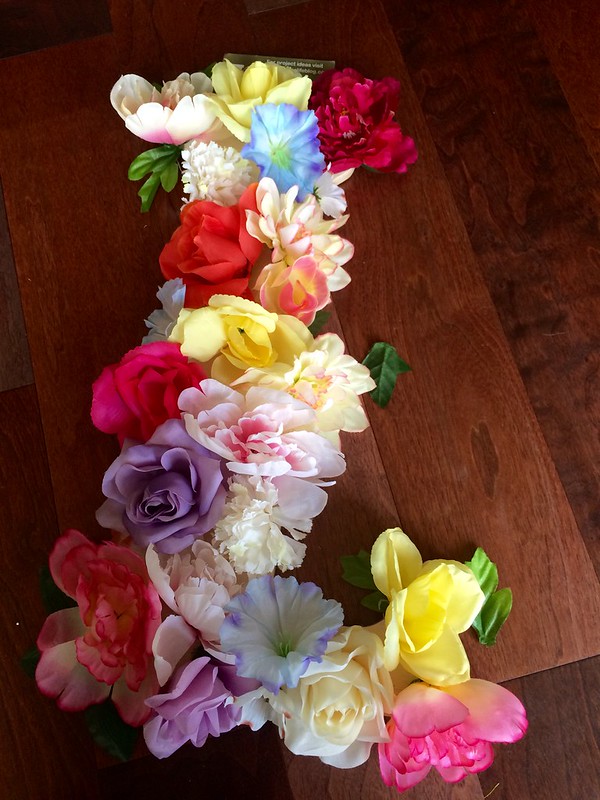
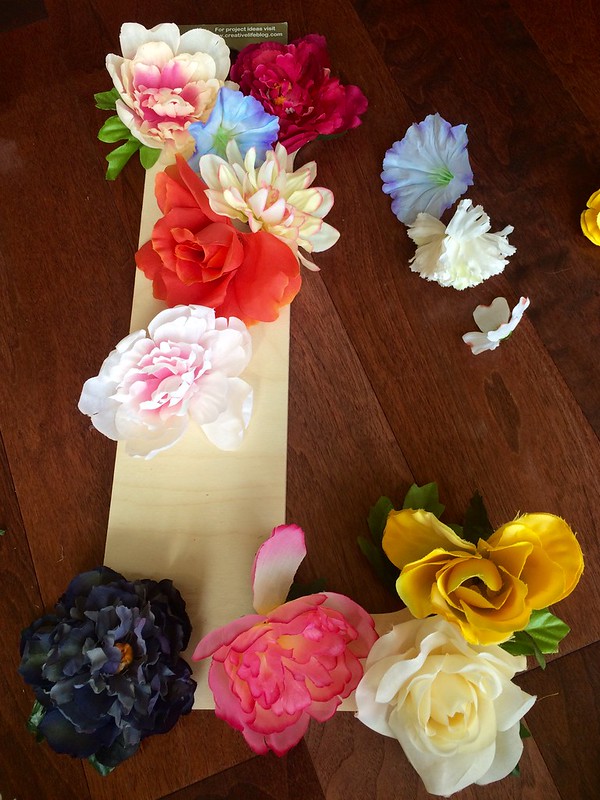
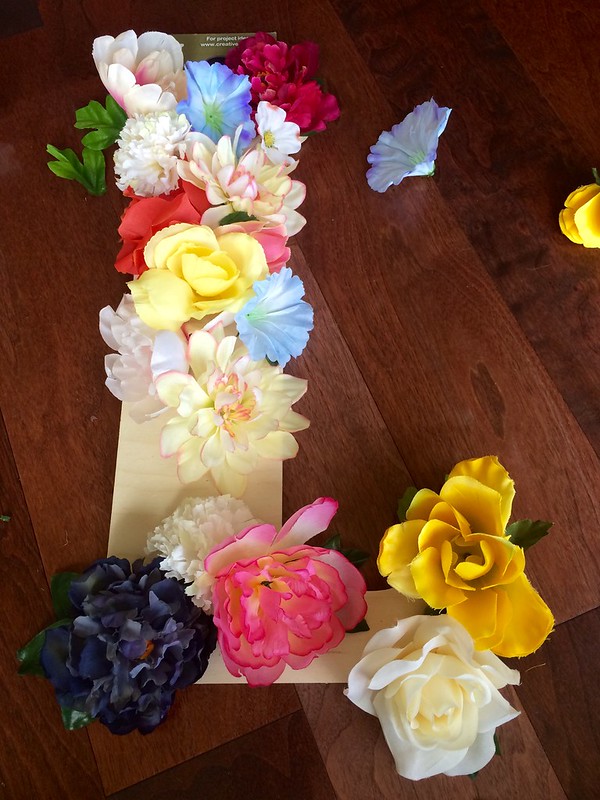
Step 4: Arrangement the flowers but don't hot glue yet!
Untitled

Get it exactly how you want it, and you might even need extra flowers later:
Untitled

Untitled

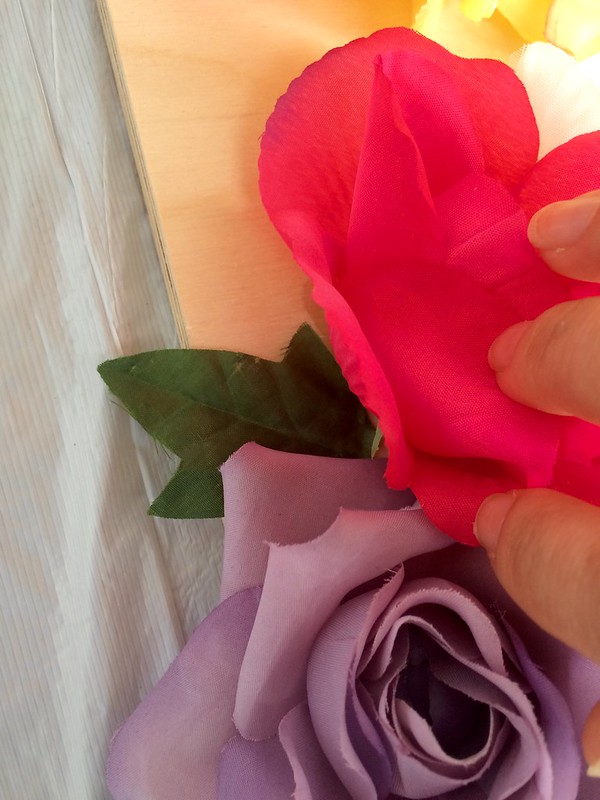
Step 5: Once you have the flowers how you want it, take a photo of it.  You'll be taking the flowers off and gluing them back on one at a time, so you will want that photo as a guide. Start by gluing the leaves and flowers at corners of the letter first. Then start filling in. Every so often, glue a leaf behind or in between flowers. There is no right or wrong...just keep gluing!
Untitled

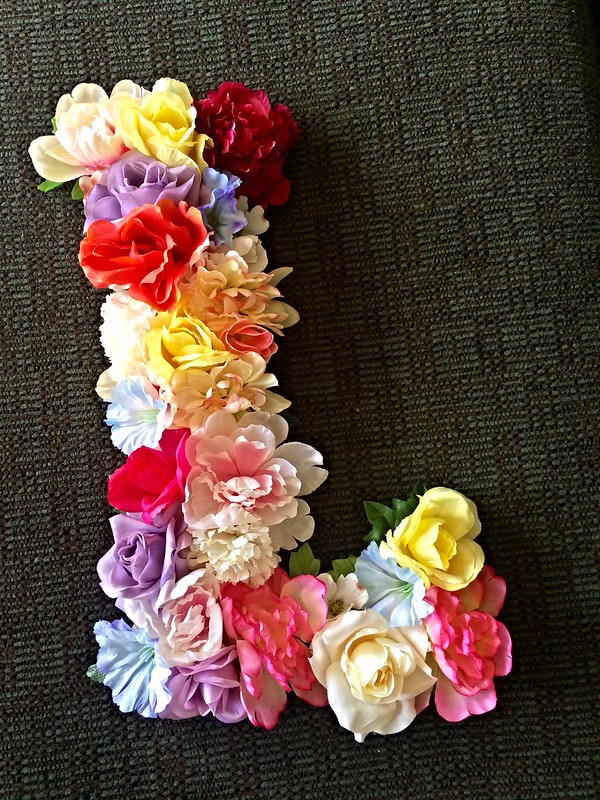
Step 6: Every so often, take a step back and look at your progress.  If there are any gaps, fill them in with more flowers or leaves:
Untitled

It's all done and looking gorgeous. It's ready to be hung on the wall or propped on a shelf.
Good luck!
=)

June 06, 2013

Dora and Boots Birthday Cake

It's that time again...Boo is 4 YEARS OLD! Where did the time go?
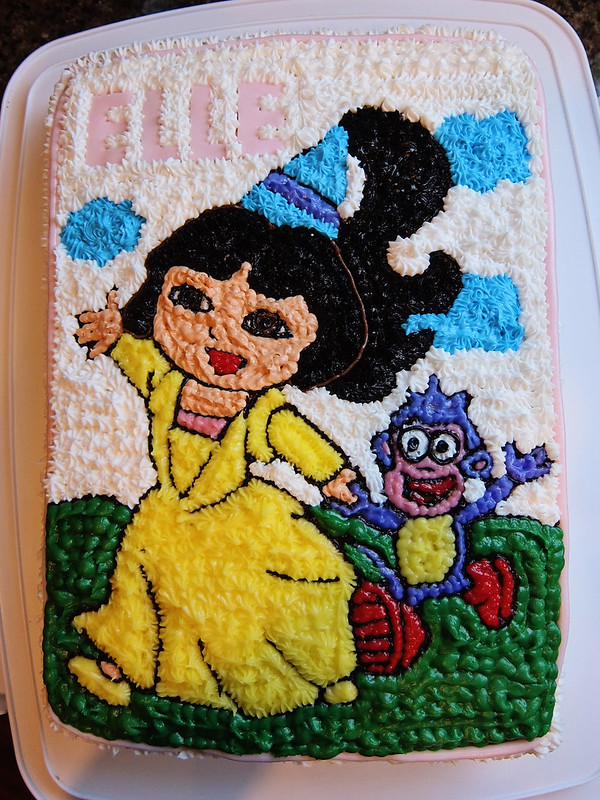
She requested a Dora and Boots cake.


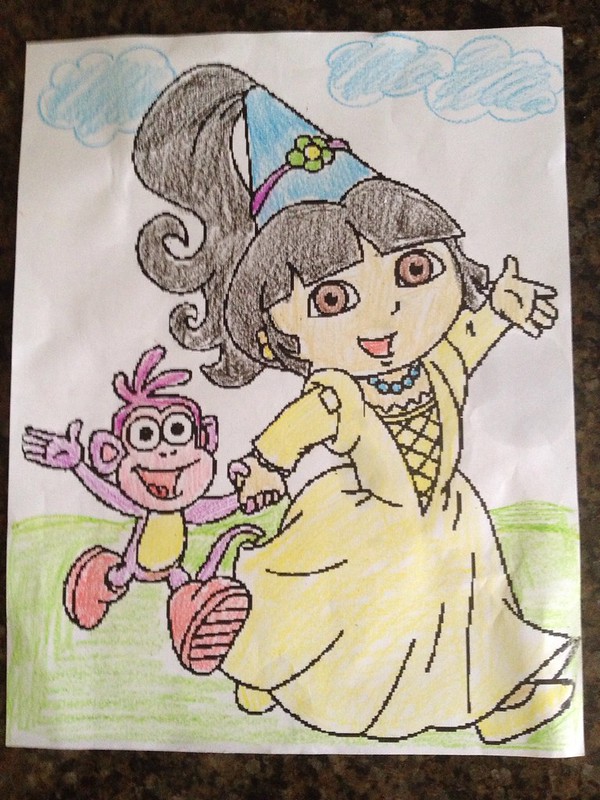
We found a Dora and Boots coloring page online, and printed it out.
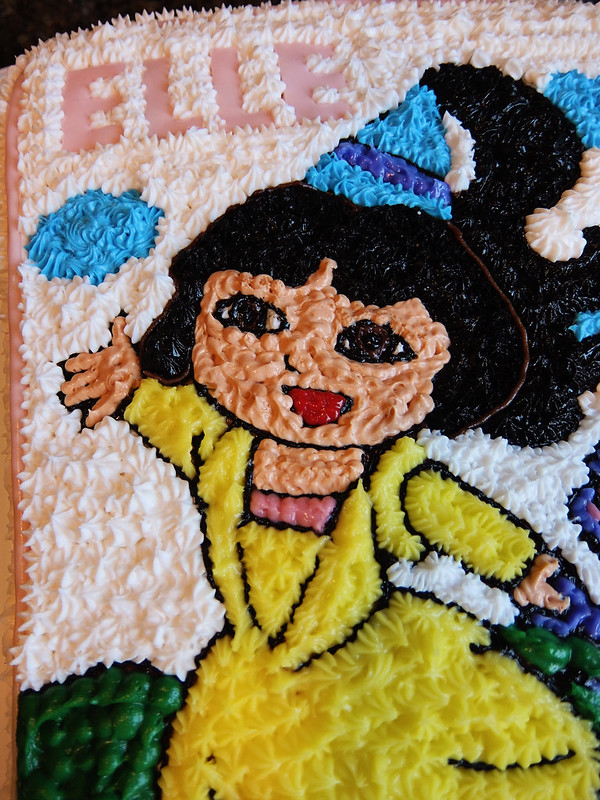
This picture is more detailed than any other cakes I have done (you may notice some things like Dora's necklace has been omitted on the cake).  Usually I do a gel transfer of the entire image but with all the small details like the hands and eyes, I decided to transfer just the general outline, and hand draw/pipe the rest with a #1 tip and filled in with a star and #5 tips:


Note to self - Next time, pipe the face first, then the hair:


I was most nervous about Boots, because he is small and very detailed:


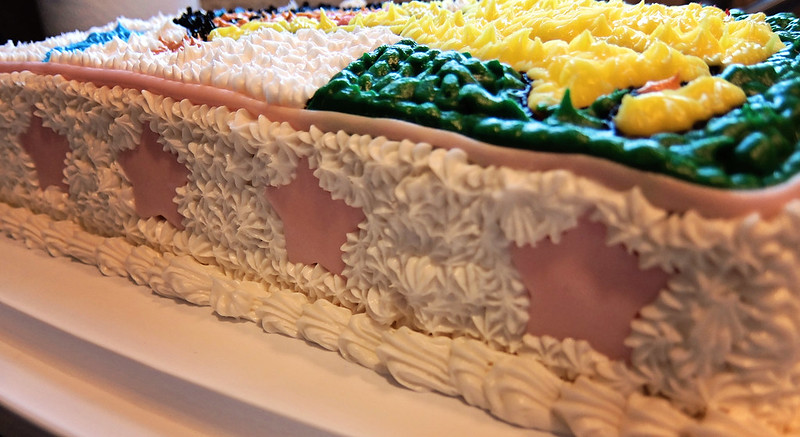
I didn't have room to pipe a border on the top of the cake, so I rolled fondant into a rope and wrapped it around:


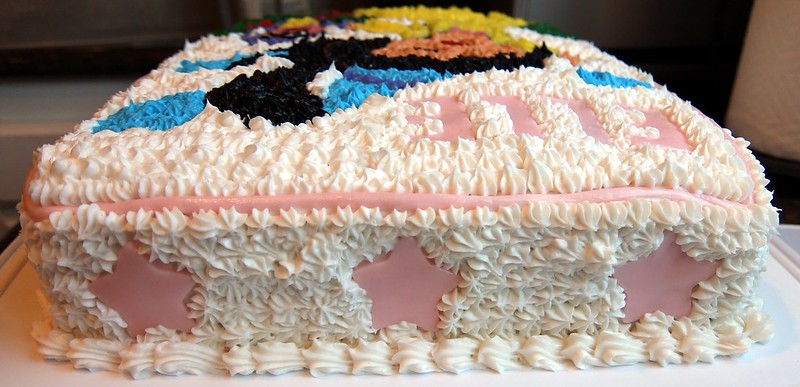
Stars and more stars:


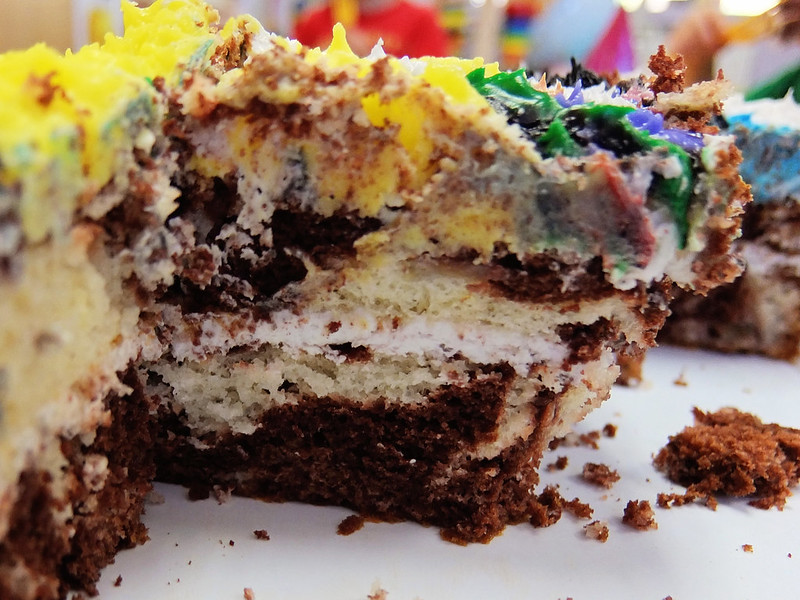
Boo also requested requested the inside to be chocolate and vanilla swirl with little pieces of bananas: 


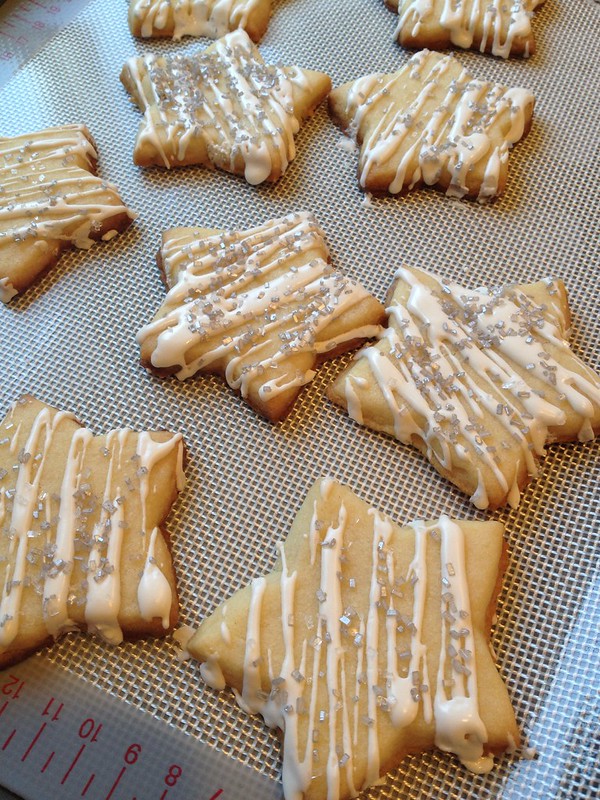
Favors - star cookies:


Boo was so happy and excited with how everything turned out (me too)!
=)

March 07, 2013

Transforming A Skirt

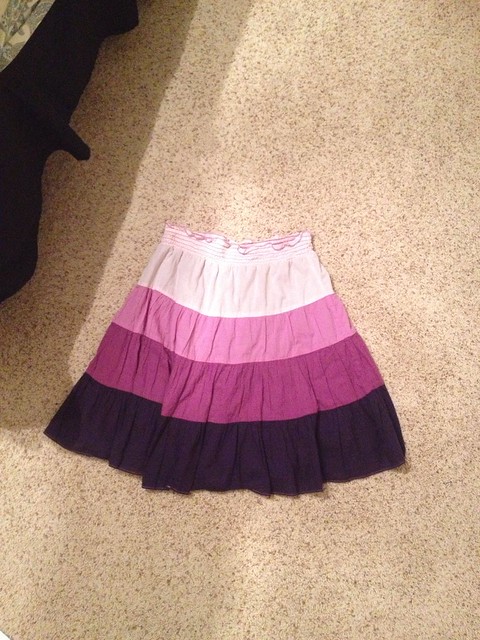
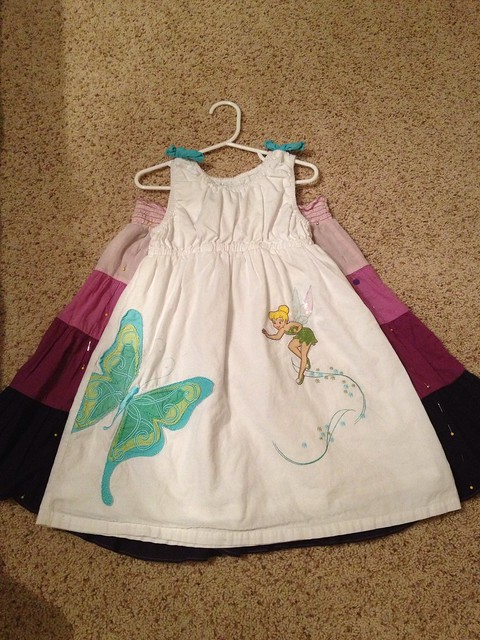
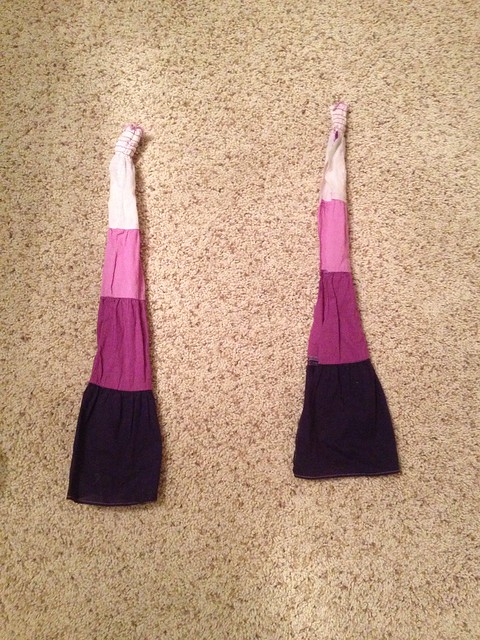
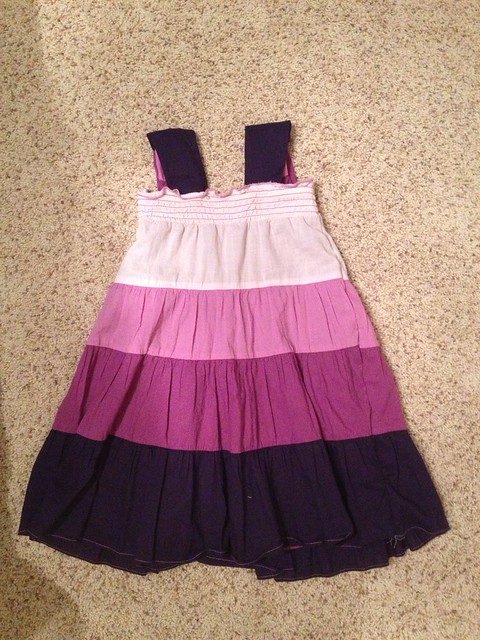
I transformed my old skirt into a "new" dress for Boo!

Find an existing dress with a cut and style you like, and lay it on top of your skirt. 
Draw or eyeball the sides of the dress. Pin along the line, with a 3/4 to 1 inch allowance:
 

Sew on along the lines that you just pinned with a straight stitch.  I used a 3.5 stitch length on my sewing machine.
Then cut the sides as close to the stitch as possible. Save the fabric to use for the straps of the dress!
Turn the dress inside out, and sew along the sides again, enclosing the raw edge inside. I believe this is called a French Seam, and I used this technique often. Click here for more photos and details.

Measure the length of the straps needed, add 3/4 to 1 inch allowance on the tops and bottoms, and cut. Turn each strap inside out, and decide whether to cut the straps into equal widths or leave them tapered as they are. 
Then sew or serge on the long sides:


Turn the straps right side out, sew or serge the ends of the straps. 
Then sew them to the top of the skirt with a straight stitch. Is it now a dress!

Good luck!
=)
January 19, 2012

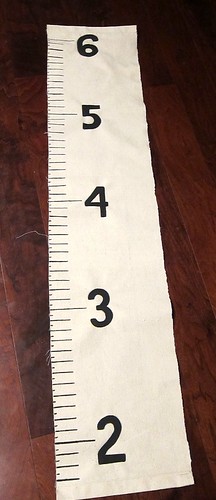
Growth Chart

[I forgot to take a full picture with the wooden dowels in]

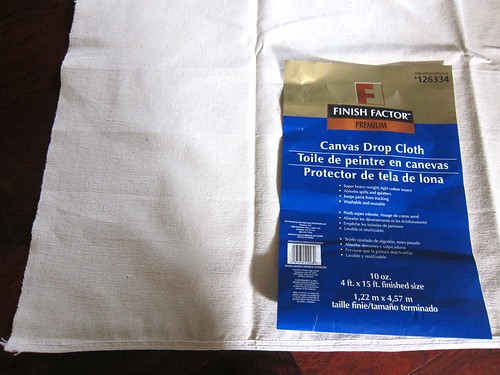
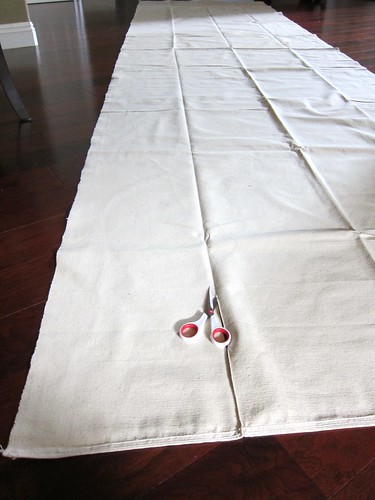
In the paint department at Lowes, I got a package of drop cloth. There are a few kinds and sizes to choose from, ranging $10 and up. This particular one I got is a heavy weight, and was about $19:


I unrolled it and cut a strip out, following the fold line:


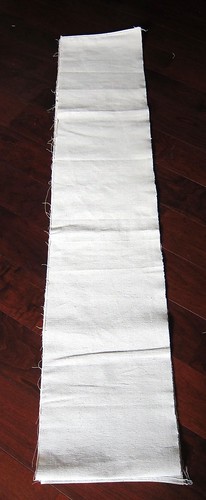
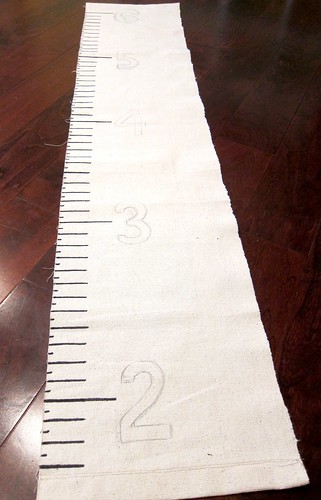
It is about 12" x 58":

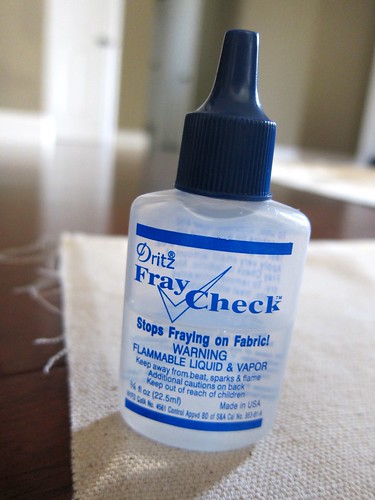
I used Fray Check on all sides:

It will dry clear:

Snip off the long ends:

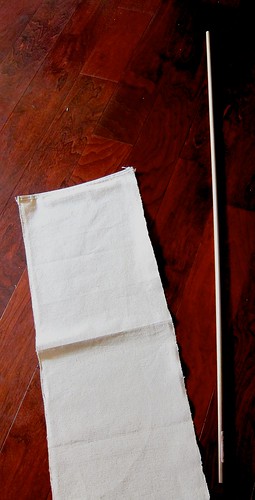
I also got a wooden dowel at Lowes for $1. I used a saw and cut it down to about 1.5 inches longer than the width:

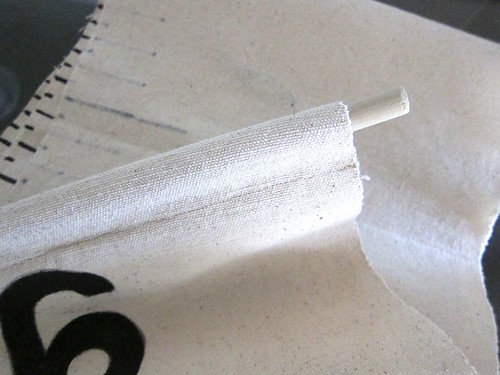
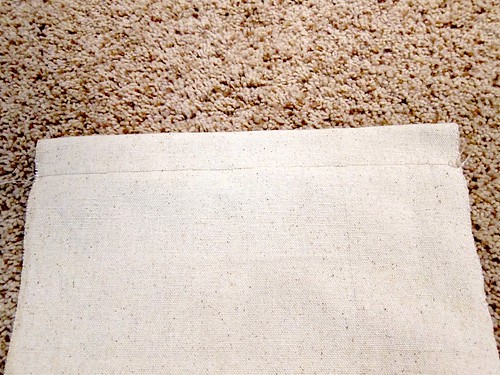
At the top and bottom of the chart, I folded and sew a straight line across, making a little pocket for the wooden dowel to go through:


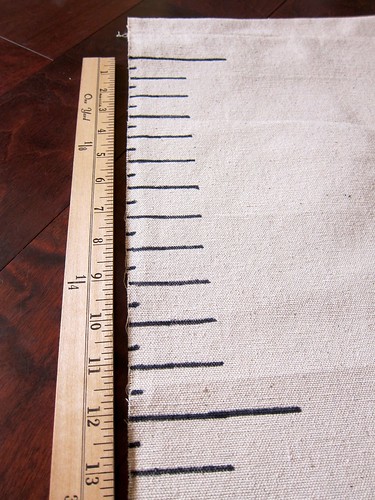
I used my yard stick, measured and drew the lines with a black Sharpie:


I free-handed the numbers with a pencil:

Used black acrylic paint to fill them in:

Put the two dowels in:

For hanging, I used twine/rope, wrapped it around the ends of the top dowel, and tied a knot:

Good luck!
=)
Oopsey Daisy

May 25, 2011

Re-usable Snack Bags


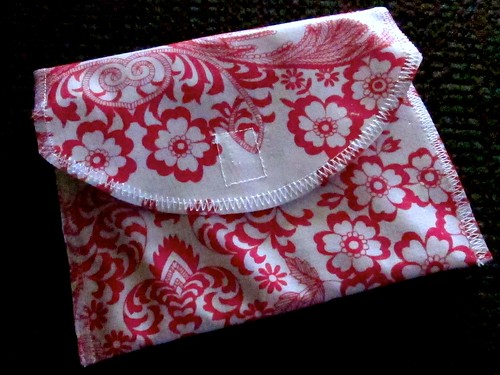
I went to my local fabric store and saw some cute oil cloth prints. I like oil cloths because they are wipeable and won't unravel. I lined the inside with the same fabric and I must say, I'm liking it! This is my first attempt, so I will post a complete tutorial when I sew the next one. I have an great idea to make regular cotton blend fabric into a wipeable material, and I hope it works!  
Because of the oil cloth fabric, it is thicker and tends to be a bit puffy...it creates air bubbles.  So be aware when sewing that some air will get trapped between the layers, as you can see in the picture below. But is still cute and very practical/functional. It also looks better in real life...these pictures don't do it justice. =)

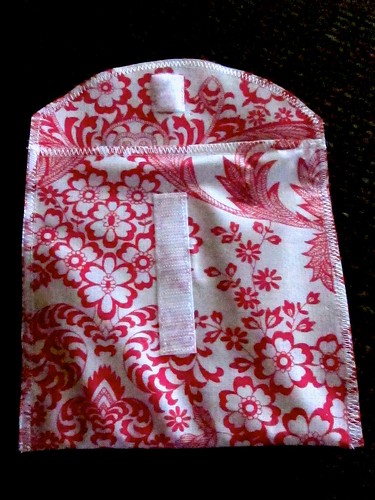
Here are the basics: You will need two piece of oil cloth measuring 7" x 16".  I took a bowl and rounded one of the shorter edge on both pieces. Pin fabric wrong sides together, so the right side faces you. Sew with a straight stitch with an increased stitch length all the way around. Sew the velcro on. Fold the shorter straight edge up to a 1 or 2 inches below the start of the rounded edge. Pin the sides and sew with a zig zag stitch. I went around it twice with upholstery thread.

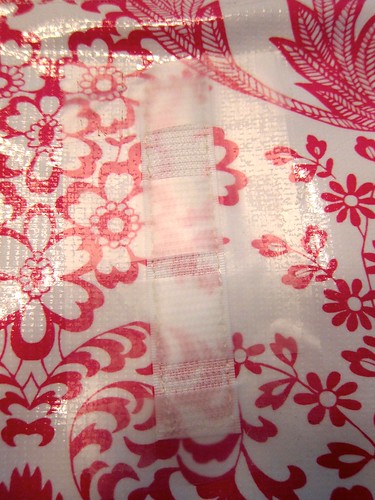
To sew the velcro on easier, I used regular Scotch tape to tape it down. After sewing it in place, simply peel the pieces of tape off:


Good luck!