December 18, 2012

Elf on the Shelf, Day 8 to 14

Day 8: Christopher Elf went fishing.

IMG_0435

Day 9: Christopher and Mulan Gangnam Style.

IMG_0486

Day 10: Christopher switched out someone's stocking...replaced it with her underwear.

Untitled

Day 11: Christopher started a snowball fight with Buzz.

Untitled

Day 12: Christopher missed the cold weather so he slept in the fridge.

Untitled

Day 13: Christopher secretly wanted to fly in the sleigh like Santa. No reindeer, no problem!

Untitled

Day 14: Christopher got into block letters. She was so excited to see her name so many times.

Untitled

December 17, 2012

Elf on the Shelf, Day 1 to 7

Every day during the weeks leading up to Christmas Day, the family’s Elf hides somewhere in their house to watch over and observe the children's behaviors. Every night he flies to the North Pole to report back to Santa what he has seen and before the family wakes the next morning, he is hiding in a new spot.

This becomes a daily game of hide-and-seek/find-the-elf. I told Boo that our Christopher Elf is Santa's helper. He helps Santa decide what to give her for Christmas. I quickly typed up all this in a letter from Santa. I also included to always be on good behavior and be thankful (not just for the holiday season but every day of the year).

 Day 1: Christopher is caught red-handed getting into the treats:

Untitled

Day 2: Christopher had a long night reading storybooks to his friends. There is still a line. The Princesses are the most demanding as usually...they want him to read 4 princess books:

Collage-Template7

Day 3: Christopher made the mistake of stepping into the Legos turf. Boo helped untie him:

IMG_0270

Day 4: Christopher thought of a great idea for a gift. Boo had the most fun unwrapping it:

IMG_0328

Day 5: Christopher had a movie date with Holiday Barbie:

IMG_0357

Day 6: Christopher Elf'ed Little Boo on the computer {www.JibJab.com}

Untitled

Day 7: Christopher showed the Disney crew how to toast marshmallows:

Untitled

December 12, 2012

Christmas Sugar Cookies

I apologize for being MIA for so long. We took a 3 week long trip to the Middle East! It was our second time there, first time for the Boo. I definitely lucked out with her being excellent on the long plane flights. Phew. On to the post! Cookies. Yum...

This is the easiest and best recipe I have found thus far.

Sugar Cookies:
3 cups all purpose flour
2 teaspoons baking powder
1 cup (2 sticks) unsalted butter, cold and cut into cubes
1 cup sugar
1 egg
3/4 teaspoon vanilla extract
1/2 teaspoon almond extract
Cookie cutters

Instructions:
1. Preheat oven to 350 degrees and line baking sheets with parchment paper.
2. In a medium bowl, whisk together flour and baking powder, and set aside.
3. Cream butter and sugar in the bowl of a stand mixer fitted with a paddle attachment until light and fluffy.
4. Beat in the egg and extracts mixing until combined.
5. Add the flour mixture one cup at a time, mixing on low until just combined.  Scrape down the sides and bottom of the bowl as needed.  After the last addition, the mixture will look thick and crumbly.
6. Now you're ready to roll. Line rolling surface with wax paper.  Dust surface and coat your rolling pin with flour. Roll half of the dough on the flour coated surface and knead it together until smooth. Set the other half of the dough aside.
7. Roll dough out 1/4 inch thick. Dip the cookie cutter in flour and cut out as many shapes as you can. Remove scraps, re-knead and repeat with the rest of the dough. Make sure to re-flour the work surface.
8. Place cookies on prepared cookie sheets and place cookies in freezer for about 10 minutes.
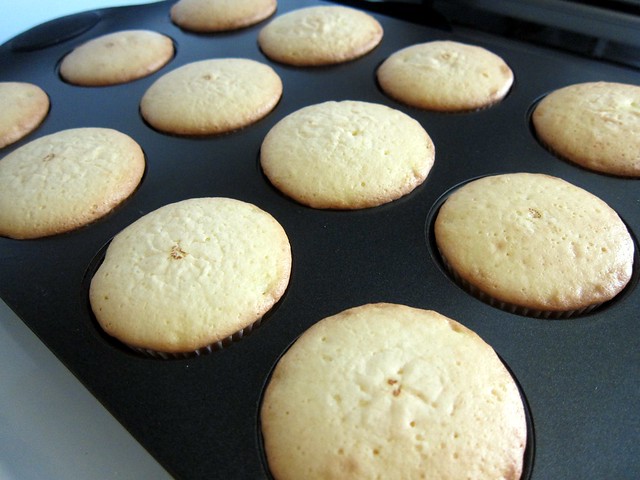
9. Put the cookie sheets in the oven and bake for 10-12 minutes. Remove from oven when done and let cool for a couple of minutes on the baking tray. Then transfer to a wire rack to cool completely.

Decorating:
I took a shortcut with the icing and bought the bottles.
Wilton cookie icing


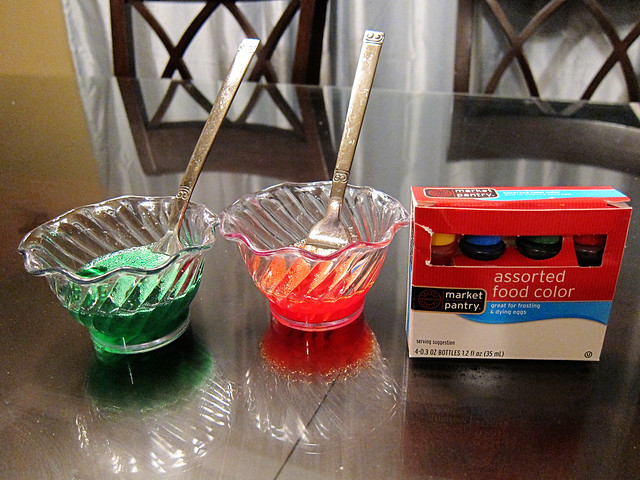
 I used 2 egg whites to give the cookies a wash of color. I broke each egg white into a little jar and added 2 to 3 drops of food coloring. Mix well with a fork:
 

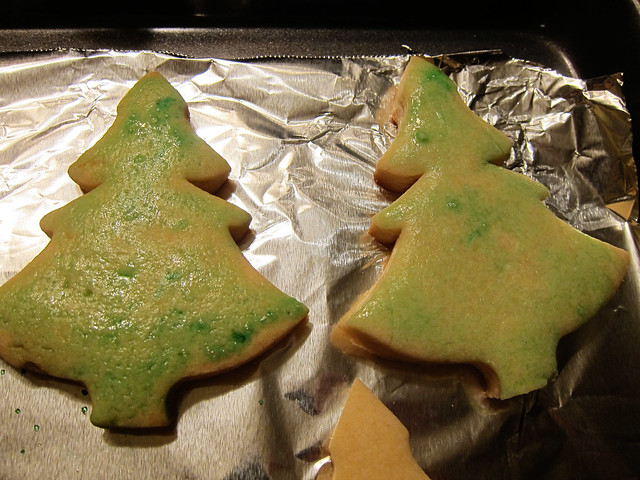
 I used a small brush to brush the colored egg whites onto the cookie:


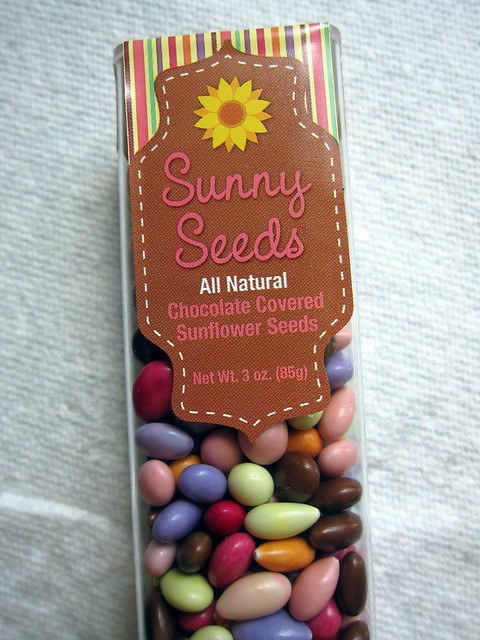
Then quickly added sprinkles on:
 

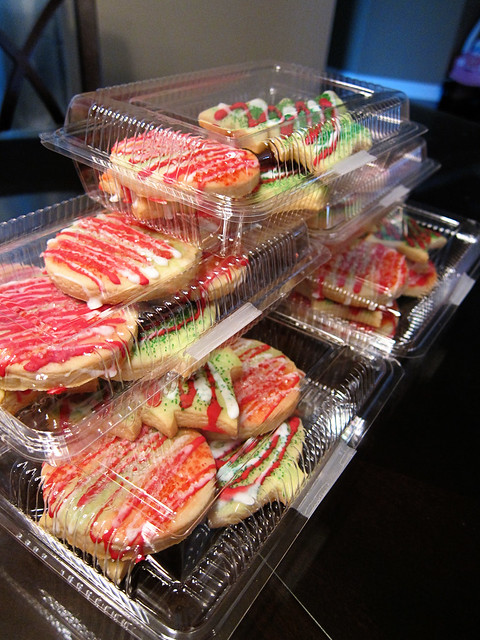
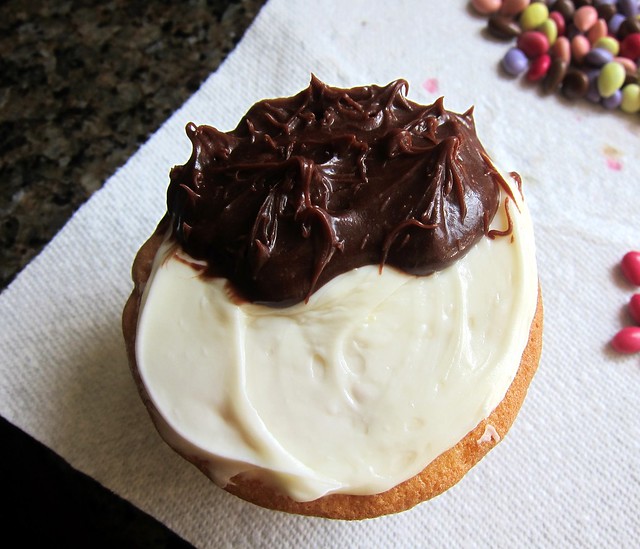
I  use the Wilton cookie icing and followed its directions to warm it up in the microwave. Then I drizzled it on the cookie, back and forth. Beware that it's a super runny icing so choose your cookie designs carefully. To avoid the red icing mixing with the white icing (I didn't want pink!), decorate with one color first and let dry before using the second color:


Happy Holidays!

Good luck. 
=)

August 31, 2012

Owl Cupcakes

It was the last day of summer school for Boo, and I thought I would make cupcakes for the class. What better way to say "Thank You" with some owl cupcakes?! =)


Ingredients:

Duncan Hines Butter Golden mix
Peanut Butter mini cups
Reese's pieces bites
Double Stuff Oreos
Candy coated sun flower seeds (optional; I just happened to have them)
White frosting
Chocolate frosting


Make the batter according to its instructions. After pouring them into cupcake liners, unwrap a mini peanut butter cup and stick them into the middle:


Then bake them according to the instructions.
While they are baking, carefully twist the Oreos apart for the eyes.
It is important to get the Double Stuff because they have extra creme.
You will need 2 Oreos for one pair of eyes, and set the cookie without the creme aside:


Then gently push in a brown Reese's pieces bite into the inner corners:


The reason why I recommend getting the Duncan Hines Golden Butter mix is because the cupcakes do not dome up when they are done. The tops are flatter than other mixes I have tried. And you want the cupcakes to have a flat top for this:


I love this part because it is very easy and quick.
With a knife or small spatula, frost the cupcakes with white frosting.
It does not have to be neat or perfect:


Then frost the top 1/3 with chocolate frosting like so:


To give the chocolate frosting texture, I took the spatula sideways and dipped it back and forth...it's almost like a fast chopping motion:


Gently push a pair of "eyes" onto the top, and close together:

I picked out the green and orange sunflower seeds:


And stuck it in the middle for the beak.
You can also use a yellow or orange Reese's piece bite and stick it in sideways:


They turned out cute!
Whoooo wants one?


I put the extra oreo cracker without the creme into a ziplock and mashed them with a rolling pin:


I then frosted a cupcake, layered the crumbs over it and used the sunflower seeds to have a flower form:


I cut a cupcake in half; the inside has the melted mini peanut butter cup.
It was delicious.


Good luck!
=)

July 21, 2012

Strawberry Nails

I have been on a little nail art kick lately. 
I saw Strawberry Nails on Pinterest, and decided to give it a try.
I love the results. So summery and fun!


What you will need:

Pinkish red nail polish
Scotch tape
Pinking shears
Green nail polish
Toothpick
White or black nail polish
Top coat clear nail polish

1. Start with reddish pink nails:

2. Use pinking shears to cut of a short piece of Scotch tape and adhere to your nail:

3. Paint the tips of the nail with a generous coat of green polish and immediately remove the tape:

4. With a toothpick, angle and dip it into white or black nail polish and dot onto the pinkish red part of the nail. These will be the "strawberry seeds":


5. Finish with a top coat and you're done!

I find that the white nail polish looks more like strawberries, and the black makes them look like watermelons. Either way, I really like them.

What are your thoughts? =)