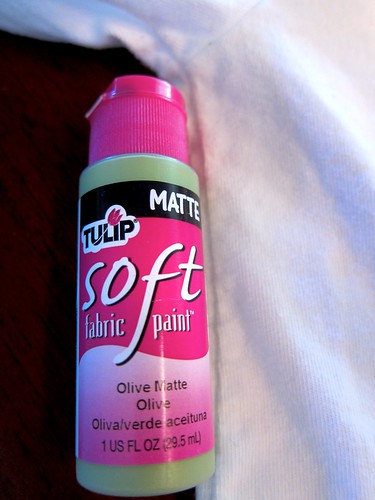
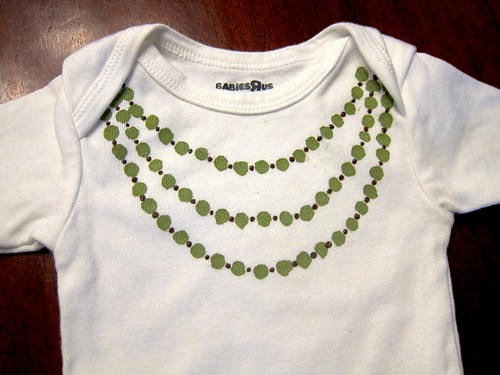
These aren't green for St.Patty's but I used the same technique to brighten up some onesies with some "necklaces":
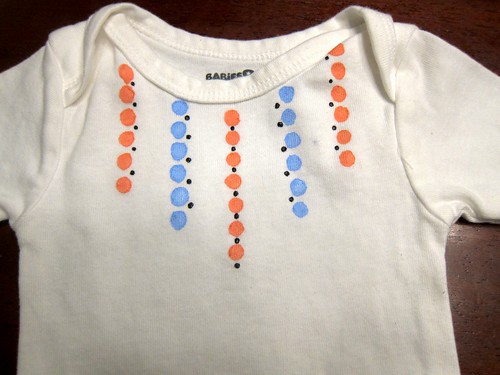
I was inspired by fringe:
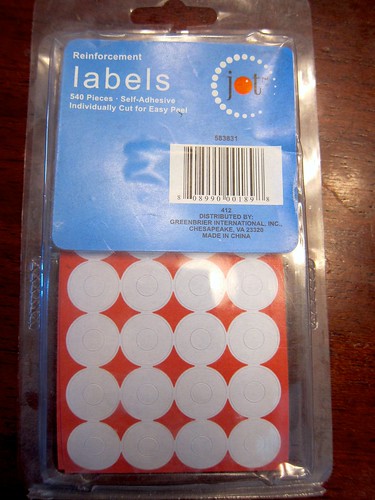
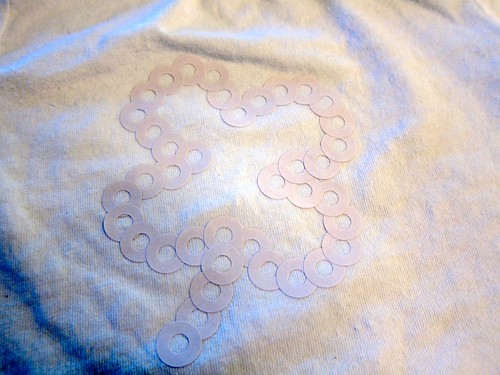
The process is simple. Insert cardboard, wax paper or a magazine inside the shirt. The way, the paint won't leak through and get on the back of the shirt! I used the reinforcement stickers to create a design right on the shirt. You want to have each circle overlap the previous. Press on the stickers to make a good seal on the shirt. You do not want gaps or air bubbles:

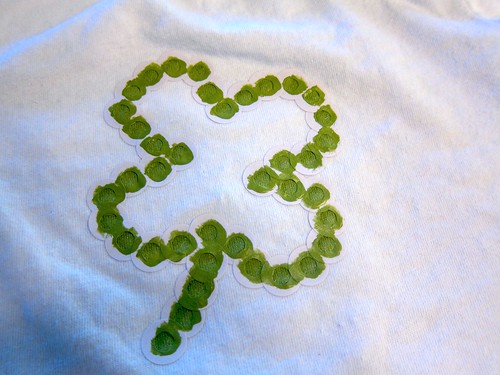
Get a small paintbrush and dab fabric paint onto the shirt in an up and down motion, just as you would for stencils. Brushing it from side to side will increase the chance the paint running outside of where you want it, or underneath the sticker. You want about 2 coats of paint:
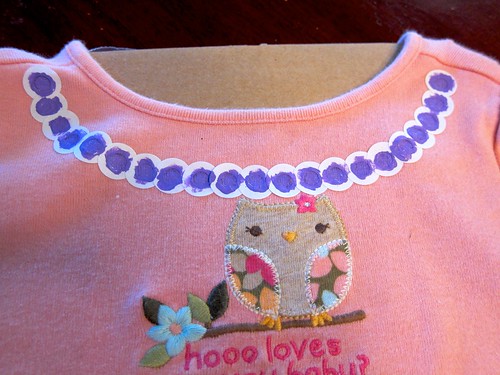
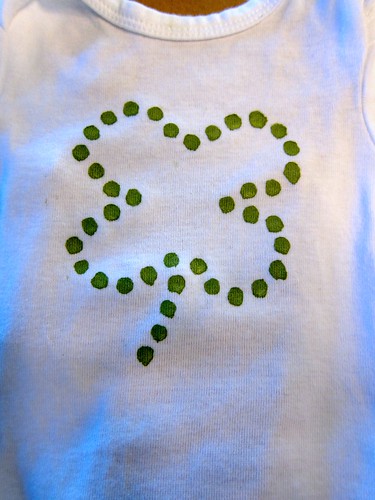
Carefully remove the stickers. I find that you can re-use them 2 to 3 times, especially if you are doing the same color. Here I am making a second strand of "necklace":

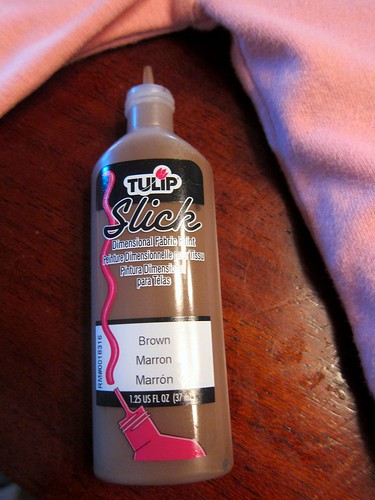
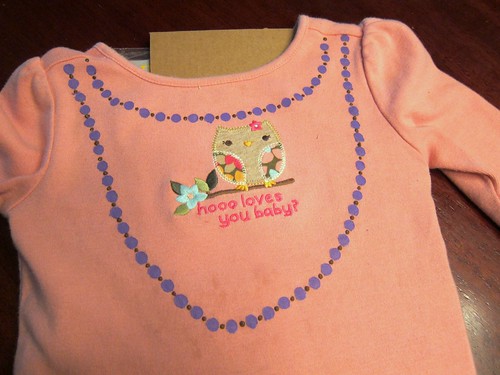
I used the brown fabric paint (bottle with a fine tip at the end), and made dots in between the purple circles:
Look like necklaces, right? I hope!

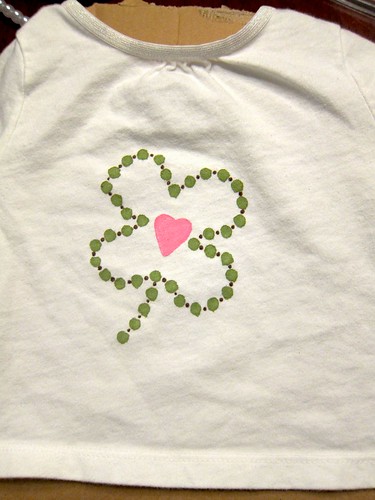
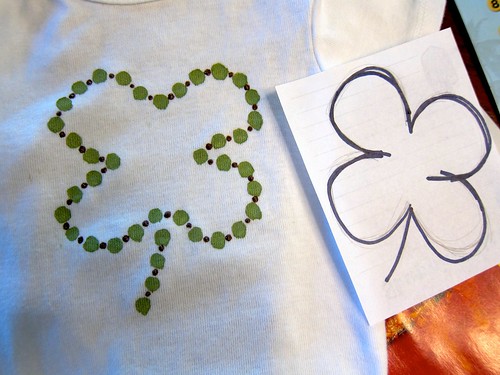
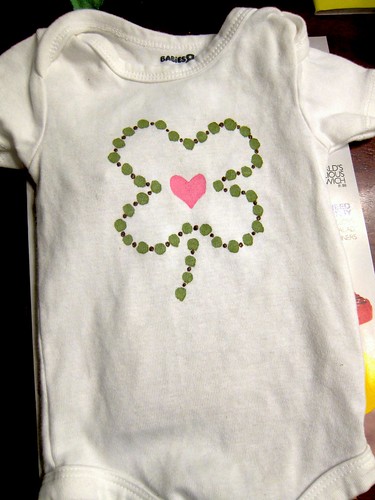
I designed a little 4 leaf clover, using the same method:
And painted a heart in the middle:
What do you think? Time to get creative.
Good luck! =)

No comments:
Post a Comment