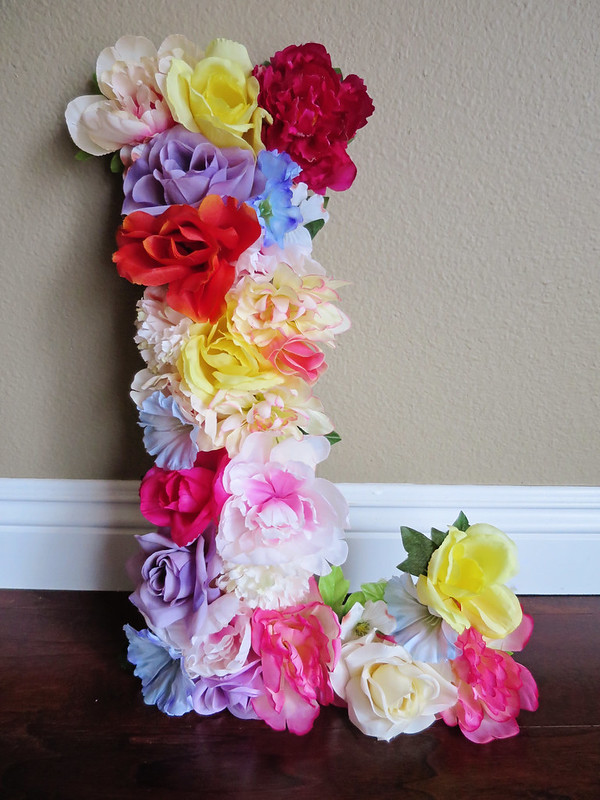
This is a great decor piece for every room and every event! It is super simple to do, and looks lovely and impressive. I chose to use all sorts of colors, but it would also be beautiful using a solid color for the entire letter.
Materials:
Wooden Letter
Flowers
Hot Glue
Wire Cutter
Scissors
Wire Cutter
Scissors
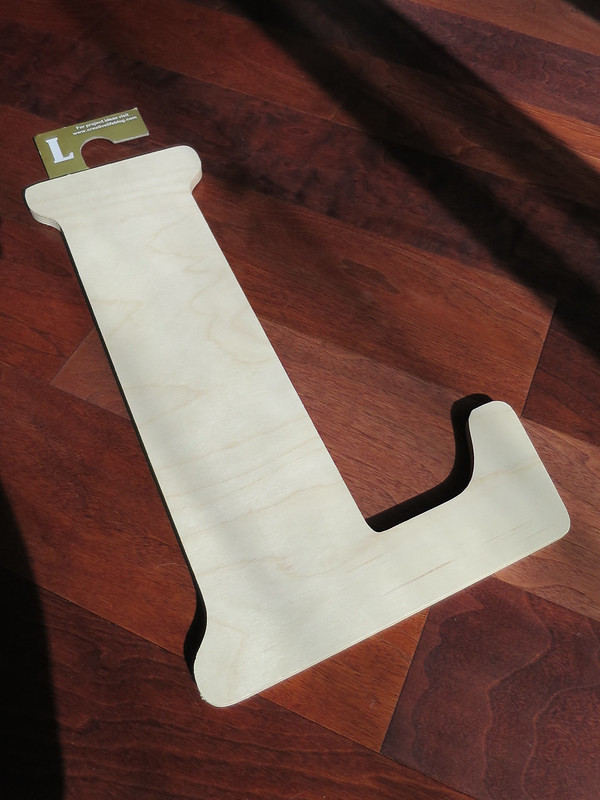
I picked this 18" wooden letter from Hobby Lobby. With a coupon, it was $7.79 plus tax:
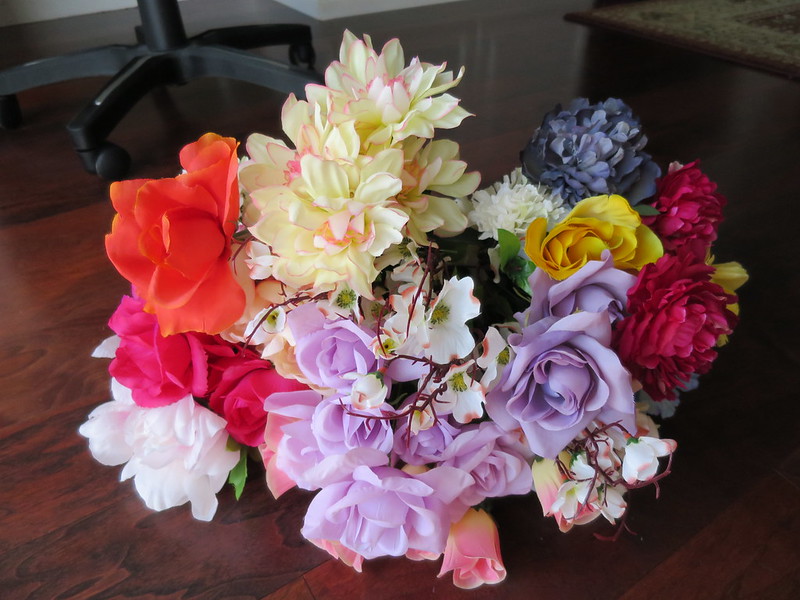
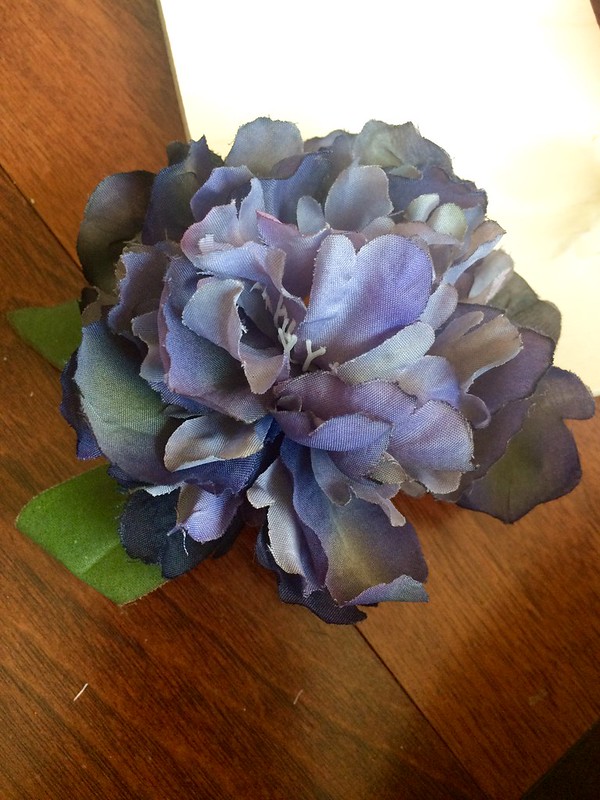
I got a bunch of flowers from the Dollar Tree. I ended up not needing so much, but I wanted an assortment of colors and different kinds of flowers:
Step 1: Cut off the flowers from stems. Get as close to the base of the flower as possible. The flatter the base, the better for the glue to adhere to the letter. If the flower comes apart, it's ok because you'll be hot gluing it down anyways:
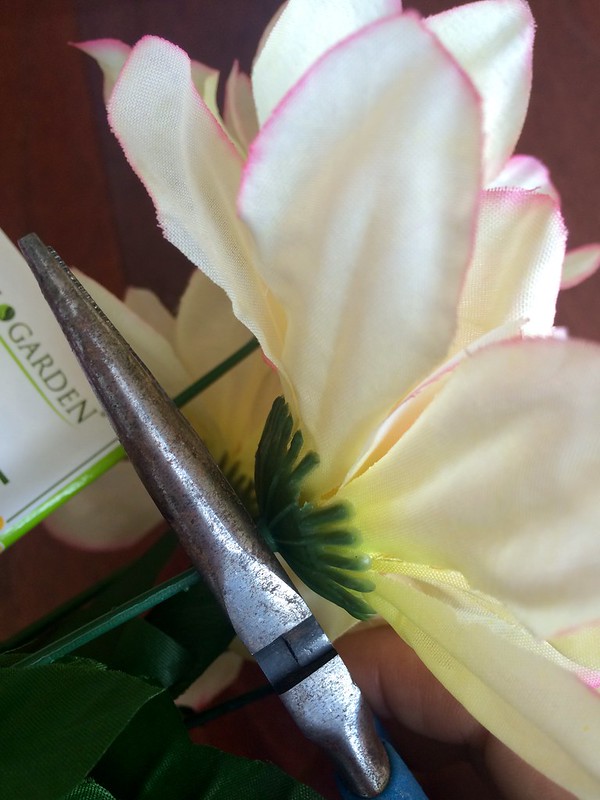
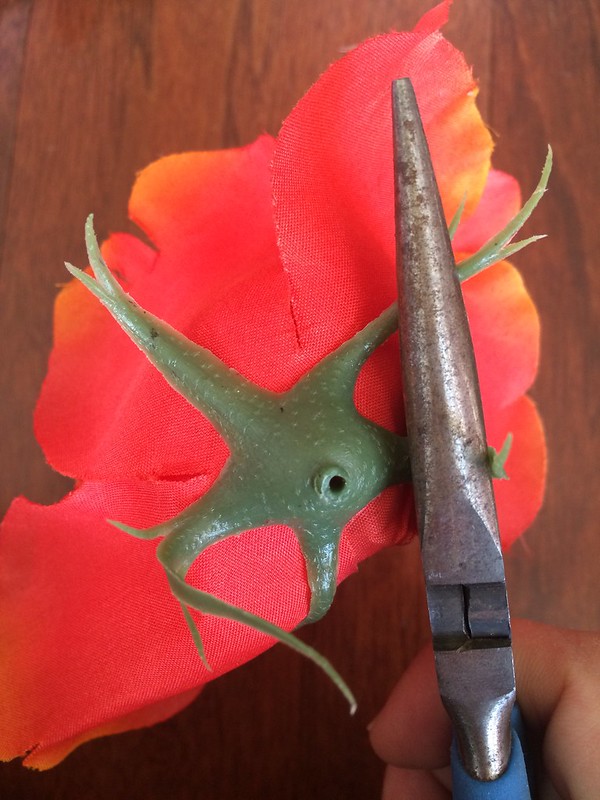
Some of my flower had these long green things...cut those of too:
Step 2: Cut and prep the leaves. Just pull the leaves off the stems, and cut them into individual leaves:
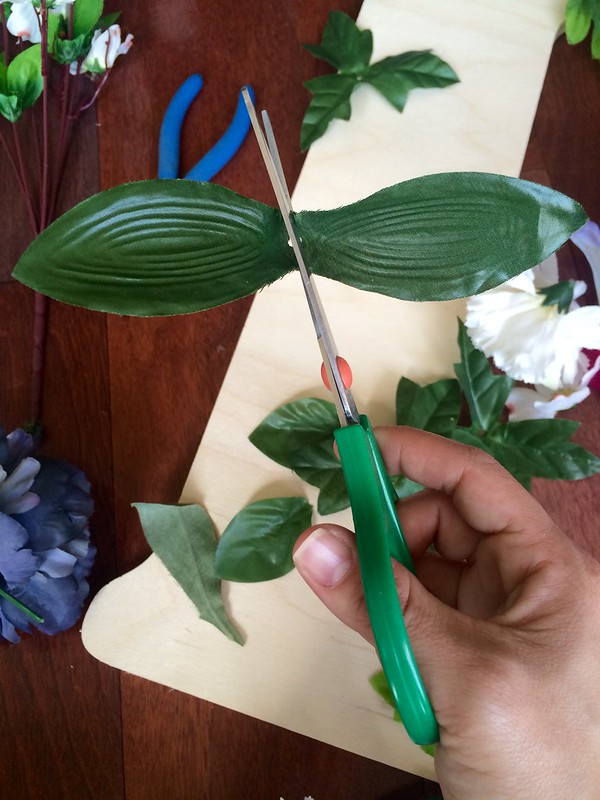
Step 3: We are going to cover the corners with the leaves:
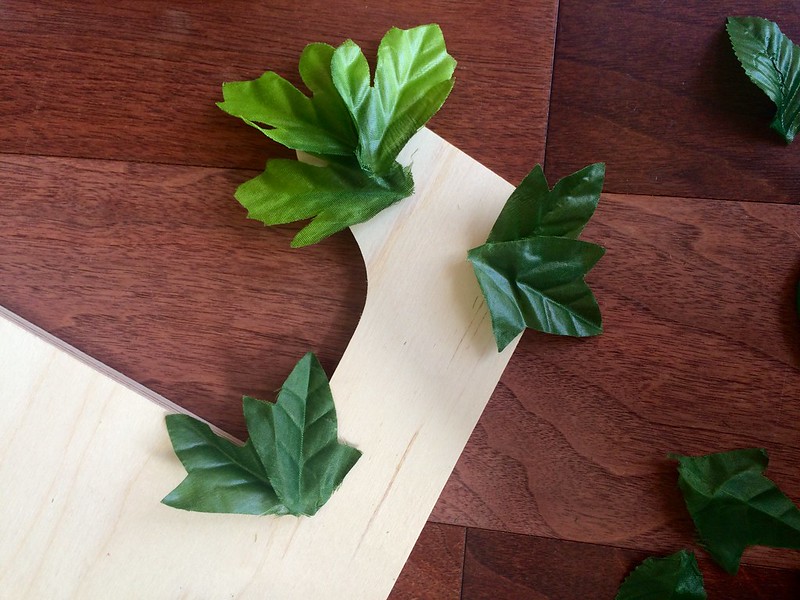
It will give dimension to the letter, and help make the flowers look lush as if they are falling off:
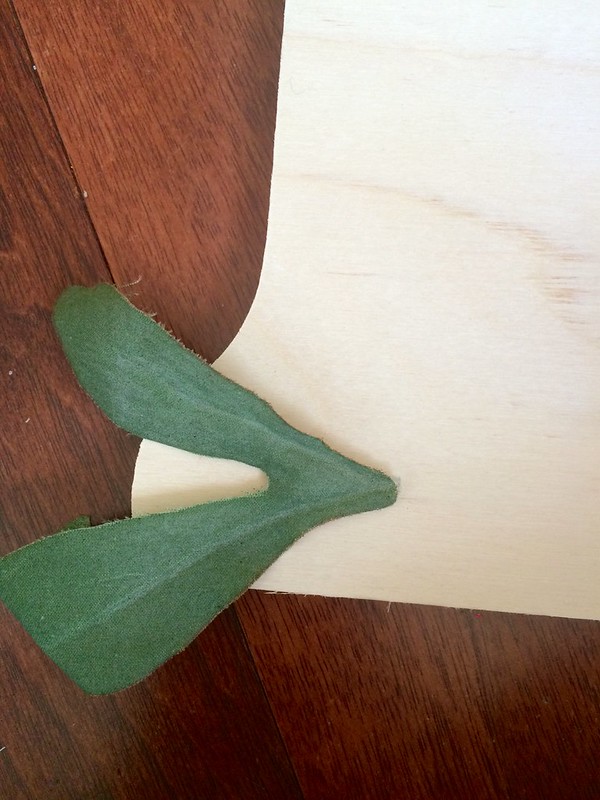
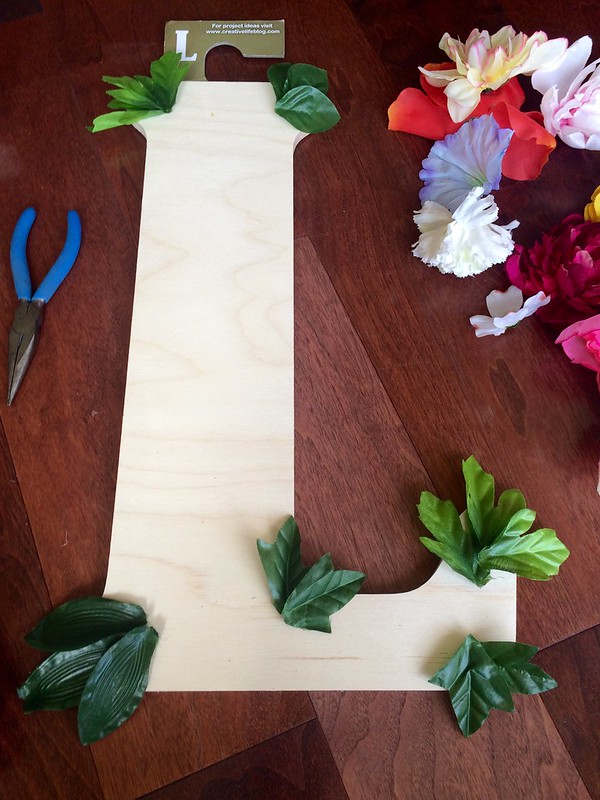
Step 4: Arrangement the flowers but don't hot glue yet!
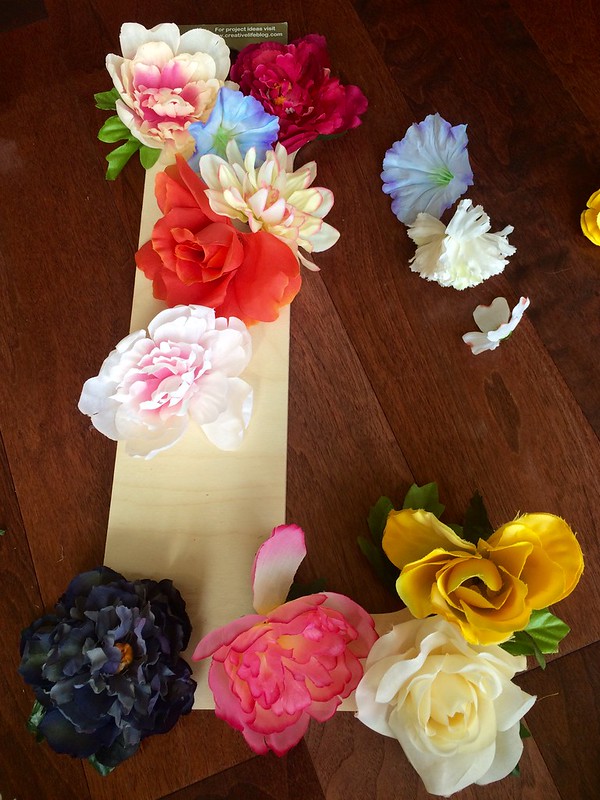
Get it exactly how you want it, and you might even need extra flowers later:
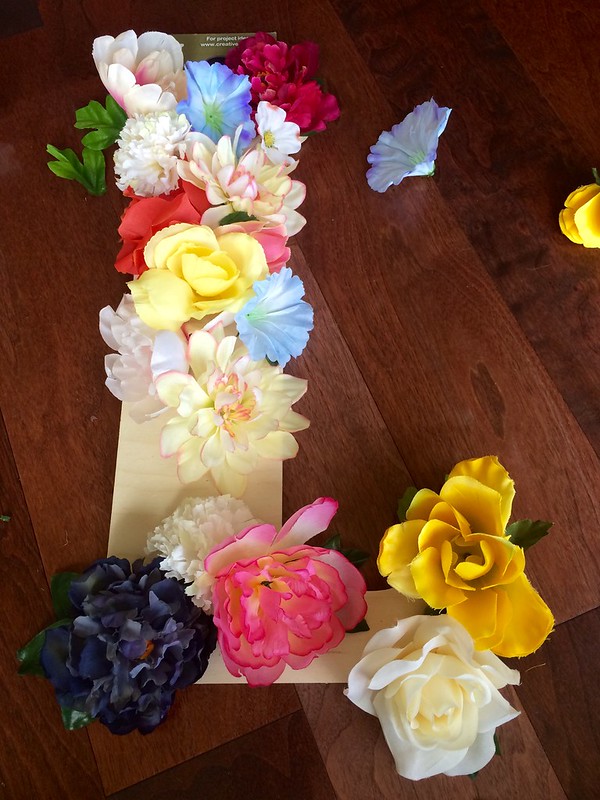
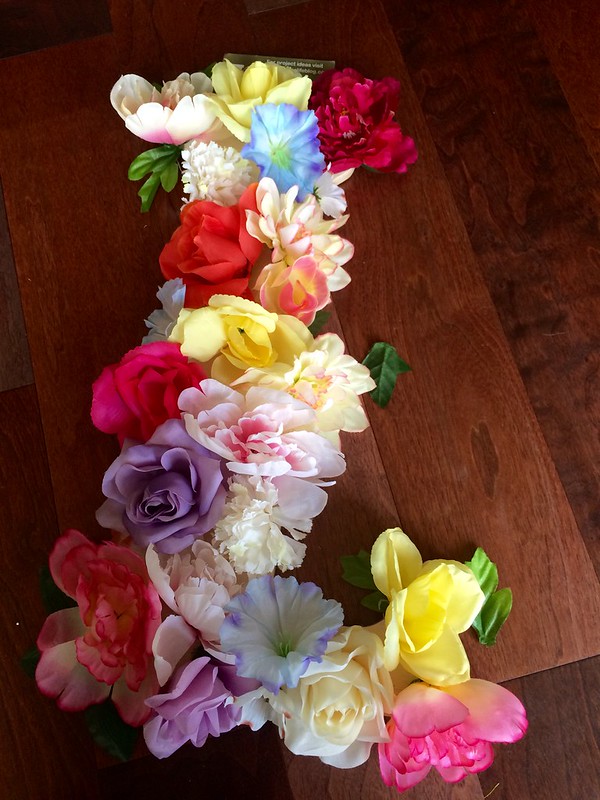
Step 5: Once you have the flowers how you want it, take a photo of it. You'll be taking the flowers off and gluing them back on one at a time, so you will want that photo as a guide. Start by gluing the leaves and flowers at corners of the letter first. Then start filling in. Every so often, glue a leaf behind or in between flowers. There is no right or wrong...just keep gluing!
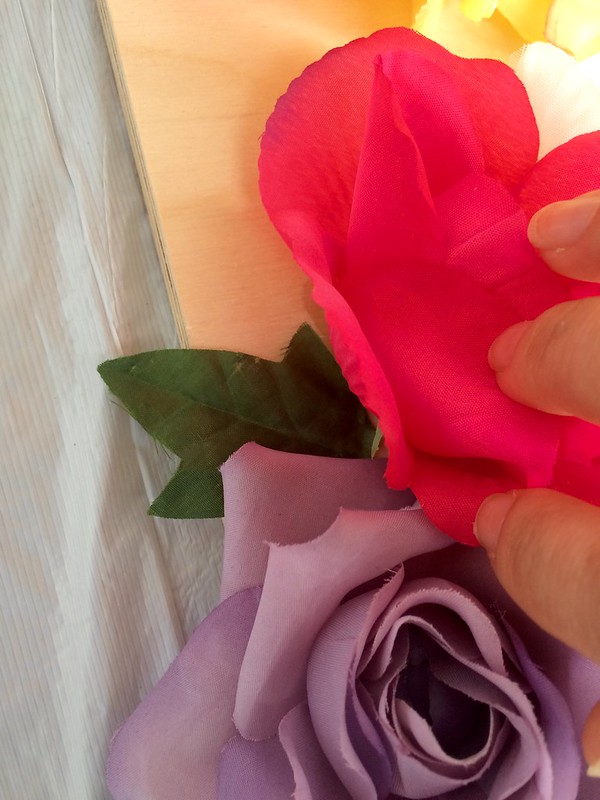
Step 6: Every so often, take a step back and look at your progress. If there are any gaps, fill them in with more flowers or leaves:
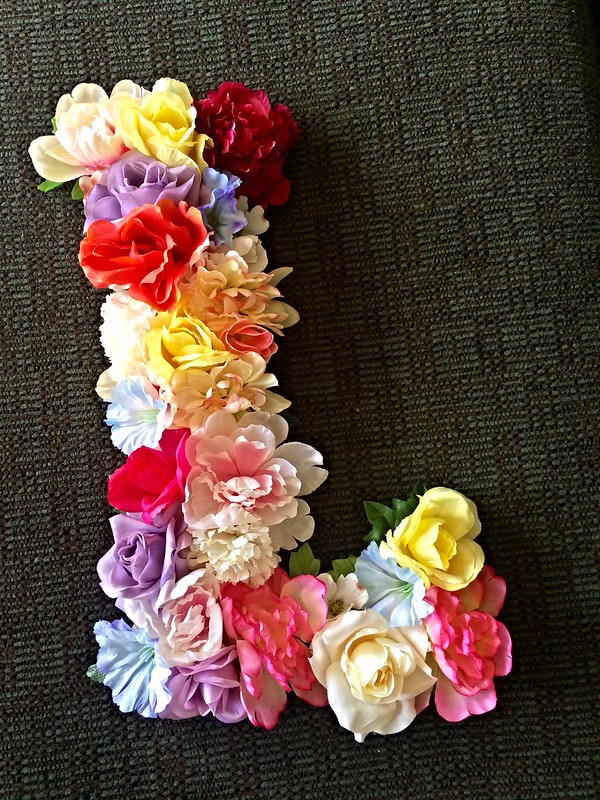
It's all done and looking gorgeous. It's ready to be hung on the wall or propped on a shelf.
Good luck!
=)
Very great innovative hand crafts.. i.e floral letter. Amazing work. Do you have any information about Debenhams Discount Code
ReplyDeleteI am the new guy
ReplyDelete