
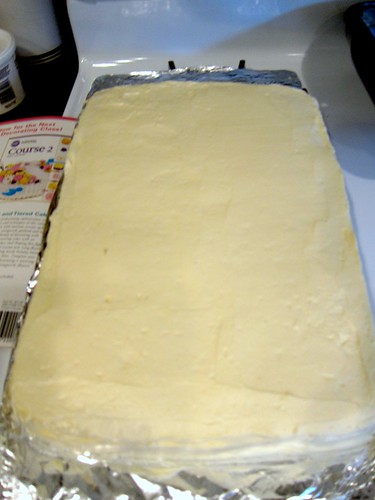
Bake a cake, frost it when cooled, and put it in the fridge:
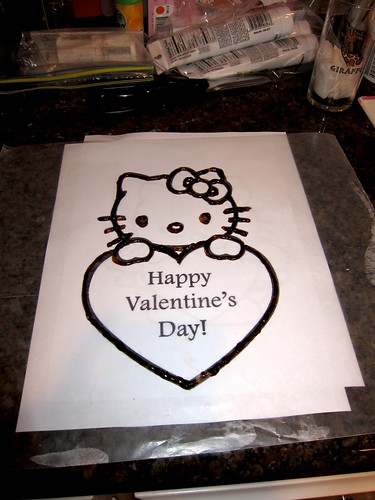
Find a large image online and print it out. We looked for simple coloring pages. Take a sheet of wax paper and lay it on top of the printed page. We chose not to transfer the wording, but if your image has words and/or numbers, flip the printed page over first, then layer wax paper on top. Hopefully the ink will still show through. Or you can print your image reversed. The image will reverse itself when transferred. We tinted clear piping gel and with a number 1, 3 or 5 piping tip, pipe and trace the picture and outline everything you want to transfer onto the cake:
Take the cake out of the fridge. Quickly flip the wax paper over and carefully place it onto the cake:

With a Q-tip or chopstick, gently trace and go over the tinted gel. The image will look smashed. But don't worry:
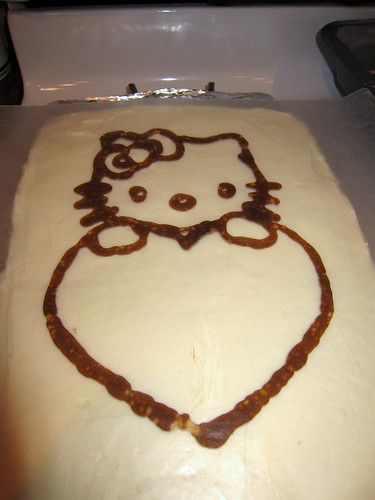
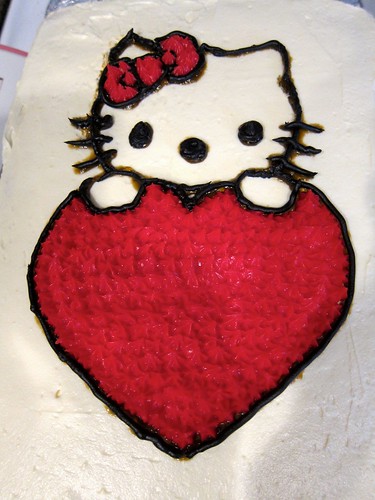
Slowly lift the wax paper out and discard. Ta-da; the gel transferred! This is what the cake looks like:

We started by piping the insides of the image with a star tip then outlining the image with black buttercream with a round tip, but I would recommend outlining with black buttercream first:
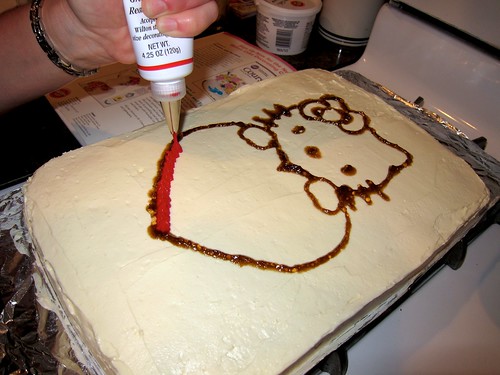
When filling in (i.e. the red heart), start from outer parts and work your way in, making little square sections at a time so the rows will more or less line up:
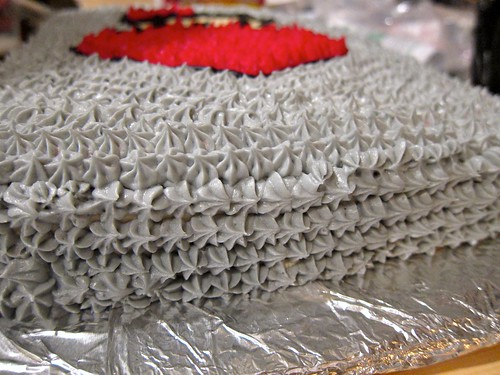
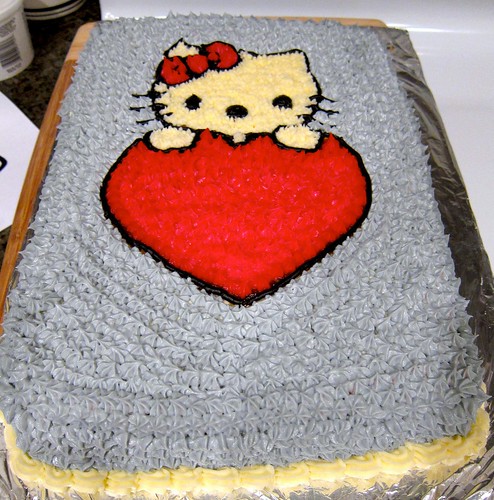
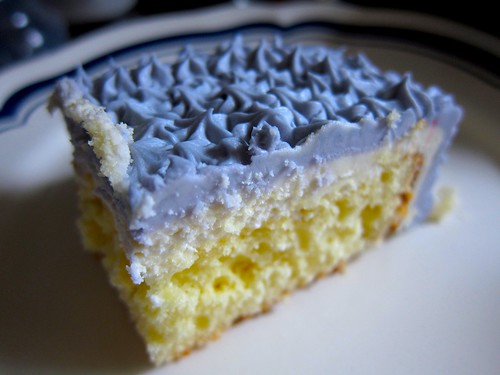
For the background (i.e. the lavender), go around the image a couple times, then around the edges of cake, then fill in:
For the sides, start making rows, from bottom to top:
Then I piped a simple border around the bottom with a star tip. I built it up on the right and pull to the left:
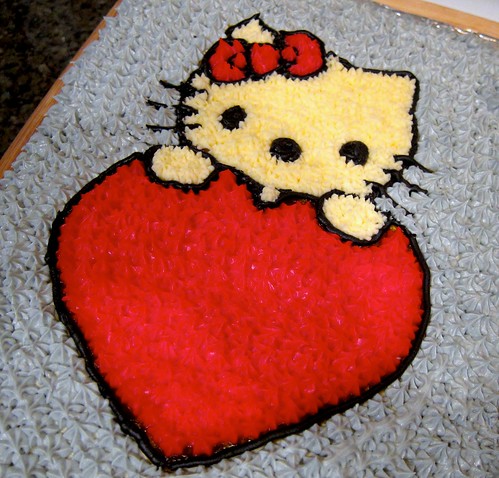
One more picture of Hello Kitty because she's adorable:
Since this was another one of my practice cakes, I only made one layer. Still delicious though!
No comments:
Post a Comment