January 08, 2012

Yellow Skirt

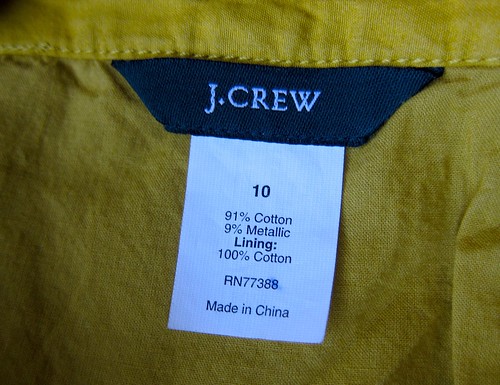
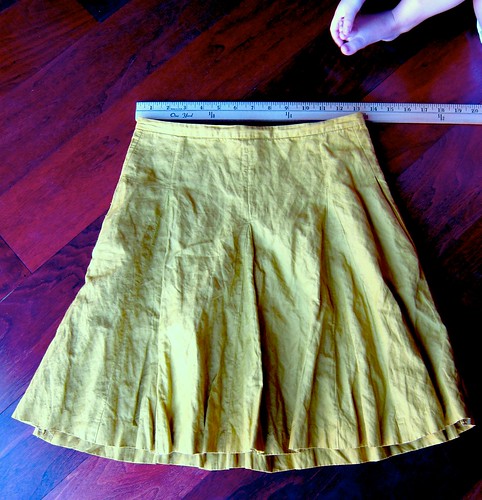
When I was pregnant, I got this pretty mustard yellow skirt in a size 10 on clearance. I was so excited. However, I was only able to wear it for a few weeks - the skirt got too small as I got more pregnant. The skirt got too big as I got unpregnant.
[Please excuse the wrinkles]

It's been sitting in my closet over 2 years, collecting dust because I can't wear it. One day, I couldn't take it anymore, and slimmed down the sides within 5 minutes. Love it!

What made it easy was that the skirt has the zipper on the back. So altering the sides won't be a problem.
I used the French seam technique - the same way how I slimmed down the sleeves of a blue dress a few months ago.
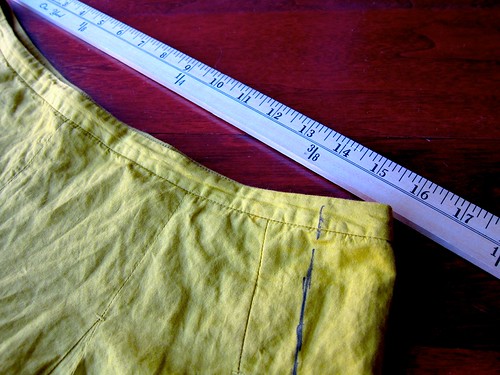
I took a skirt with a similar style that fits me comfortably, and laid it on top of this yellow skirt. I literally took a Sharpie [which I don't really recommend, heh heh] and drew a line down both sides adding a tad bit more to the width...maybe about 1/8":

I sew on the lines I drew, cut off the excess fabric, turned it inside out, and sew another line which  encased the raw hem inside. The best part is that the pockets on the sides are still there!
Now I can wear it again. 
So happy.

Good luck!

Teachers' Christmas Gifts

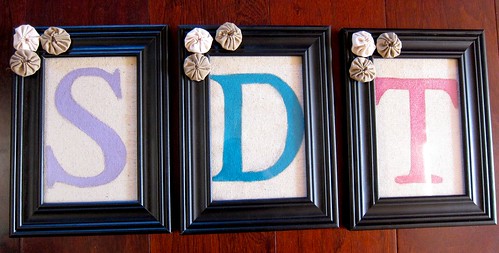
Besides gift cards, I have heard that teachers like personalized things...maybe something that can be propped on their table, or hang on a classroom wall. I quickly came up with this idea and they like it!


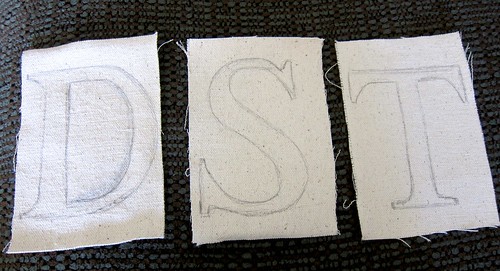
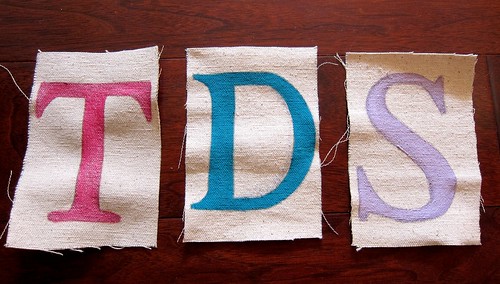
I got the black picture frames that hold 4" x 6" pictures, and cut canvas or drop cloth to size [found in the paint department at Lowes or Home Depot]:


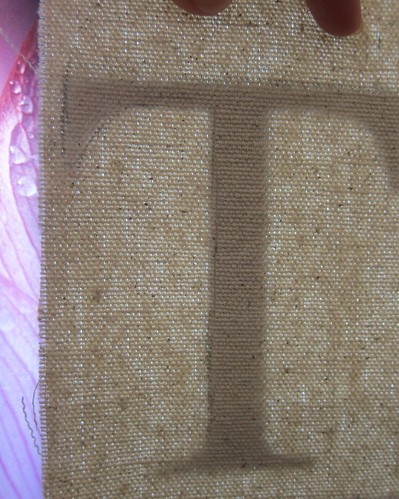
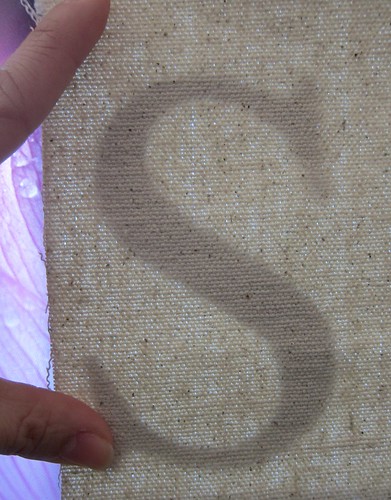
On my computer, I found a font I liked, and enlarged it to fit the canvas. I simply placed the fabric over my computer screen and traced the letter with a pencil:


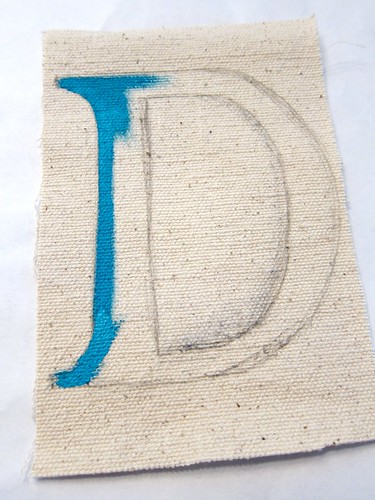
Then I used acrylic paints and a small brush to fill in the letter:


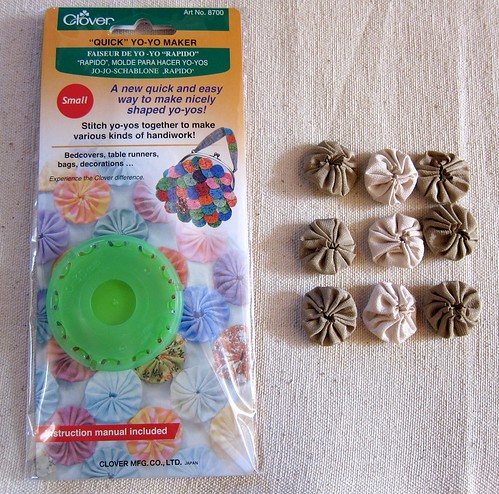
While they were drying, I got out my Yo-Yo flower maker [found at JoAnn's for a few dollars], and made 3 flowers per frame:

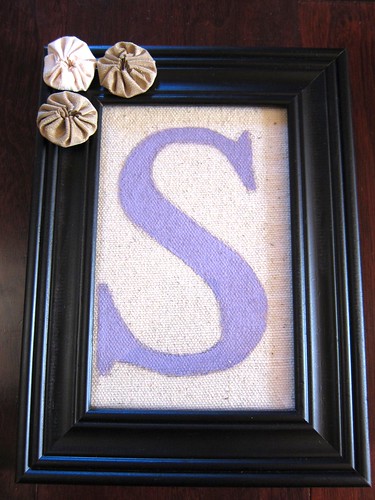
Then I placed a canvas inside the frame, and hot glued the flowers on the corner.
Done!

Good luck!

Christmas Cards

I went into one of my favorite stores, Paper Source to find Christmas card inspirations. I love how my cards turned out!


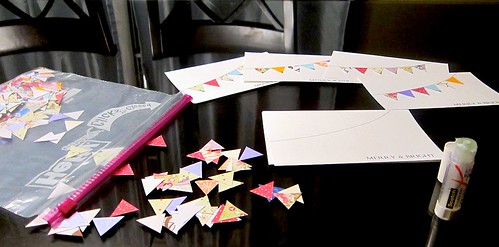
On Word, I drew a curved line at an angle, and typed out "Merry & Bright" on a corner. I printed it out on white card stock.

I cut out many, many little triangles from papers I already have. It's a great way to use up all the little scraps! And glued them down one at a time on the curved line. Then I used a star paper hole punch in three random spots. I used spray glue to attach the white card stock on a colored card stock (folded to a 5"x7"). I really like how the colored card stock shows through the little stars.

Then inside, I attached a picture and a little greeting.

As for the picture of Boo and our dog reindeer, I wanted to do a creative and funny photo. Both of them were laying on their sides, on the ground, on a blue blanket. The stars were regular foil I cut out. The moon and buildings were fabrics I had. The windows are index cards. The sleigh is an old red shirt of mine. The leash is a rope belt. The white doodles were done on Photoshop.

I hope you all had a wonderful holiday, and a happy new year! May this year be filled with the most smiles, love, and sweet surprises.

December 10, 2011

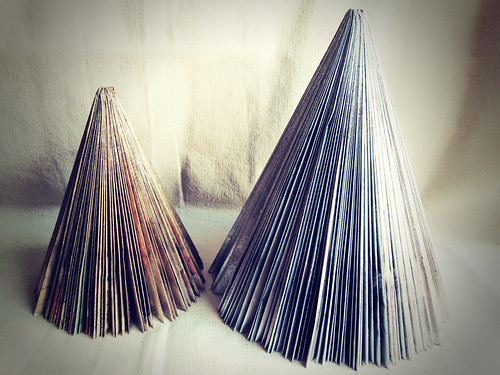
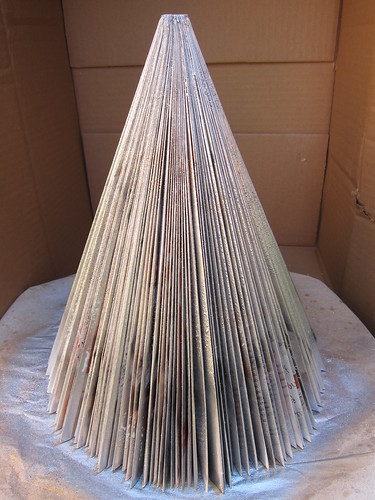
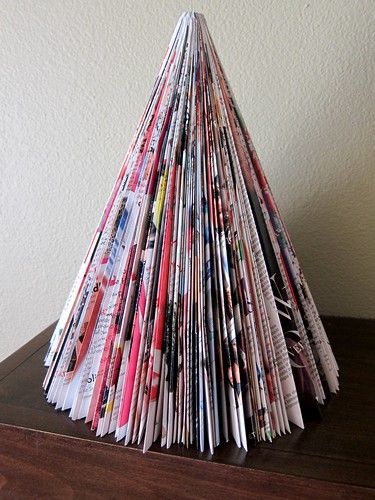
Magazine Christmas Tree

I {heart} Martha Stewart.
I had seen online at their Holiday Craft Sale, and they were selling them between $10 to $30 per tree.


Let's get started!
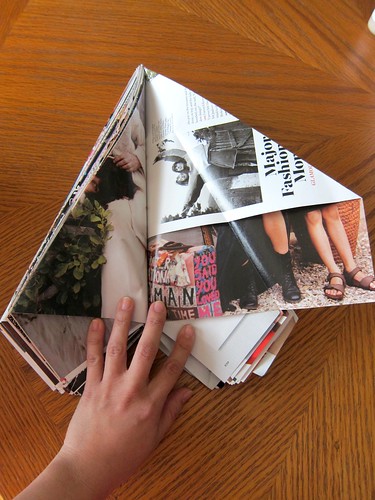
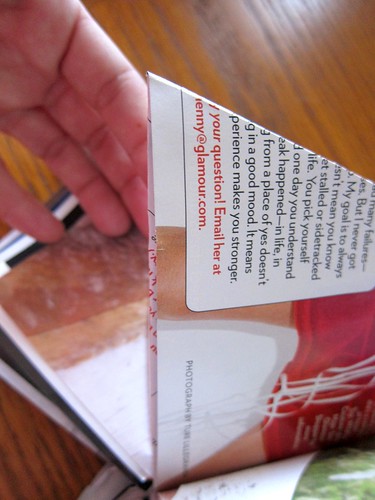
Get an old magazine, I believe this is Glamour. Bend the binding back and forth so it won't be so stiff.  Then taking one page at a time, fold the top right corner down like so:

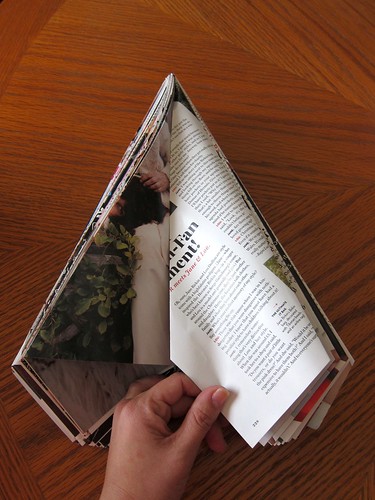
Then fold the page down again like so:


and you will get something like this:


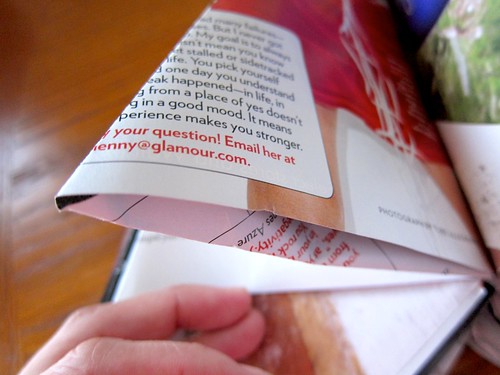
At the bottom of the "tree", fold the tip up:

And tuck it inside the flap:

Make sure it's flush and straight:

And done!

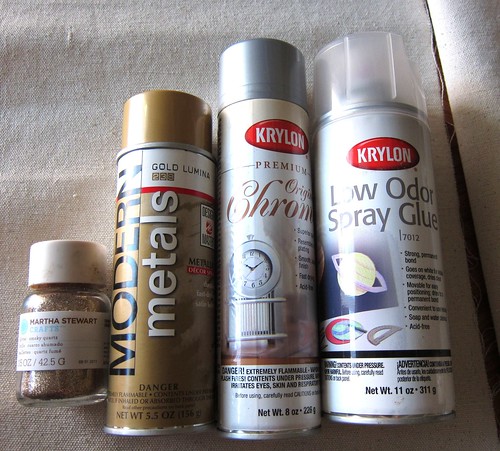
To glam it up, I used spray paint and glitter:
Martha Stewart glitter in Smoky Quartz
Modern Metals in Lumina Gold (which I do not recommend and will tell you below)
Krylon in Chrome
Krylon Spray Glue

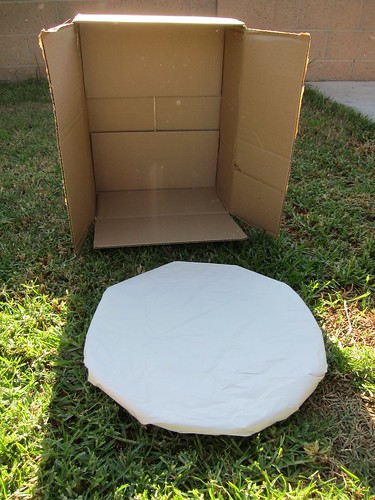
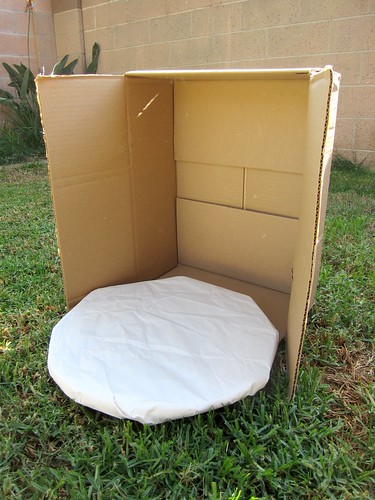
A makeshift spray booth with a cardboard box and a lazy susan I wrapped with paper:


The reason why I got the Modern Metal Lumina Gold was because Michael's ran out of the Kyrlon, which I do recommend. Modern Metal did not cover as well as Krylon, especially at the bottom of the tree, even after 2 or 3 coats. 

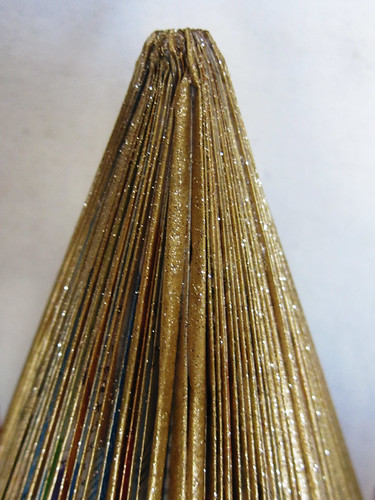
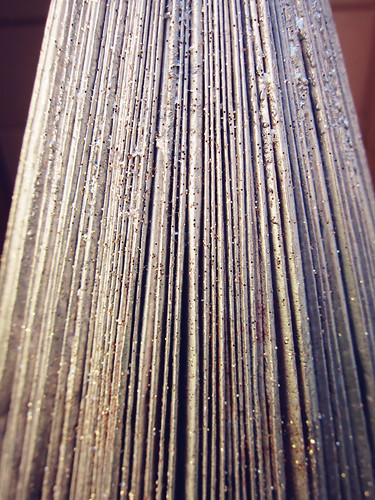
Then I gave it a coat of spray glue, and sprinkled on the glitter:

But the top looks nice:

The Chrome tree:


Good luck!
=)

December 08, 2011

Chain and Ribbon Jewelry

This is probably the easiest and simplest project I have done in a very long time!
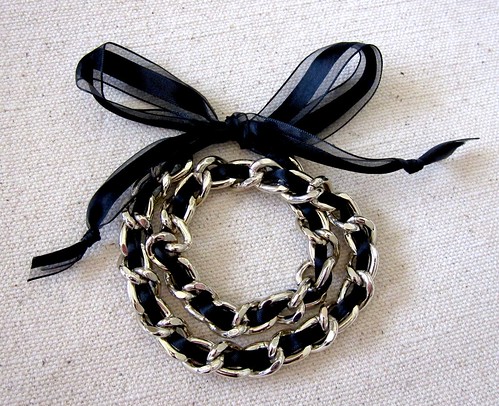
The result is beautiful, and everyone will be impressed. =)

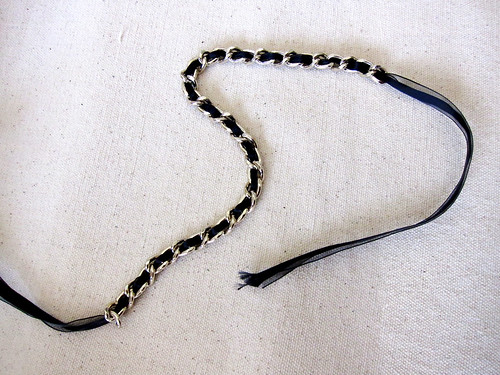
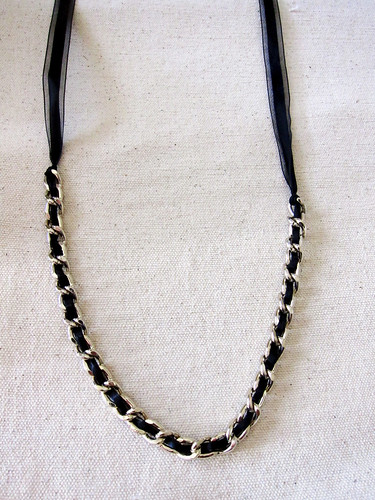
It can be a necklace or bracelet:

Wrap 2 or 3 times around the wrist:

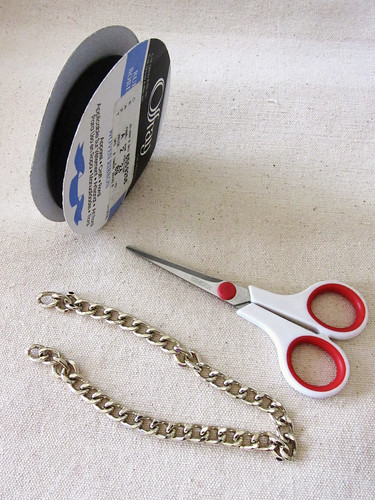
Materials:

Chain - You can get it at Lowe's or Home Depot, or even a small dog leash chain would do. You will need pliers if you have to shorten the lenght.

Ribbon - I used a 5/8" width but next time I'll use a "fatter" ribbon

Scissors

To prevent the ribbon from fraying, there are two options: 
Using a lighter or using clear nail polish. 
But before you do the "heat and seal" method with a lighter, make sure the ribbon is made of synthetic material like polyester, which will melt at the ends when heated. Ribbon made of silk or cotton will just burn, so you will need to use the clear nail polish method instead, by just dapping it on the ends. 

Let's get started! 
With one end of the ribbon, and singe it with a lighter, or use a stove like I did because I couldn't find a lighter in the house. The ribbon doesn't have to touch the fire....just get it close enough and it will melt. It only take a few seconds and it goes fast:


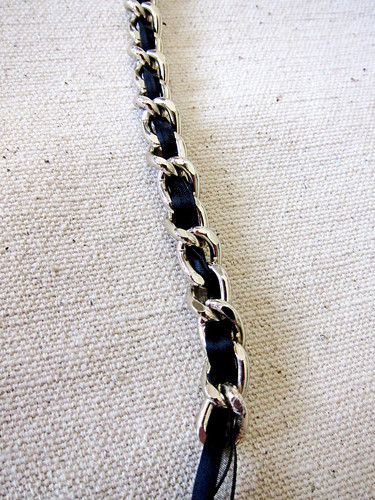
Take the singe end and weave it through the links. I weaved it through each link, back and forth, but you can do every other link to create a different design:


When you get to the end, pull approximately 8 inches of the ribbon through (however long you prefer. Keep in mind you need enough to tie a bow). Then tie a knot at the end of the chain by weaving it through the last link:


Pull the same amount of ribbon on the other end, cut, singe, and tie a knot on the last link:


Now you have something that looks like this:

Tie knots at the end of the ribbons like this:

Wrap it around your neck or wrist, tie a bow. Done!

Good luck!