Storing plastic bags frustrates me. You know what I'm talking about...all those Target and grocery bags! I have a few reusable fabric bags, but it's never enough and I always leave the store with 10 more plastic bags.
I reuse plastic bags but I have a hard them storing them. They are crumbled and wadded up into balls. Then stuffed in a drawer. It's a mess and takes up a lot of room.
My mother in law introduced me to folding them into little triangles, and oh my gosh, how that changed my life! Hah. It is so simple and clever.
I found a tutorial on Youtube - here it is:
Isn't that great? =)
Good luck and start folding away, my friends!
February 10, 2012
January 19, 2012
Growth Chart
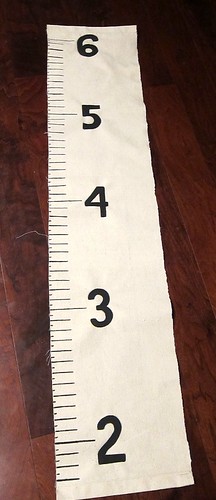
[I forgot to take a full picture with the wooden dowels in]
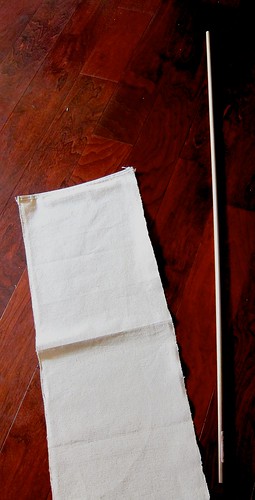
In the paint department at Lowes, I got a package of drop cloth. There are a few kinds and sizes to choose from, ranging $10 and up. This particular one I got is a heavy weight, and was about $19:

I unrolled it and cut a strip out, following the fold line:
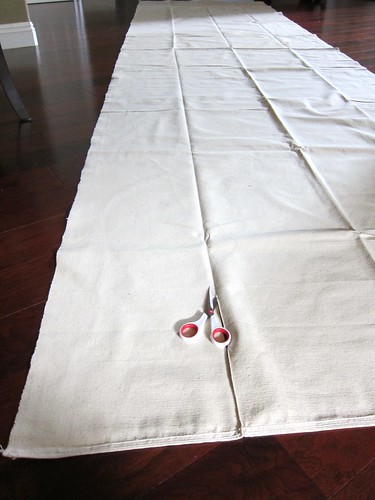
It is about 12" x 58":
I used Fray Check on all sides:
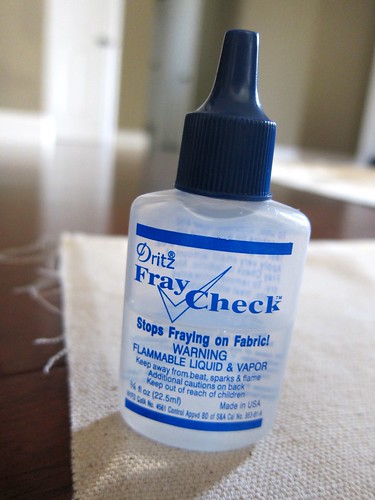
It will dry clear:

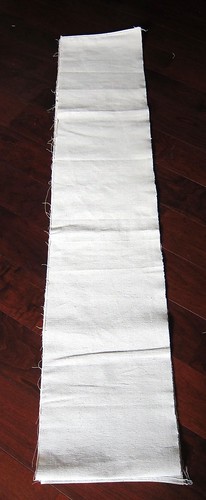
Snip off the long ends:

I also got a wooden dowel at Lowes for $1. I used a saw and cut it down to about 1.5 inches longer than the width:
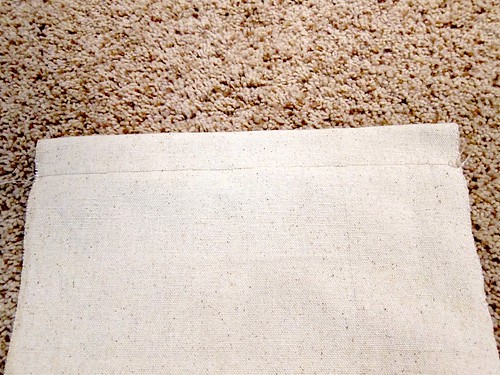
At the top and bottom of the chart, I folded and sew a straight line across, making a little pocket for the wooden dowel to go through:


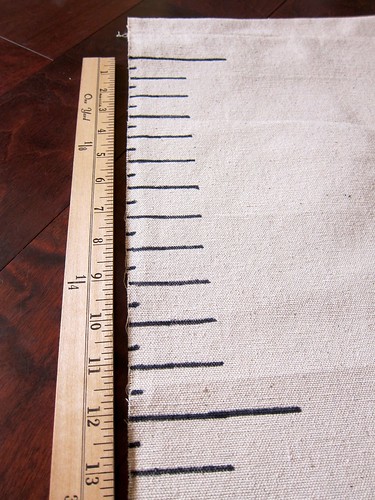
I used my yard stick, measured and drew the lines with a black Sharpie:

I free-handed the numbers with a pencil:
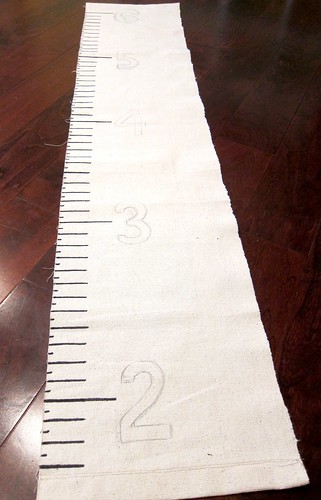
Used black acrylic paint to fill them in:
Put the two dowels in:

For hanging, I used twine/rope, wrapped it around the ends of the top dowel, and tied a knot:

Good luck!
=)

January 14, 2012
Liebster Award!
My blog was nominated for the Liebster Award by Mandie from The Everyday Meals for the Everyday Family! She has delicious recipes to share, and best of all, they are simple enough for me to make. I must admit it is not my strong point when it comes to cooking a meal for the family. Heh heh.

Have a great day!
=)
The Liebster Blog Award is an award for bloggers with less than 200 followers who deserve more recognition.
I am so flattered and excited. Thank you Mandie for the nomination! Thank you to my readers and followers!
To return the favor, I am nominating 5 blogs for the Liebster Blog Award [in no particular order]:
Here are the rules for accepting the award:
- Thank your Liebster Blog Award presenter on your blog.
- Link back to the blogger who awarded you.
- Give your top 5 picks for the award.
- Inform your top 5 by leaving a comment on their blog.
- Post the award on your blog.
Have a great day!
=)
January 08, 2012
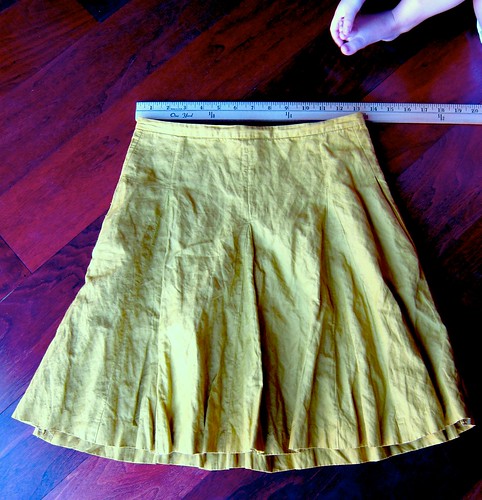
Yellow Skirt
When I was pregnant, I got this pretty mustard yellow skirt in a size 10 on clearance. I was so excited. However, I was only able to wear it for a few weeks - the skirt got too small as I got more pregnant. The skirt got too big as I got unpregnant.
[Please excuse the wrinkles]

It's been sitting in my closet over 2 years, collecting dust because I can't wear it. One day, I couldn't take it anymore, and slimmed down the sides within 5 minutes. Love it!

What made it easy was that the skirt has the zipper on the back. So altering the sides won't be a problem.
 I used the French seam technique - the same way how I slimmed down the sleeves of a blue dress a few months ago.
I took a skirt with a similar style that fits me comfortably, and laid it on top of this yellow skirt. I literally took a Sharpie [which I don't really recommend, heh heh] and drew a line down both sides adding a tad bit more to the width...maybe about 1/8":

[Please excuse the wrinkles]

It's been sitting in my closet over 2 years, collecting dust because I can't wear it. One day, I couldn't take it anymore, and slimmed down the sides within 5 minutes. Love it!

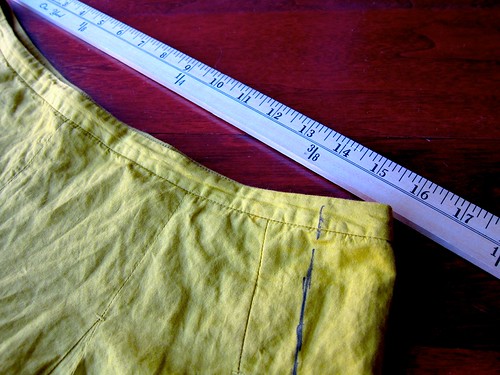
I took a skirt with a similar style that fits me comfortably, and laid it on top of this yellow skirt. I literally took a Sharpie [which I don't really recommend, heh heh] and drew a line down both sides adding a tad bit more to the width...maybe about 1/8":
I sew on the lines I drew, cut off the excess fabric, turned it inside out, and sew another line which encased the raw hem inside. The best part is that the pockets on the sides are still there!
Now I can wear it again.
So happy.
Good luck!
Teachers' Christmas Gifts
Besides gift cards, I have heard that teachers like personalized things...maybe something that can be propped on their table, or hang on a classroom wall. I quickly came up with this idea and they like it!


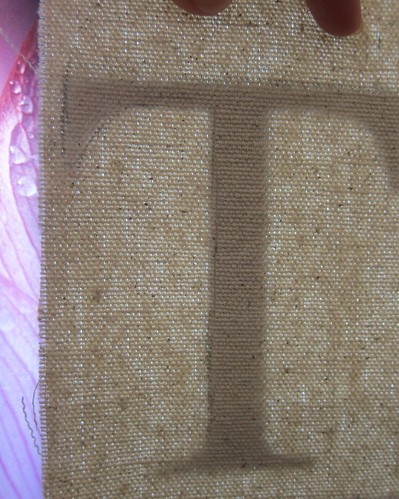
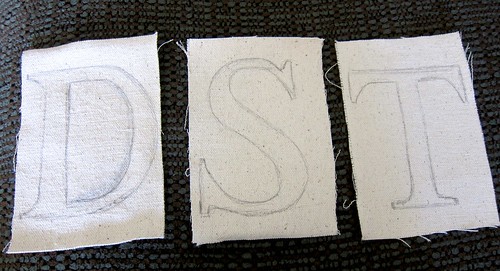
I got the black picture frames that hold 4" x 6" pictures, and cut canvas or drop cloth to size [found in the paint department at Lowes or Home Depot]:

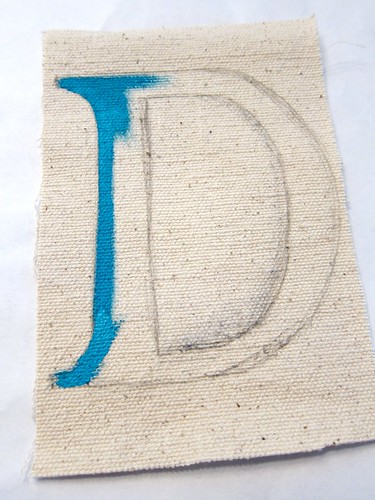
On my computer, I found a font I liked, and enlarged it to fit the canvas. I simply placed the fabric over my computer screen and traced the letter with a pencil:
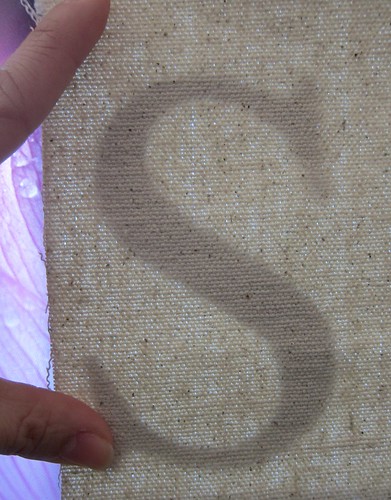
Then I used acrylic paints and a small brush to fill in the letter:

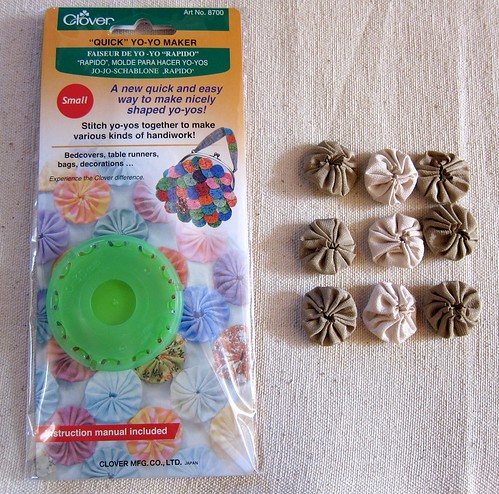
While they were drying, I got out my Yo-Yo flower maker [found at JoAnn's for a few dollars], and made 3 flowers per frame:
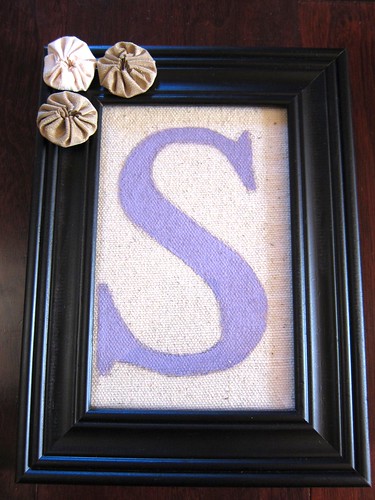
Then I placed a canvas inside the frame, and hot glued the flowers on the corner.
Done!
Good luck!
Subscribe to:
Posts (Atom)