November 12, 2010

Pumpkin Carving

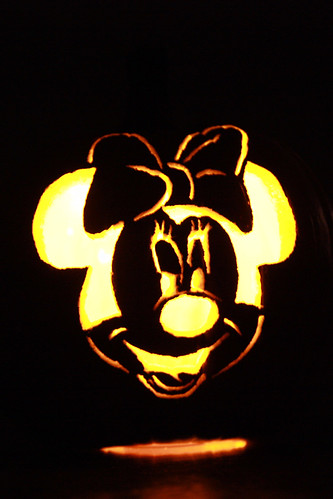
Lil' Boo was Minnie Mouse for Halloween, so it would be the most fitting to carve a Minnie Mouse pumpkin! Actually it is a Funkins, one of those craft pumpkins I purchased at JoAnn's.  It carves like a real pumpkin but there's a lot of "saw dust" if you know what I mean, since it is made of low density foam. You won't have to empty the gooey insides of a real pumpkin, it will not rot and can be kept forever.

I printed out this Minnie Mouse template online, and carved the black parts out. One tip is to start the eyes and noses FIRST.  If you do that last, the pumpkin will not have the strength and will break. I got a cheap $3 plastic pumpkin carving knife and a $2 dollar fake flickering candle light at Michael's. Both worked like a charm.


I think I'll get a Funkins every year and add to the collection! It was really fun to do.

Baby Shower

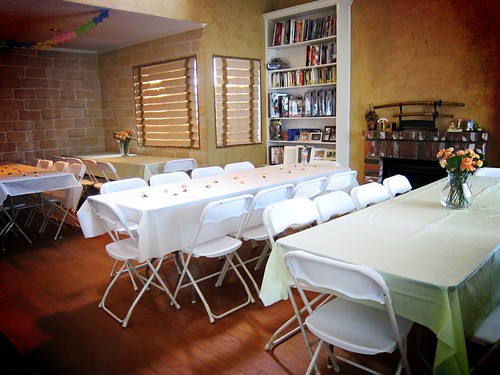
I co-hosted a baby shower at the guest of honor's home.  It went really smooth and everything came together nicely, despite of some last minute changes.  Something unexpected came up with the other co-host, so I had to step up as the main host.  I wanted to keep things simple yet elegant.  Here is the setup:

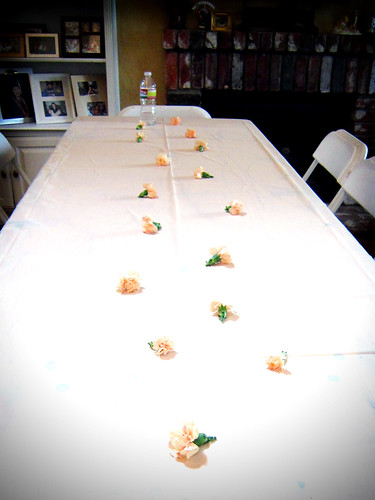
On the white tables are extra flowers from the bouquets purchased at Costco.  I cut the stems and seriously just threw them randomly down in the middle of the table:


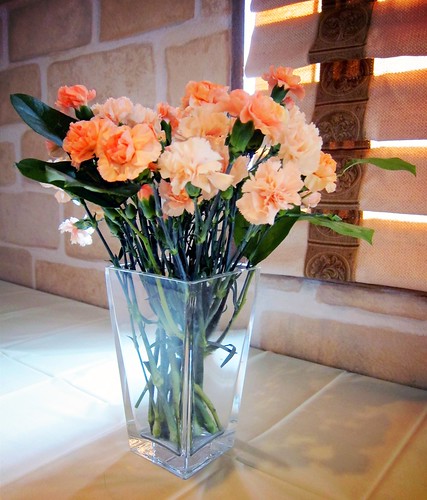
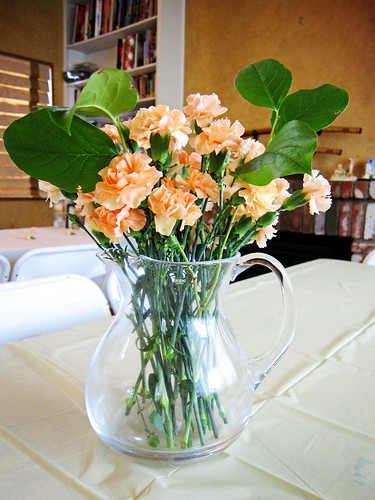
For the green tables, I arranged the flowers in vases.  It is definitely an art and a process to floral arranging.  A  long time ago, I watched a TV special on it, and knew it would come in handy one day.  Apparently, you can't just unwrap the bouquet you purchase and throw it into a vase.  I tried it and it just looked strange.  It was either too short or too tall, had too much or too little foliage, too sparse or too bunches...and the list goes on.  I really like the results, especially with the little amount of time I had. Vase #1:

Vase #2:

I made these hunny pots as favors, theme was Winnie the Pooh:


Sugar Cookie Attempt

I have always wanted to make sugar cookies and then decorate with icing. Icing was quite an experience! Of course I didn't just do just plain white royal icing but dove right into 4 different colors, and attempted to design way beyond my nonexistent skill level.  Getting the right consistency took a lot of time, because I didn't know what I was doing.

The cookies honestly just took minutes to make. It was so easy and simple that I really thought I did something wrong, but they turned out perfect.  For the cookie recipe and tips, I found this website to be extremely helpful and followed it exactly.

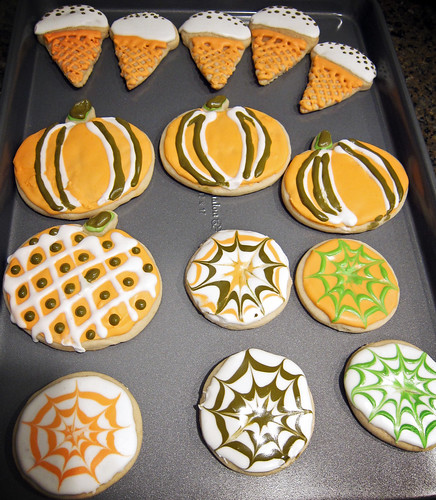
The baked cookies (pumpkins and cats):


The circles are for spiderwebs, and the ice creams are just because I thought they were cute:

With icing:


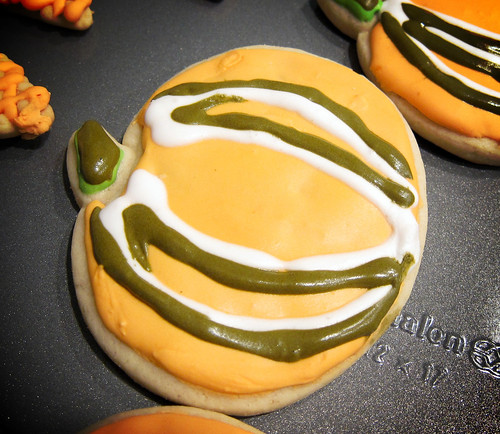
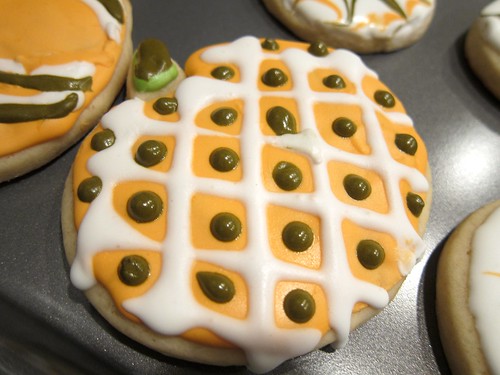
I was trying to make waffle cone lines on the ice creams with "chocolate" sprinkles.  I tried to do some highlights and shadows with the brown and white on the pumpkins.  One pumpkin looks like a pineapple, haha.  The spiderwebs I did when all the icing was still wet - pipe rings in different colors and run a toothpick through to make the lines.


I want to make and practice more but can't eat them all! I also want these cookie pens by Foodooler.  They are pens with edible ink so you can just draw right on the iced cookie.  Wouldn't it be even cuter if the cookies said "Boo!" or something? =)

Recycle Greeting Cards

I have a big stash of greeting cards I received from friends over the years. I keep most of them; especially the cutest/prettiest ones.  But they are just sitting in the drawer and taking up space! I have been brainstorming what to do with my baby shower cards.  I wanted to further the challenge by making something that includes Boo's initials, that matches her nursery room, and made with everything I have at home already. That sounds...challenging, haha!
This is what I came up with:
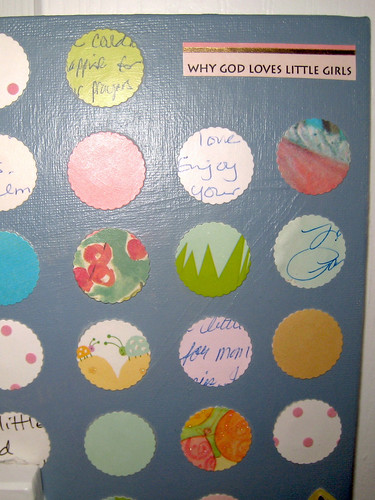
I used a scalloped paper punch and cut out at least one from each card. Some I punched out the handwritten sweet notes, some from the front of the cards. There were some cards with 3D animals and couldn't resist - I cut them out separately.  I had a canvas and painted a periwinkle color as the background. Then I glued the scallops onto the canvas (I just eyeballed the lines), and sealed with 3 coats of modge podge. I had the letter "E" and hot glued that on top. Viola, done!
Here are some close ups:


1st Birthday Party

Boo had her first birthday, and the party theme was Alice in Wonderland. I had such a blast planning and crafting!
These are the invitations I made. I absolutely love this and think it is clever (if I say so myself).  I am so proud of it:

It is a pocket watch that swivels with the help of a little gem bracket! I made everything in  Powerpoint.  I then used a Fiskars circle cutter and its circle template, careful to start and stop where the yellow top is.  Do not cut a full circle! I then hand cut the top part, colored in the purple and small-hole punched it. I got a pack of mini gem brackets from Michael's, and put the two pieces together. The clock tells the date and time of the party.
The envelope liner was wrapping paper I got from Ikea 2 years ago.  I thought it looked whimsical and perfect for the theme. I made a template on cardstock. I traced the actual envelope, then cut 1/2 inch smaller all the way around. Then just glue to the inside.

First thing the guests saw was the balloons and signs. I had made signs that said "This Way", "That Way", "Where", etc. all over the front lawn with arrows going in all directions. When we bought our current house, the agent left those "For Sale" signs that you stick in the grass. I just use posterboards and duct taped the back. Worked like a charm.
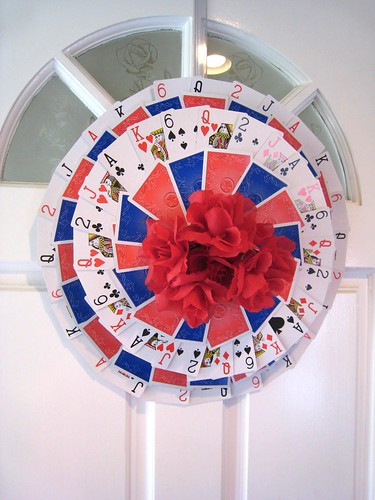
I also made this cards and red roses inspired wreath on the front door. It is supposed to be cheesy and unrealistic. I got one of those green foam wreaths, 2 decks of cards, and 1 bunch of roses from the Dollar Store.  I arranged the cards in the order I want, then taped it together. Each ring of cards have two card layers - one with the faces and one with numbers. I glue the 2 layers together, then hot glued the large ring of cards to the back of the wreath.  I did the same for the small ring of cards and glued it to the front of the wreath. Then I stuck the bunch of roses in the middle to cover the hole. Bend the stems in the back, and duct tape.  The last step is to cut a short piece of ribbon and pin it in the back, then hang. I used my X'mas wreath hanger over the door.


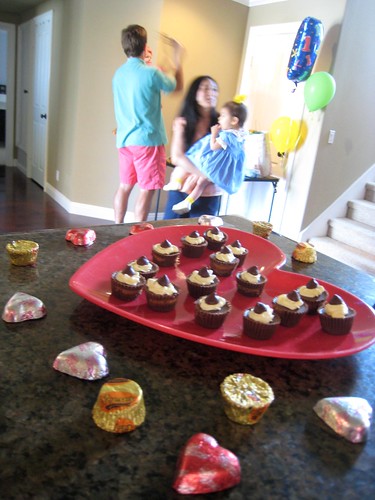
One of the foods I made was these mini "cupcakes". They are actually Reese's Pieces, with a piping of buttercream frosting and topped with a chocolate chip. They were so easy to make and delicious:

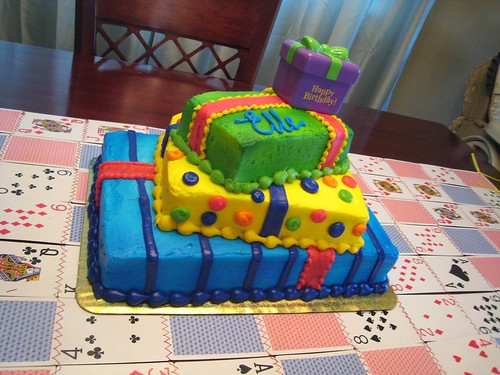
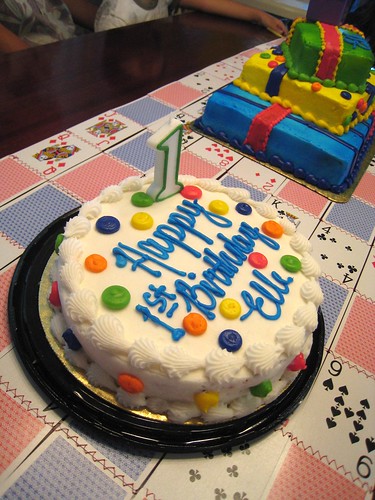
I made this card table runner. For some reason I can't find a picture with just the runner, so here it is with the cakes (both from Albertson's and the round smash cake was free!):


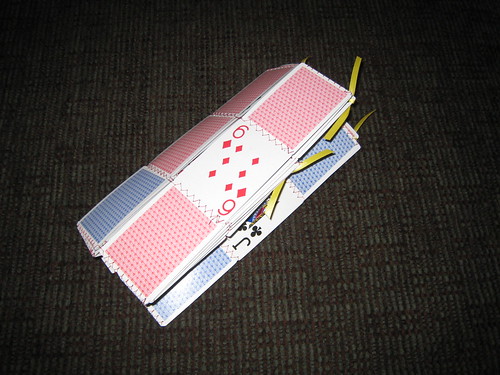
  I used 2 decks of cards and designed it how I wanted. Then I used zig zag stitch and ran it through the sewing machine row by row.  It is hard to see, but at the ends, I hole punch along the long sides and tied with yellow ribbon.

The neat thing about this runner is that you can fold it up like this:
Here is the gift table and random blow up flamingos on the stair rail (found at the Dollar Store):
At Michael's, there were bunny ear headbands and crowns for $1 each. At the Dollar Store, I found Alice in Wonderland books and even one that is made of foam for the little babies! It was SUCH a score that I immediately phoned The Husband at the store, and almost yelled "OH MY GOSH IT IS MEANT TO BE!"
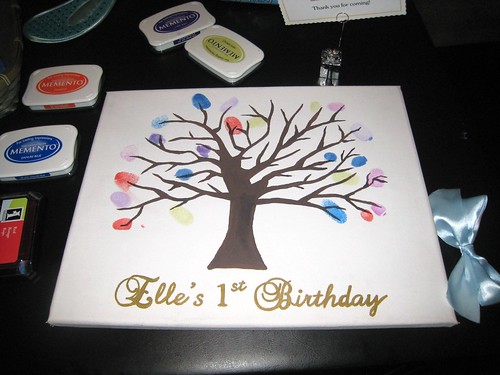
In the basket are some candy favors for the adults. They were in a pink glassine bag I have left over from another project, with a heart from the Ikea wrapping paper in front, tied with a yellow ribbon.  In the big bag were toy favors for the older kids - a bubbles kit. The canvas tree is a....guestbook, if you will.  I drew/painted a tree onto the canvas (bought from Big lots, $7). Then printed The Baby's 1st Birthday underneath. For both, I used graphite paper. I discovered this material recently and it was a "So THAT'S how other people did it!" moment. Basically I had the canvas, then layered the graphite paper, then the image I want on top. Then trace over the image with a pencil or a dried up pen, and I was left with a perfect print on the canvas!
At the party, each guest stamped a finger on to the tree, creating a "leaf". Now we have a wonderful keepsake! Unfortunately, some guests had to leave early and didn't get a chance to do this. I cannot believe over 40 people helped celebrate the special day with us! So blessed to have lovely friends and family.


Absolute preciousness!