
Two 8" x 11" artwork.! I saw an art print at Pottery Barn kids with flowers I liked, and with some online inspirations, the rest just took off. I was tracing, free-handing, cutting, gluing...there was a crafty mess on the dining table to greet The Husband when he came home from work. He asked me what I was doing, and I said, "I don't know. I am just cutting flowers out of these cards. But it's going to be really good when I'm done!" And that was the honest truth.
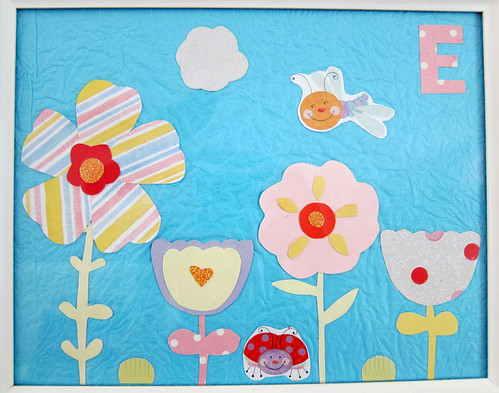

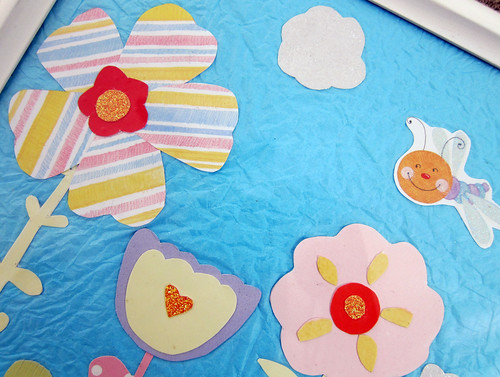
The blue background is three layers of tissue paper. I wanted texture, so I crumpled each sheet into a ball and then carefully unfolded them. Glued all the layers together and cut to fit the frame. The key to this project is layer, layer, layer. I got lucky with having the sun (which I cut and glued an orange glitter circle from another card, in the middle), the dragonfly, and ladybug all on a card. The "grass" were green dots I cut out of a polka dotted card. I cut 6 to 7 lines to look like blades of grass. Then made a straight cut at the bottom, about 1/5 of the circle. The rest of the shapes are pretty self-explanatory, but if you have questions about it, feel free to ask! if you like, you can hold up a piece of paper to the computer screen, and trace the flower designs off these pictures to get instant templates.
I happened to have two white picture frames, all ready to go, from Target, $5 each. I had them for a few years now. I knew they would come in handy one day. =)

No comments:
Post a Comment